
Add an iJewel3D Drive Viewer to Your Website
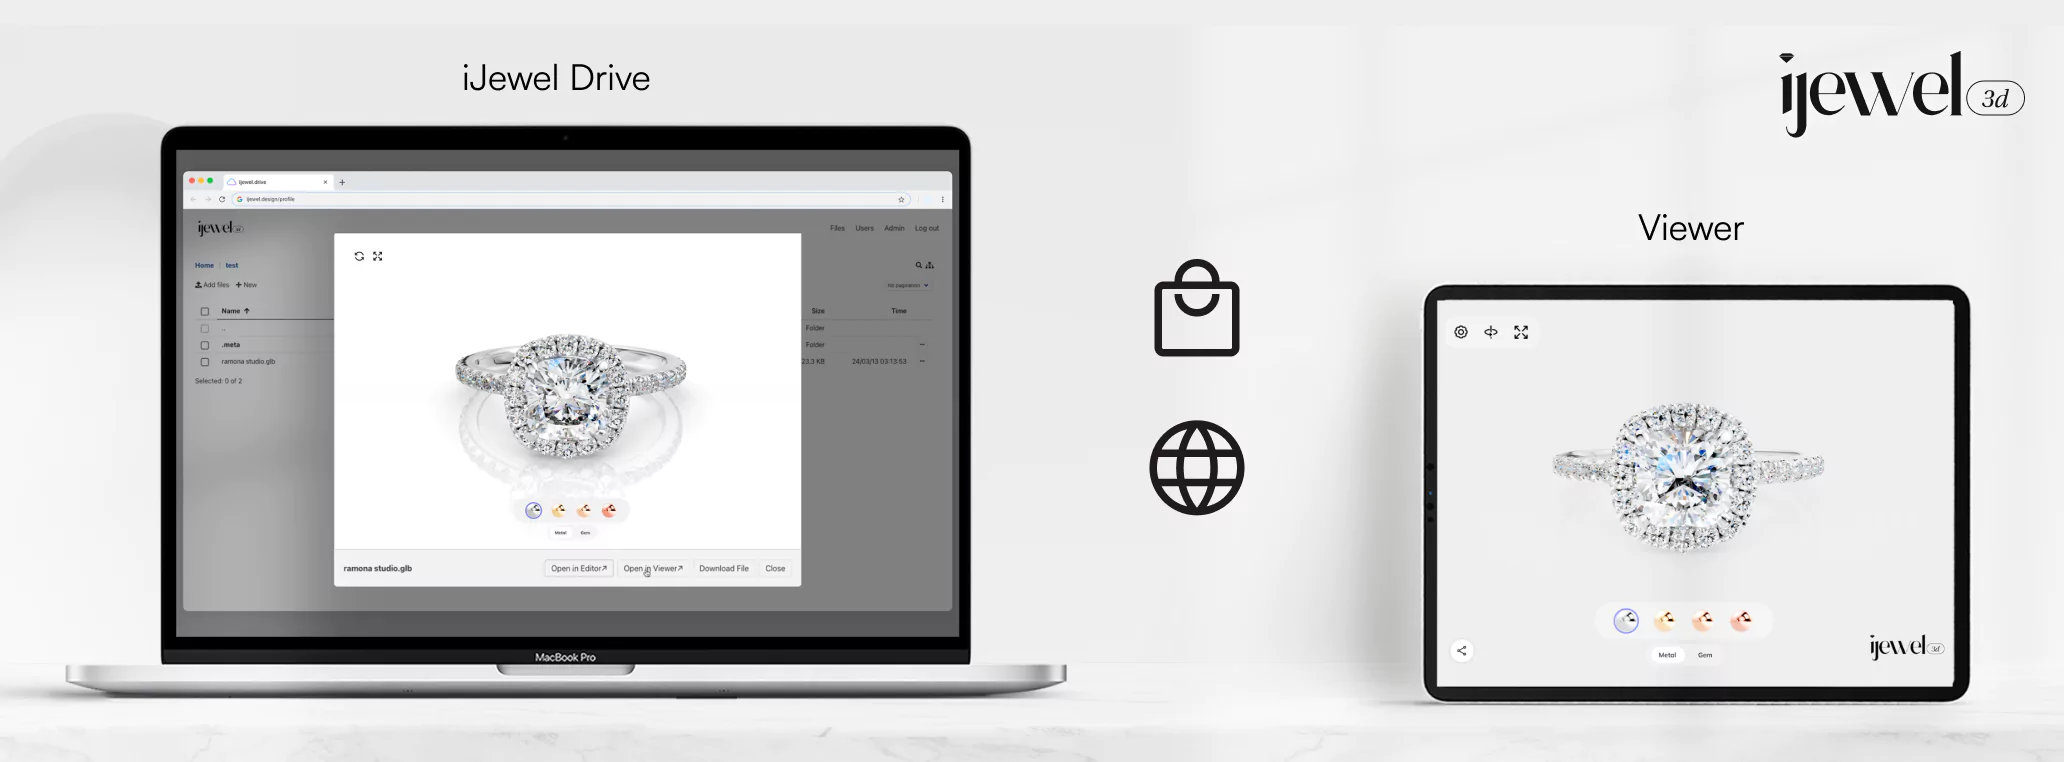
Docs for old iJewel Drive
The documentation for iJewel Drive instances created before March 2025 is available here.
Choose an integration method
| Requirement | Recommended method |
|---|---|
| Add a self-contained viewer with minimal code | Iframe embed |
| Select public models by a product tag or file name | Tag or name iframe embed |
| Control the viewer from your page or application | Mini Viewer SDK |
Option 1: Iframe embed
An iframe is the quickest way to add a model with its configured viewer settings. Replace {MODEL_ID} with the model's iJewel Drive file ID.
<iframe
  src="https://ijewel3d.com/drive/files/{MODEL_ID}/embedded"
  title="Interactive 3D product viewer"
  loading="lazy"
  allow="autoplay; fullscreen; xr-spatial-tracking; web-share"
  allowfullscreen
  style="width: 100%; min-height: 420px; aspect-ratio: 16 / 9; border: 0;"
></iframe>
The base URL in the example is for the standard iJewel3D instance. Enterprise customers must use their instance URL.
TIP
For more control over the embedded viewer's appearance, open the model in the editor, select the Embed (</>) tool, choose the available branding and control settings, preview the viewer, and copy the generated iframe. See Create an iJewel Viewer Embed for the complete flow.
Option 2: Embed by tag or name
Use this method when your website identifies products by a stable tag or file name. The viewer resolves the matching public file.
Tag and name embeds do not send an authentication token. The selected file must be public.
Prepare the file and scope
- Open the folder that contains the model in iJewel3D.
- Make sure that the model file is public.
- For a tag embed, right-click the model and select Edit Tags.
- Add a unique product tag, such as
pid-12345. - Copy the folder ID from the address bar.
The folder URL has the format https://ijewel3d.com/drive/folders/FOLDER_ID. Copy the value after /folders/.
Use a folder ID that contains only one matching public file. The lookup returns the first matching file in that folder tree.
Embed by tag
Replace {TAG} and {FOLDER_ID} in this example:
<iframe
src="https://ijewel3d.com/drive/files/embedded?tag={TAG}&scope={FOLDER_ID}"
title="Interactive 3D product viewer"
loading="lazy"
allow="autoplay; fullscreen; xr-spatial-tracking; web-share"
allowfullscreen
style="width: 100%; min-height: 420px; aspect-ratio: 16 / 9; border: 0;"
></iframe>For example, a product tagged pid-12345 can use this URL:
https://ijewel3d.com/drive/files/embedded?tag=pid-12345&scope=FOLDER_IDEmbed by name
Use the exact file name, including its extension. Replace {FILE_NAME} and {FOLDER_ID} in this example:
<iframe
src="https://ijewel3d.com/drive/files/embedded?name={FILE_NAME}&scope={FOLDER_ID}"
title="Interactive 3D product viewer"
loading="lazy"
allow="autoplay; fullscreen; xr-spatial-tracking; web-share"
allowfullscreen
style="width: 100%; min-height: 420px; aspect-ratio: 16 / 9; border: 0;"
></iframe>For example, a file named wedding-ring.glb can use this URL:
https://ijewel3d.com/drive/files/embedded?name=wedding-ring.glb&scope=FOLDER_IDYou can add material parameters after scope. For example, add &Metal=Gold to select the Gold variation.
Option 3: Mini Viewer SDK
Use the Mini Viewer SDK when your page needs to control the viewer, respond to viewer events, or coordinate it with other UI.
- Standard iJewel Drive users should keep the basename as
drive. - Enterprise customers should use the basename supplied by iJewel3D.
- Give the viewer container an explicit width and height.
- See Connect to iJewel Drive for the complete API.
<!DOCTYPE html>
<html lang="en">

<head>
  <meta charset="UTF-8">
  <meta name="viewport" content="width=device-width, initial-scale=1.0" />
  <title>iJewel3D Viewer</title>
</head>

<body>
  <div id="root"></div>
  <script src="https://releases.ijewel3d.com/libs/webgi-v0/bundle-0.22.0.js"></script>
  <script src="https://releases.ijewel3d.com/libs/mini-viewer/0.6.17/bundle.nowebgi.iife.js"></script>
  <script>
    const basename = "drive";
    const modelId = "{MODEL_ID}";

    ijewelViewer.loadModelById(
      modelId,
      basename,
      document.getElementById("root"),
      {
        showCard: true,
        brandingSettings: {
          enable: true,
        },
      },
    );

  </script>
  <style>
    #root {
      width: 100vw;
      height: 100dvh;
    }
  </style>
</body>

</html>
Domain authorization
Iframe embeds from Options 1 and 2 generally work without authorizing every destination domain.
The Mini Viewer SDK requires each hosting domain to be authorized by iJewel3D. See Host and domain setup.
Find the model ID
Option 1 and ID-based SDK calls require the model's unique Model ID, also called its File ID:
- Open your iJewel Drive and find the model.
- Right-click the model and select Share.
- Find the viewer link, which has a format similar to
https://.../files/MODEL_ID/view. - Copy the value between
/files/and/view.
Applying Materials via URL
Apply specific materials automatically when the viewer loads by adding parameters to the URL. This works for both the iframe src and the direct link.
Use either query parameters (?) or hash parameters (#?). The format is key=value where:
keyis the Layer Name (e.g.,Metal,Gem Stone).valueis the Variation Name (e.g.,White Gold,ruby).
Examples:
https://ijewel3d.com/drive/files/{MODEL_ID}/embedded?Metal=Goldhttps://ijewel3d.com/drive/files/{MODEL_ID}/embedded#?Band=Rose-Gold&Gem=Rubyhttps://ijewel3d.com/drive/files/embedded?tag=pid-12345&scope=FOLDER_ID&Metal=Goldhttps://ijewel.design/embedded?slug=d8c22bf&Metal=Gold
Finding Layer and Option Names
To find the correct names to use in the URL:
- Layer Name is the left side (key) of query parameter. It is same as the tab's name at the bottom of the configurator. Right click on the name at the bottom of the editor and select
Edit.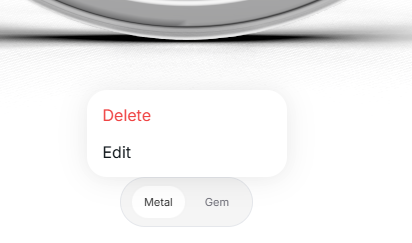
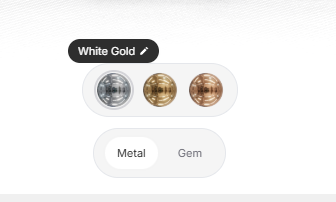
- For variation names, hovering over the variation icon will show the variation name with an edit icon next to it, click on the edit icon to edit the variation name.
TIP
Use #? to apply materials via URL in runtime without the need to reload the page. e.g. https://ijewel3d.com/drive/files/{MODEL_ID}/embedded#?Band=Rose-Gold&Gem=Ruby
Alternatively, this can be used to implement custom UI for the material configurator:
<button onclick="setMaterial('Metal', 'White-Gold')">Apply Material</button>
<script>
    const iframe = document.getElementById('viewer-frame');

    function setMaterial(layer, name) {
        const url = new URL(iframe.src)
        url.hash = `?${layer}=${name}`
        iframe.src = url.toString()
    }
</script>
Host and domain setup
For the Mini Viewer SDK, add the hosting domain in iJewel3D Platform:
- Host the HTML and JavaScript code on your website server.
- Open Settings → Domains.
- Select Add Domain.
- Enter the production hostname, such as
www.example.com. - Under Domain Type, select Self-Hosted Domain.
- Select Add Domain.
Enter only the hostname. Do not include https://, a port, or a page path.