Ground
The Ground section controls the floor plane beneath your model. It is responsible for the surface your jewelry sits on, the shadow it casts, and how the ground blends with the background. One of the most important features here is the ability to disable the ground entirely — if you want your object to appear floating in space, simply uncheck the Visible checkbox.
Where to Find It
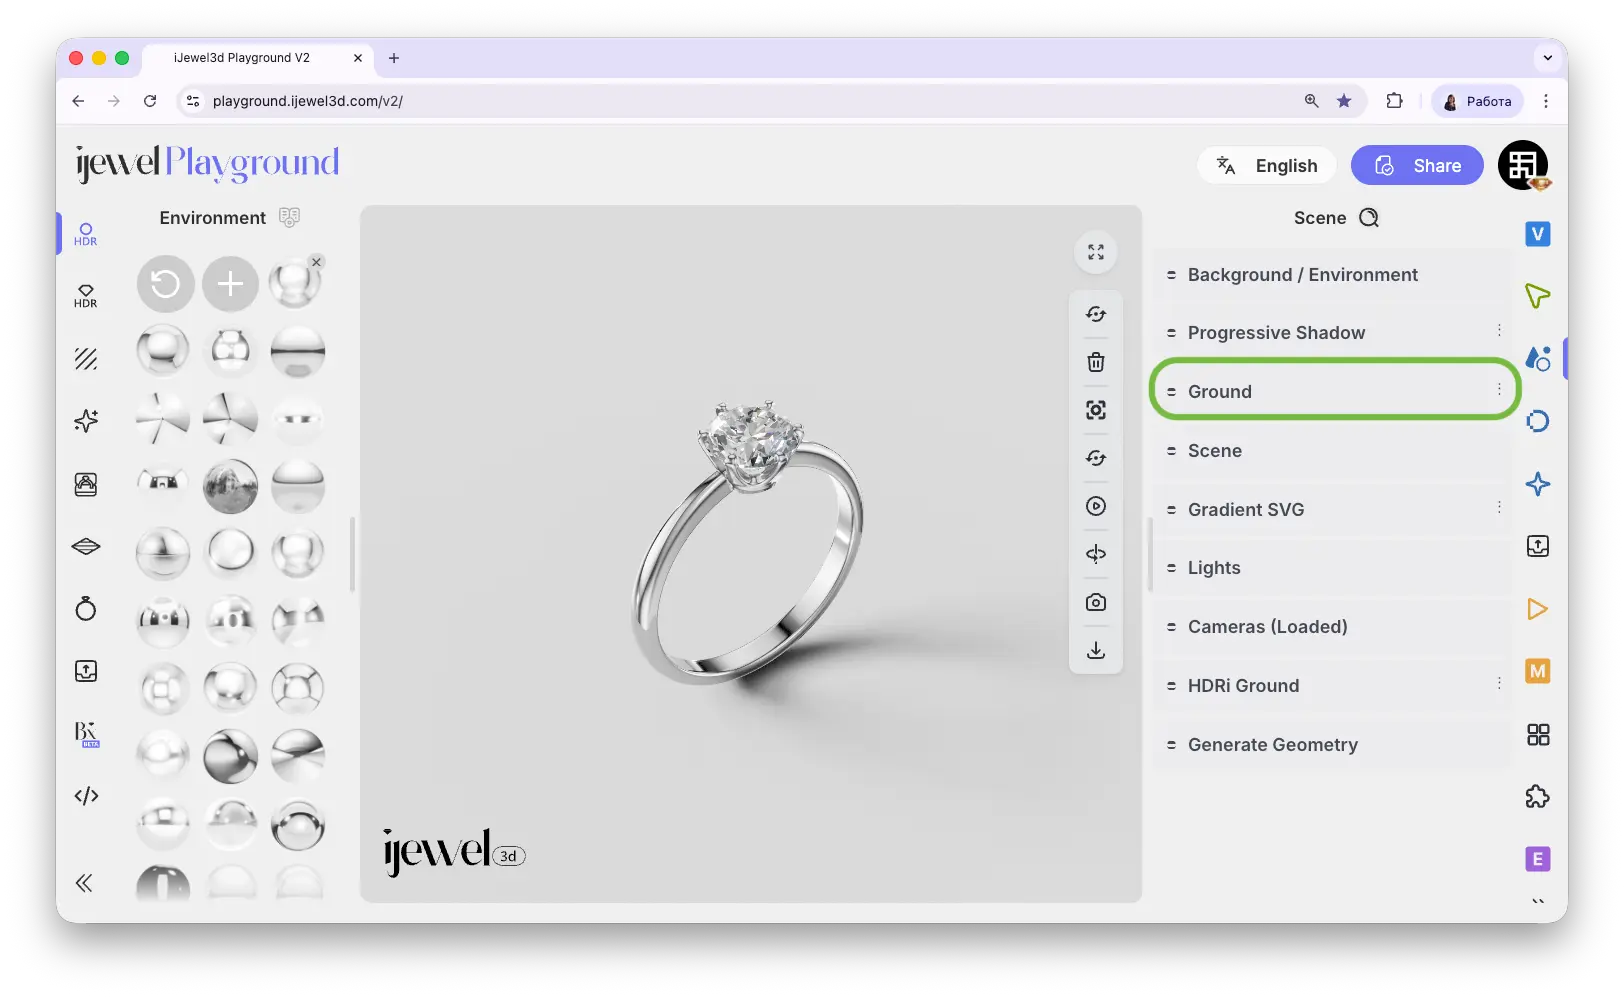
This section is located on the right panel, inside the ![]() Scene tab, in the Ground section (the third section from the top).
Scene tab, in the Ground section (the third section from the top).
Visible
Check or uncheck the Visible checkbox to show or hide the ground plane. When disabled, the model appears to float — useful for pendants, earrings, or any jewelry that should look suspended rather than resting on a surface.
Ground Settings
Height
The Height slider raises or lowers the ground plane relative to the model. This is one of the most frequently used ground settings — it lets you fine-tune exactly where the floor sits in relation to your jewelry. Lower the ground to create a subtle levitation effect where the model appears to hover slightly above the surface, or raise it to align the floor with a specific part of the model. Small adjustments to height can make a big difference in the overall look of your render.
Randomized Light
This subsection controls the directional light that creates the shadow cast onto the ground plane. By adjusting these settings you can fine-tune the shadow's appearance, direction, and softness.
Physical Material
This subsection controls the visual appearance of the ground surface. It uses the same Physical (PBR) Material as regular 3D objects, with all the same properties — Color, Roughness, Metalness, Bump, Normal, Sheen, Clear Coat, Emission, and Reflection. For a detailed description of all material properties, see PBR Materials.
Blending
The Blending subsection controls how the ground shadow blends with the scene.
Video Tutorials
Tutorial: How to Change Background & Ground Color
Tutorial: How to Create Custom Shadows
Related Pages
- Scene Settings — Overview of all Scene tab sections
- Progressive Shadow — Additional directional shadow with focus and spread controls
- Background / Environment — Background color, HDRI maps, and environment settings
- UI Overview — Full interface layout including panels
- Export Scene Settings — Export your scene settings including ground configuration