Ring Configurator inside iJewel3D
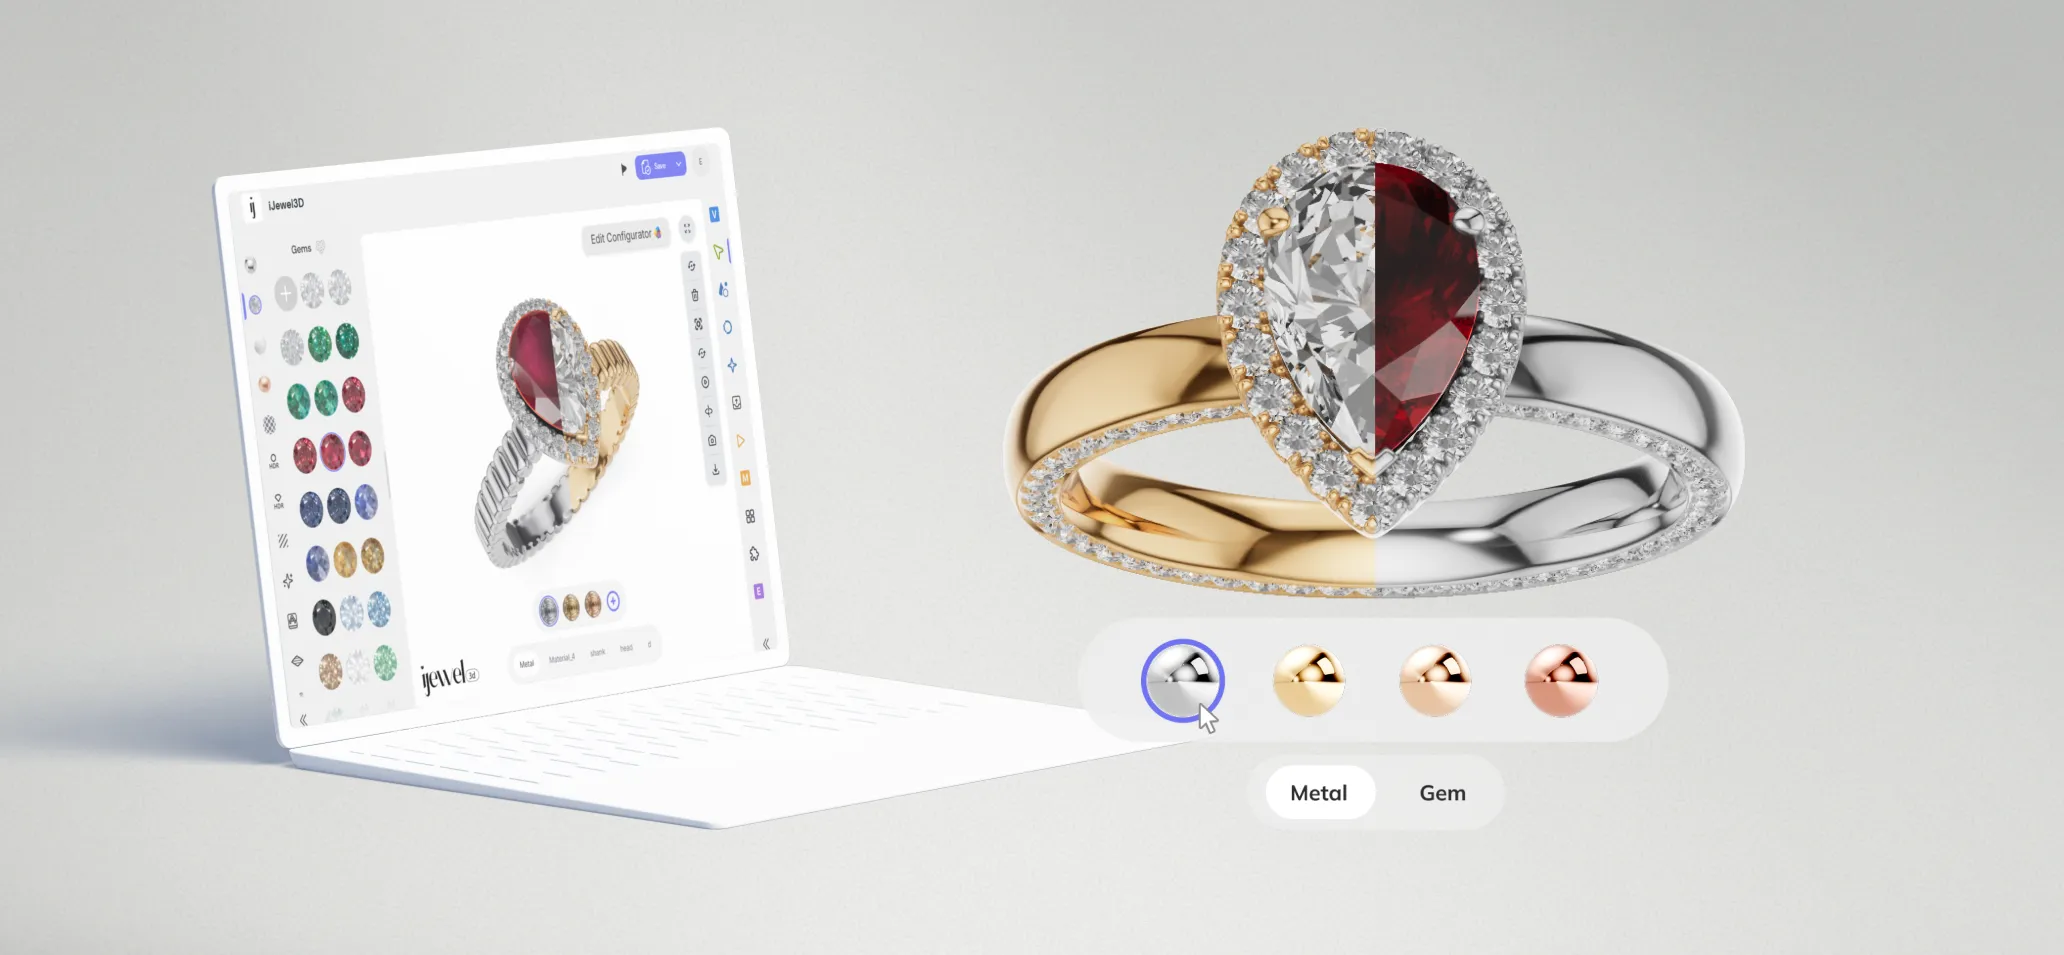
The iJewel3D platform provides an intuitive interface for managing your ring configurator project. Follow these detailed steps to upload your 3D models and configure your Ring Configurator.
Step 1: Access iJewel3D
Log in to iJewel3D platform using your account credentials. If you don't have an account, create one first.
Note
Ring Configurator is available for our Enterprise customers only.
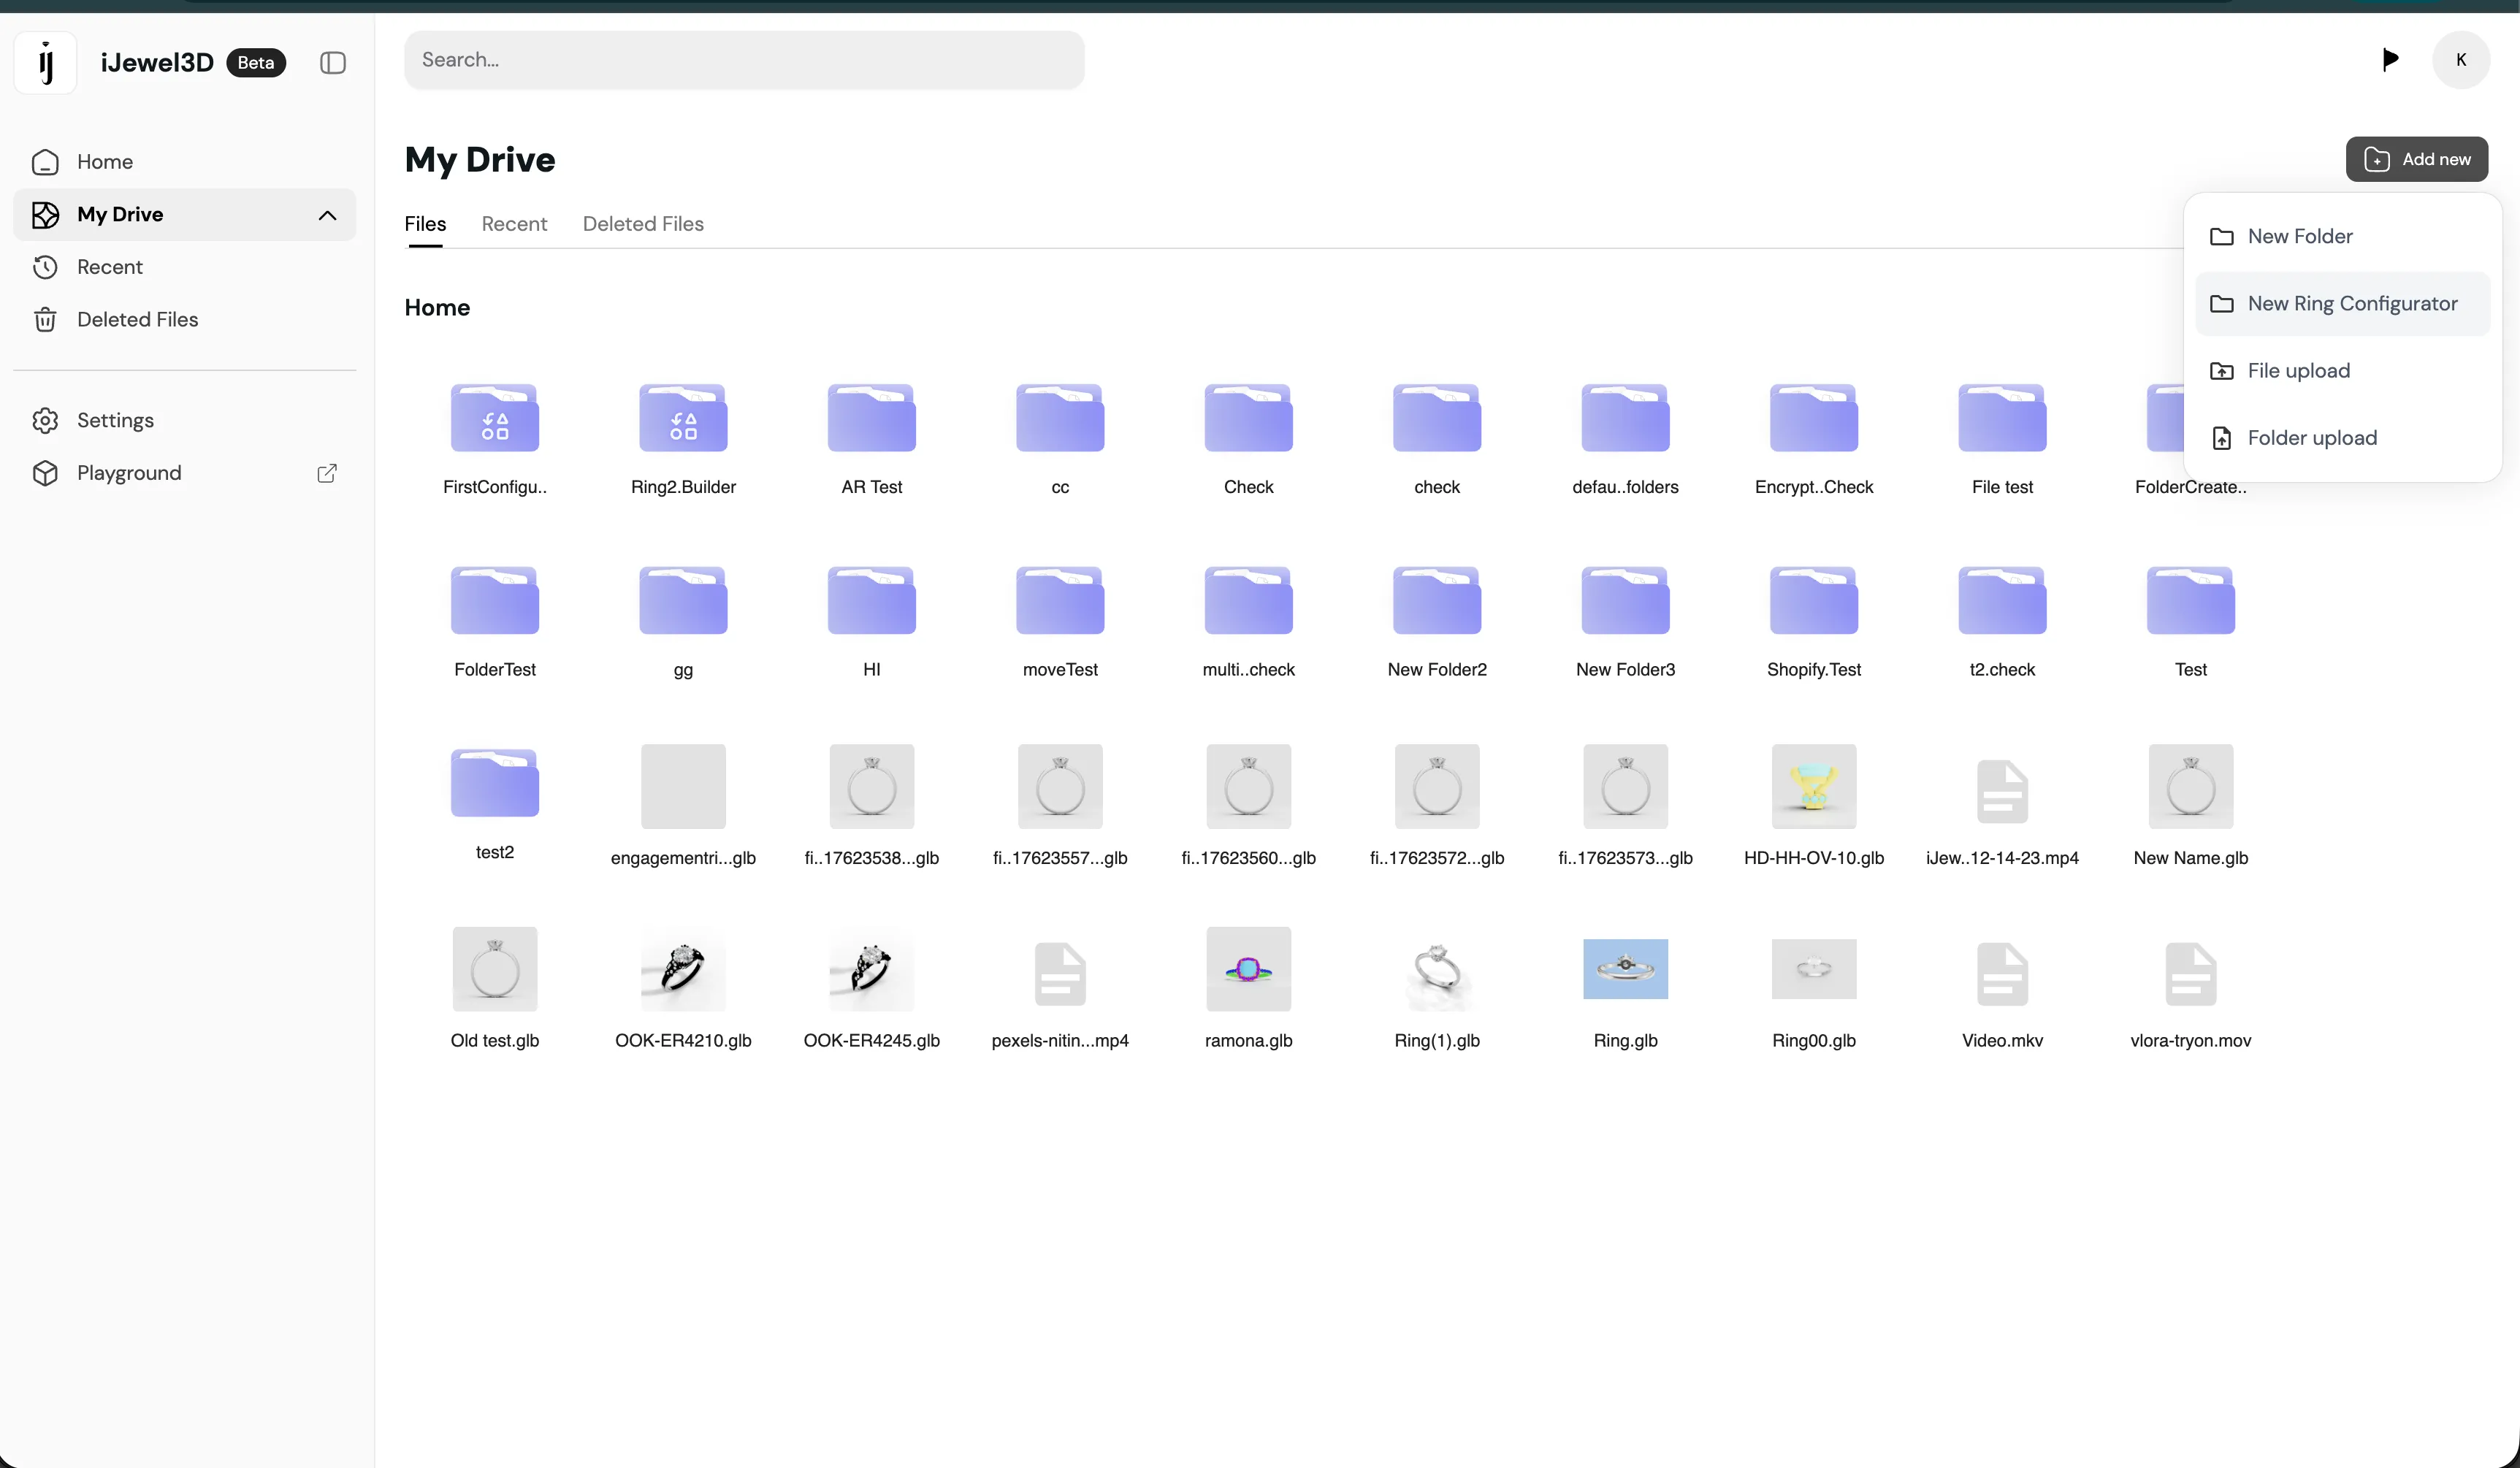
Step 2: Create a New Ring Configurator Project
From the My Files root folder, locate and click the Add New button, then select New Ring Configurator from the dropdown menu.
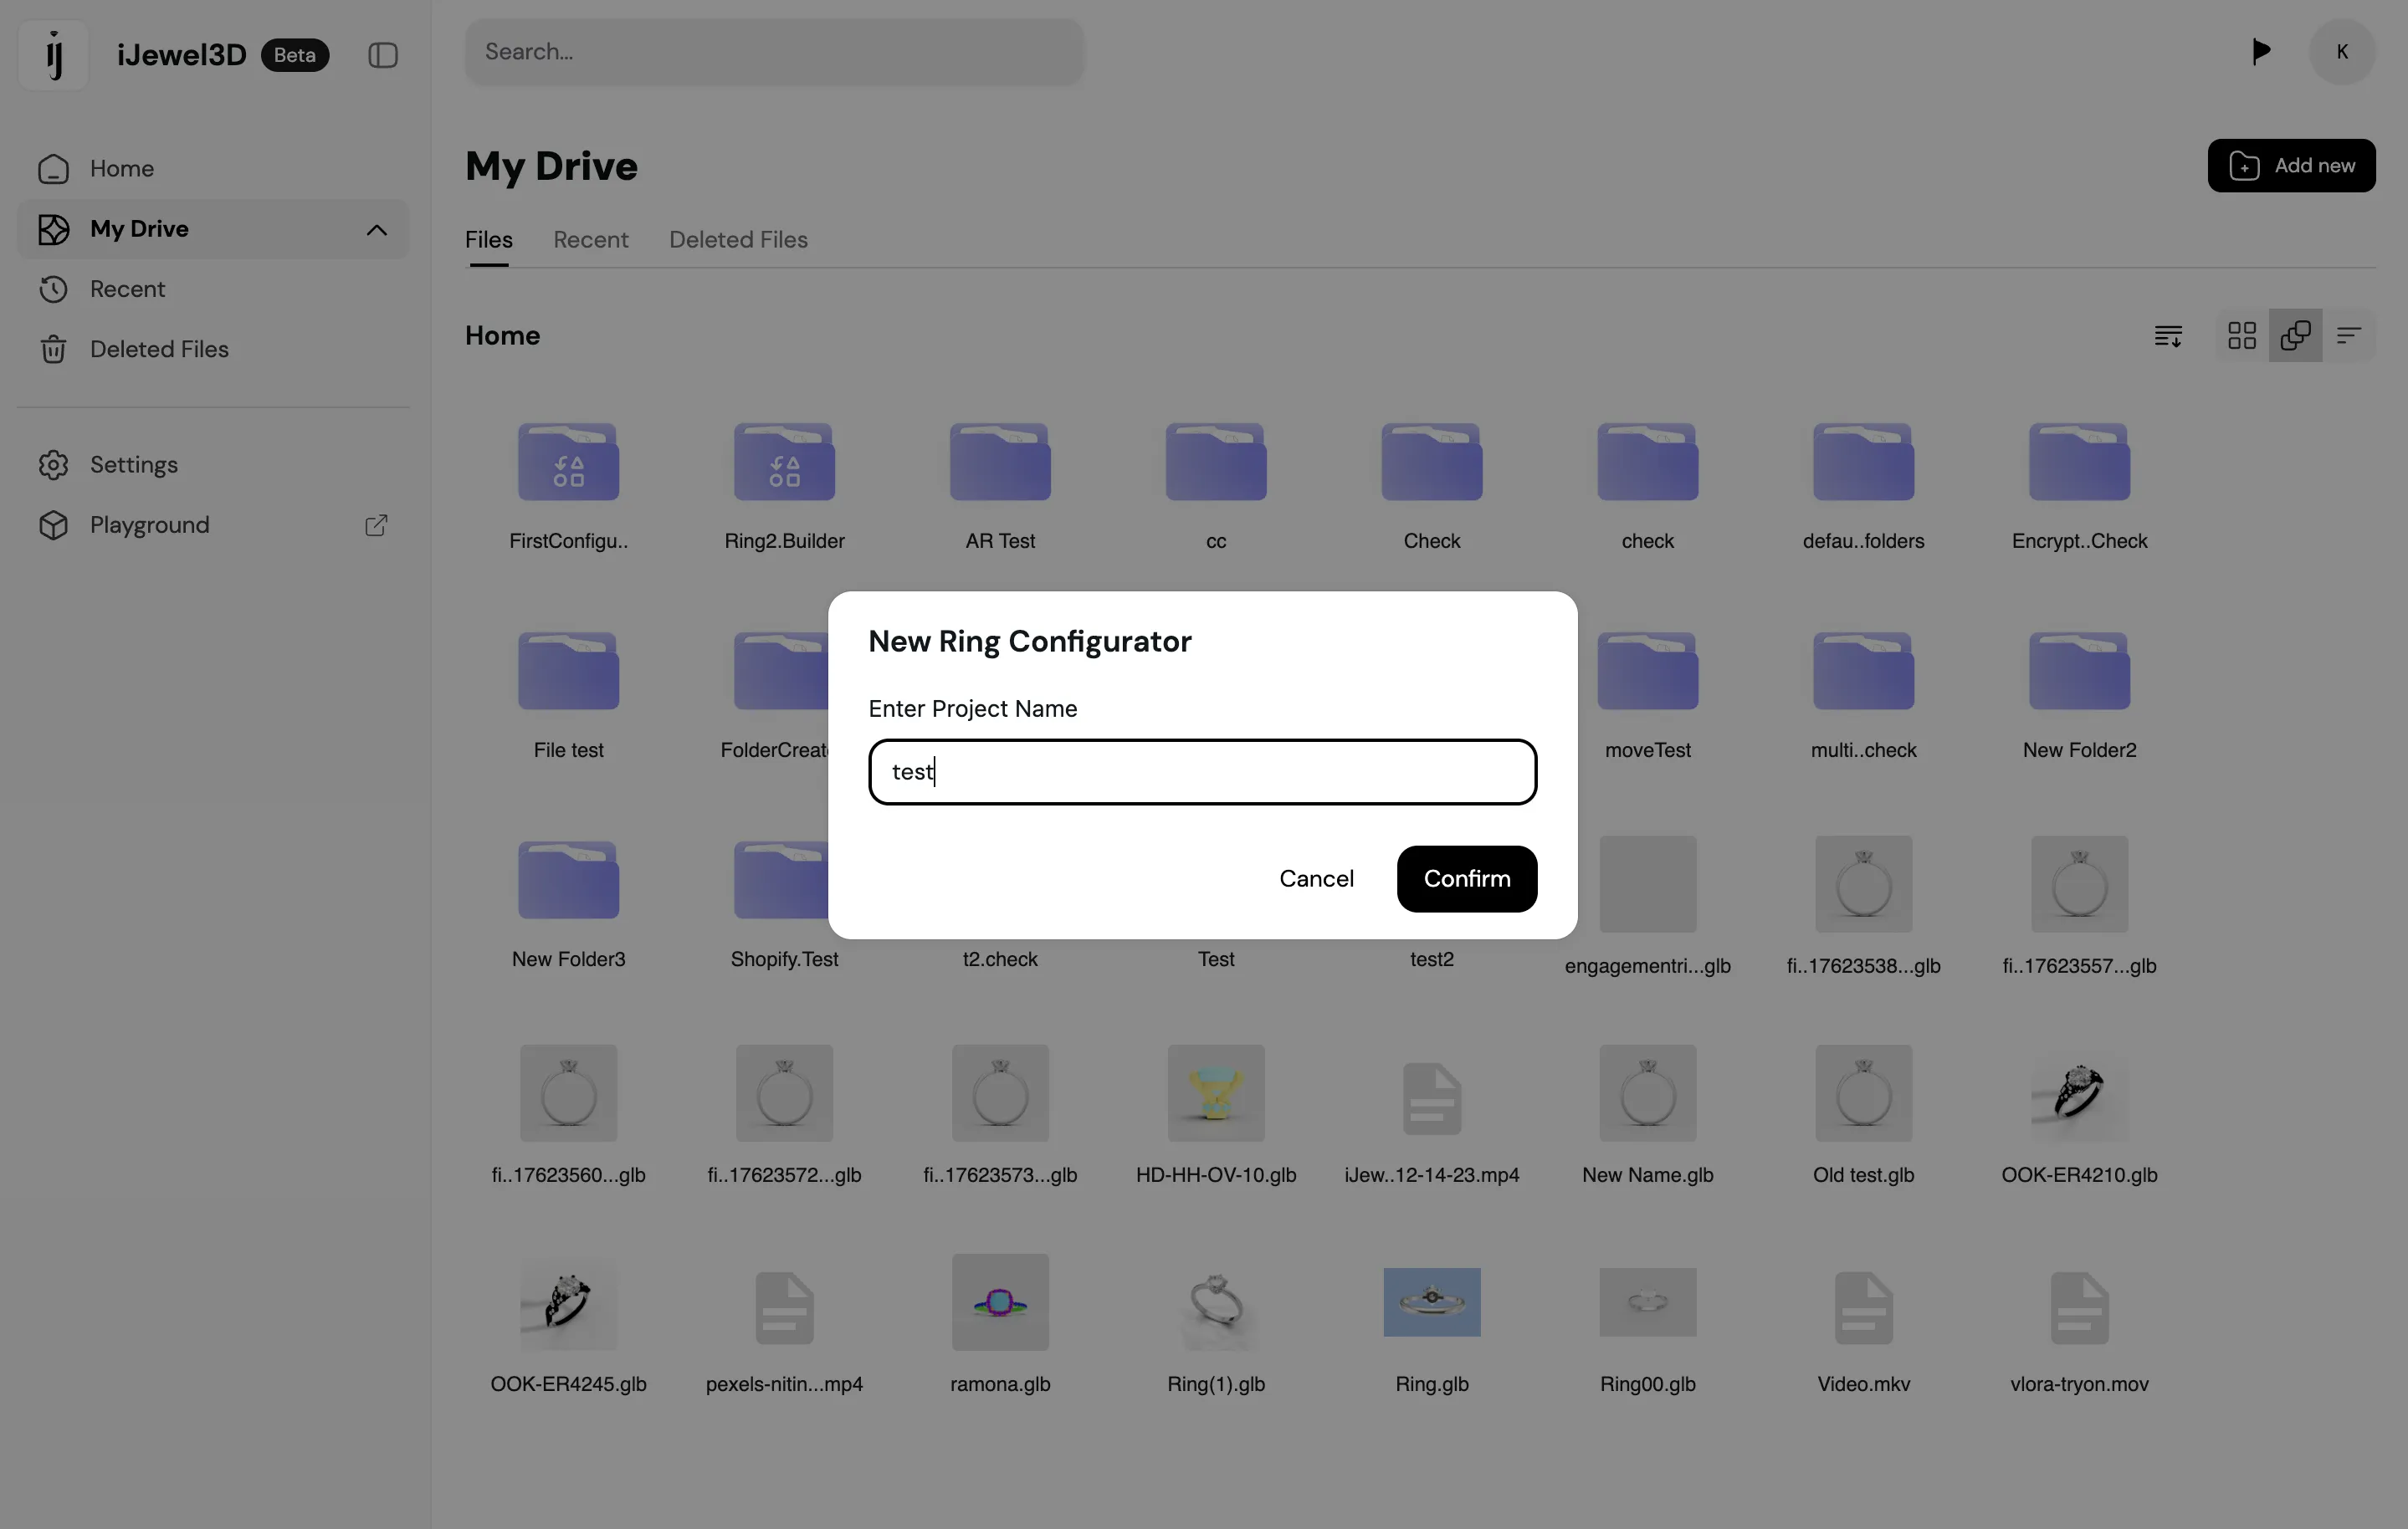
Step 3: Name Your Project
Enter a descriptive name for your configurator project. This name will help you identify and manage the project in your dashboard. Choose a name that reflects the ring collection or product line.
Example project names:
- Solitaire Ring Collection
- Diamond Engagement Rings 2025
- Custom Band Configurator
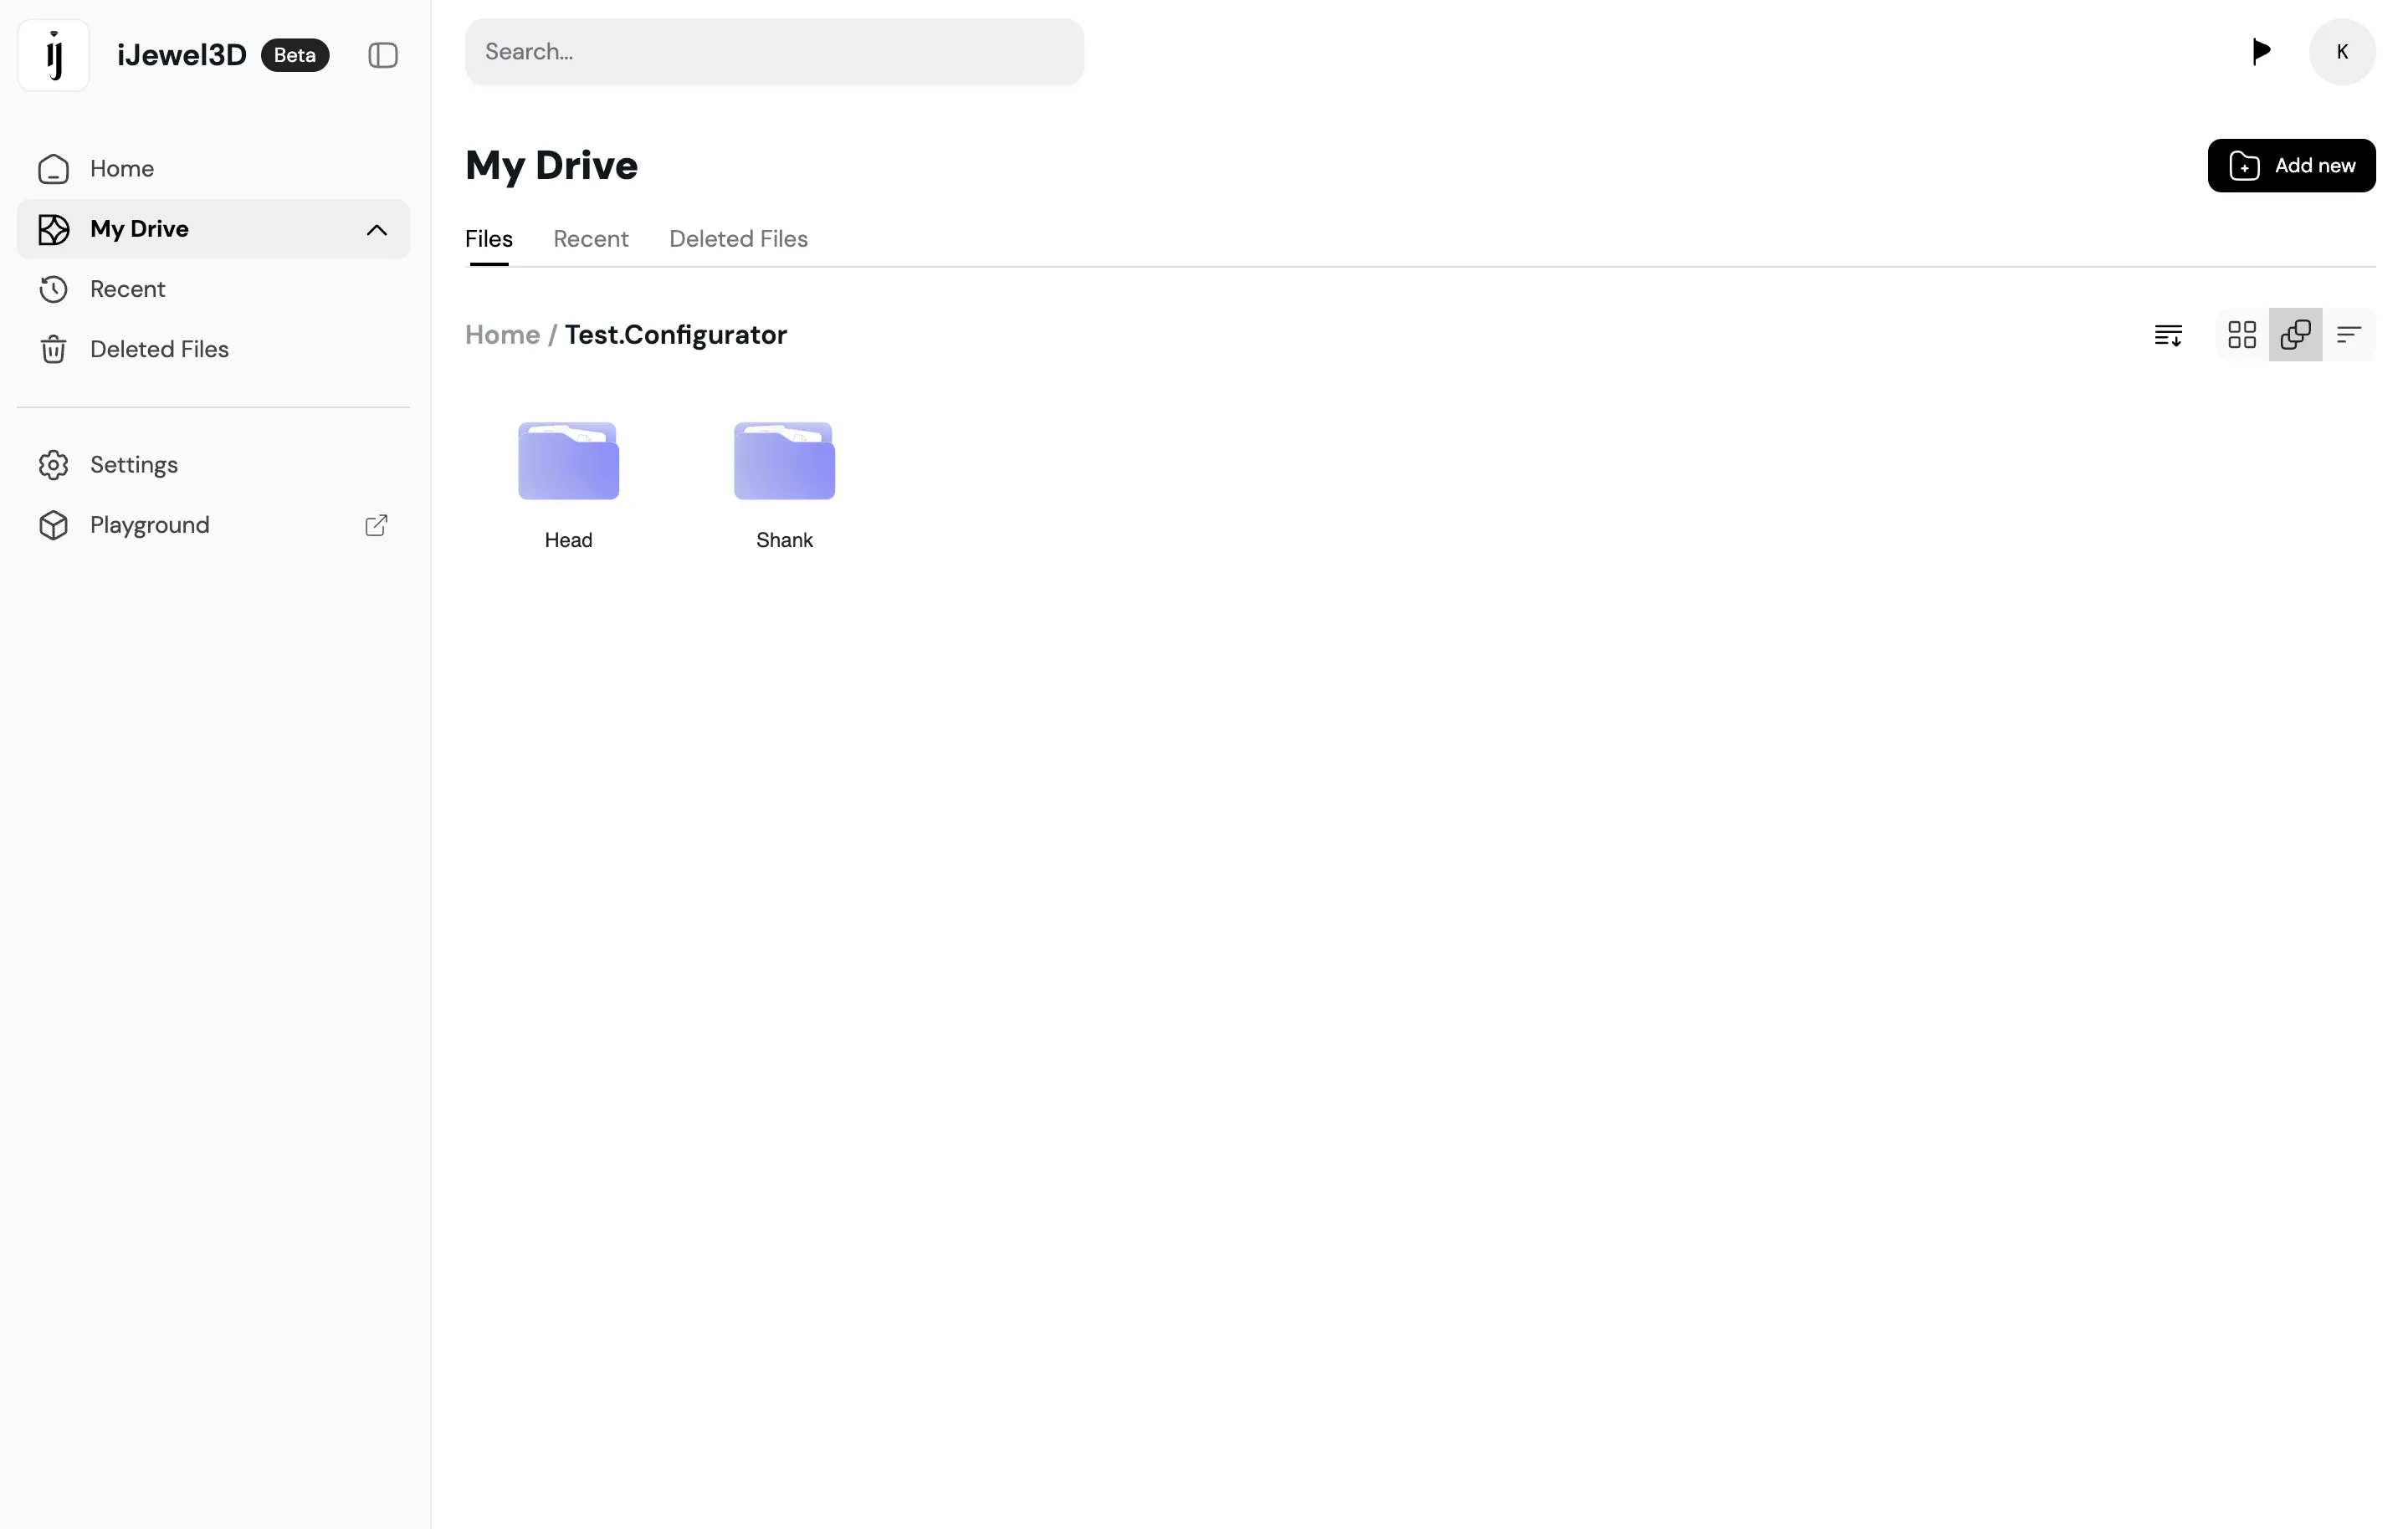
Step 4: Open the Configurator Folder
Double-click on your newly created configurator project to open it. This will display the project's folder structure where you can add and manage ring components.
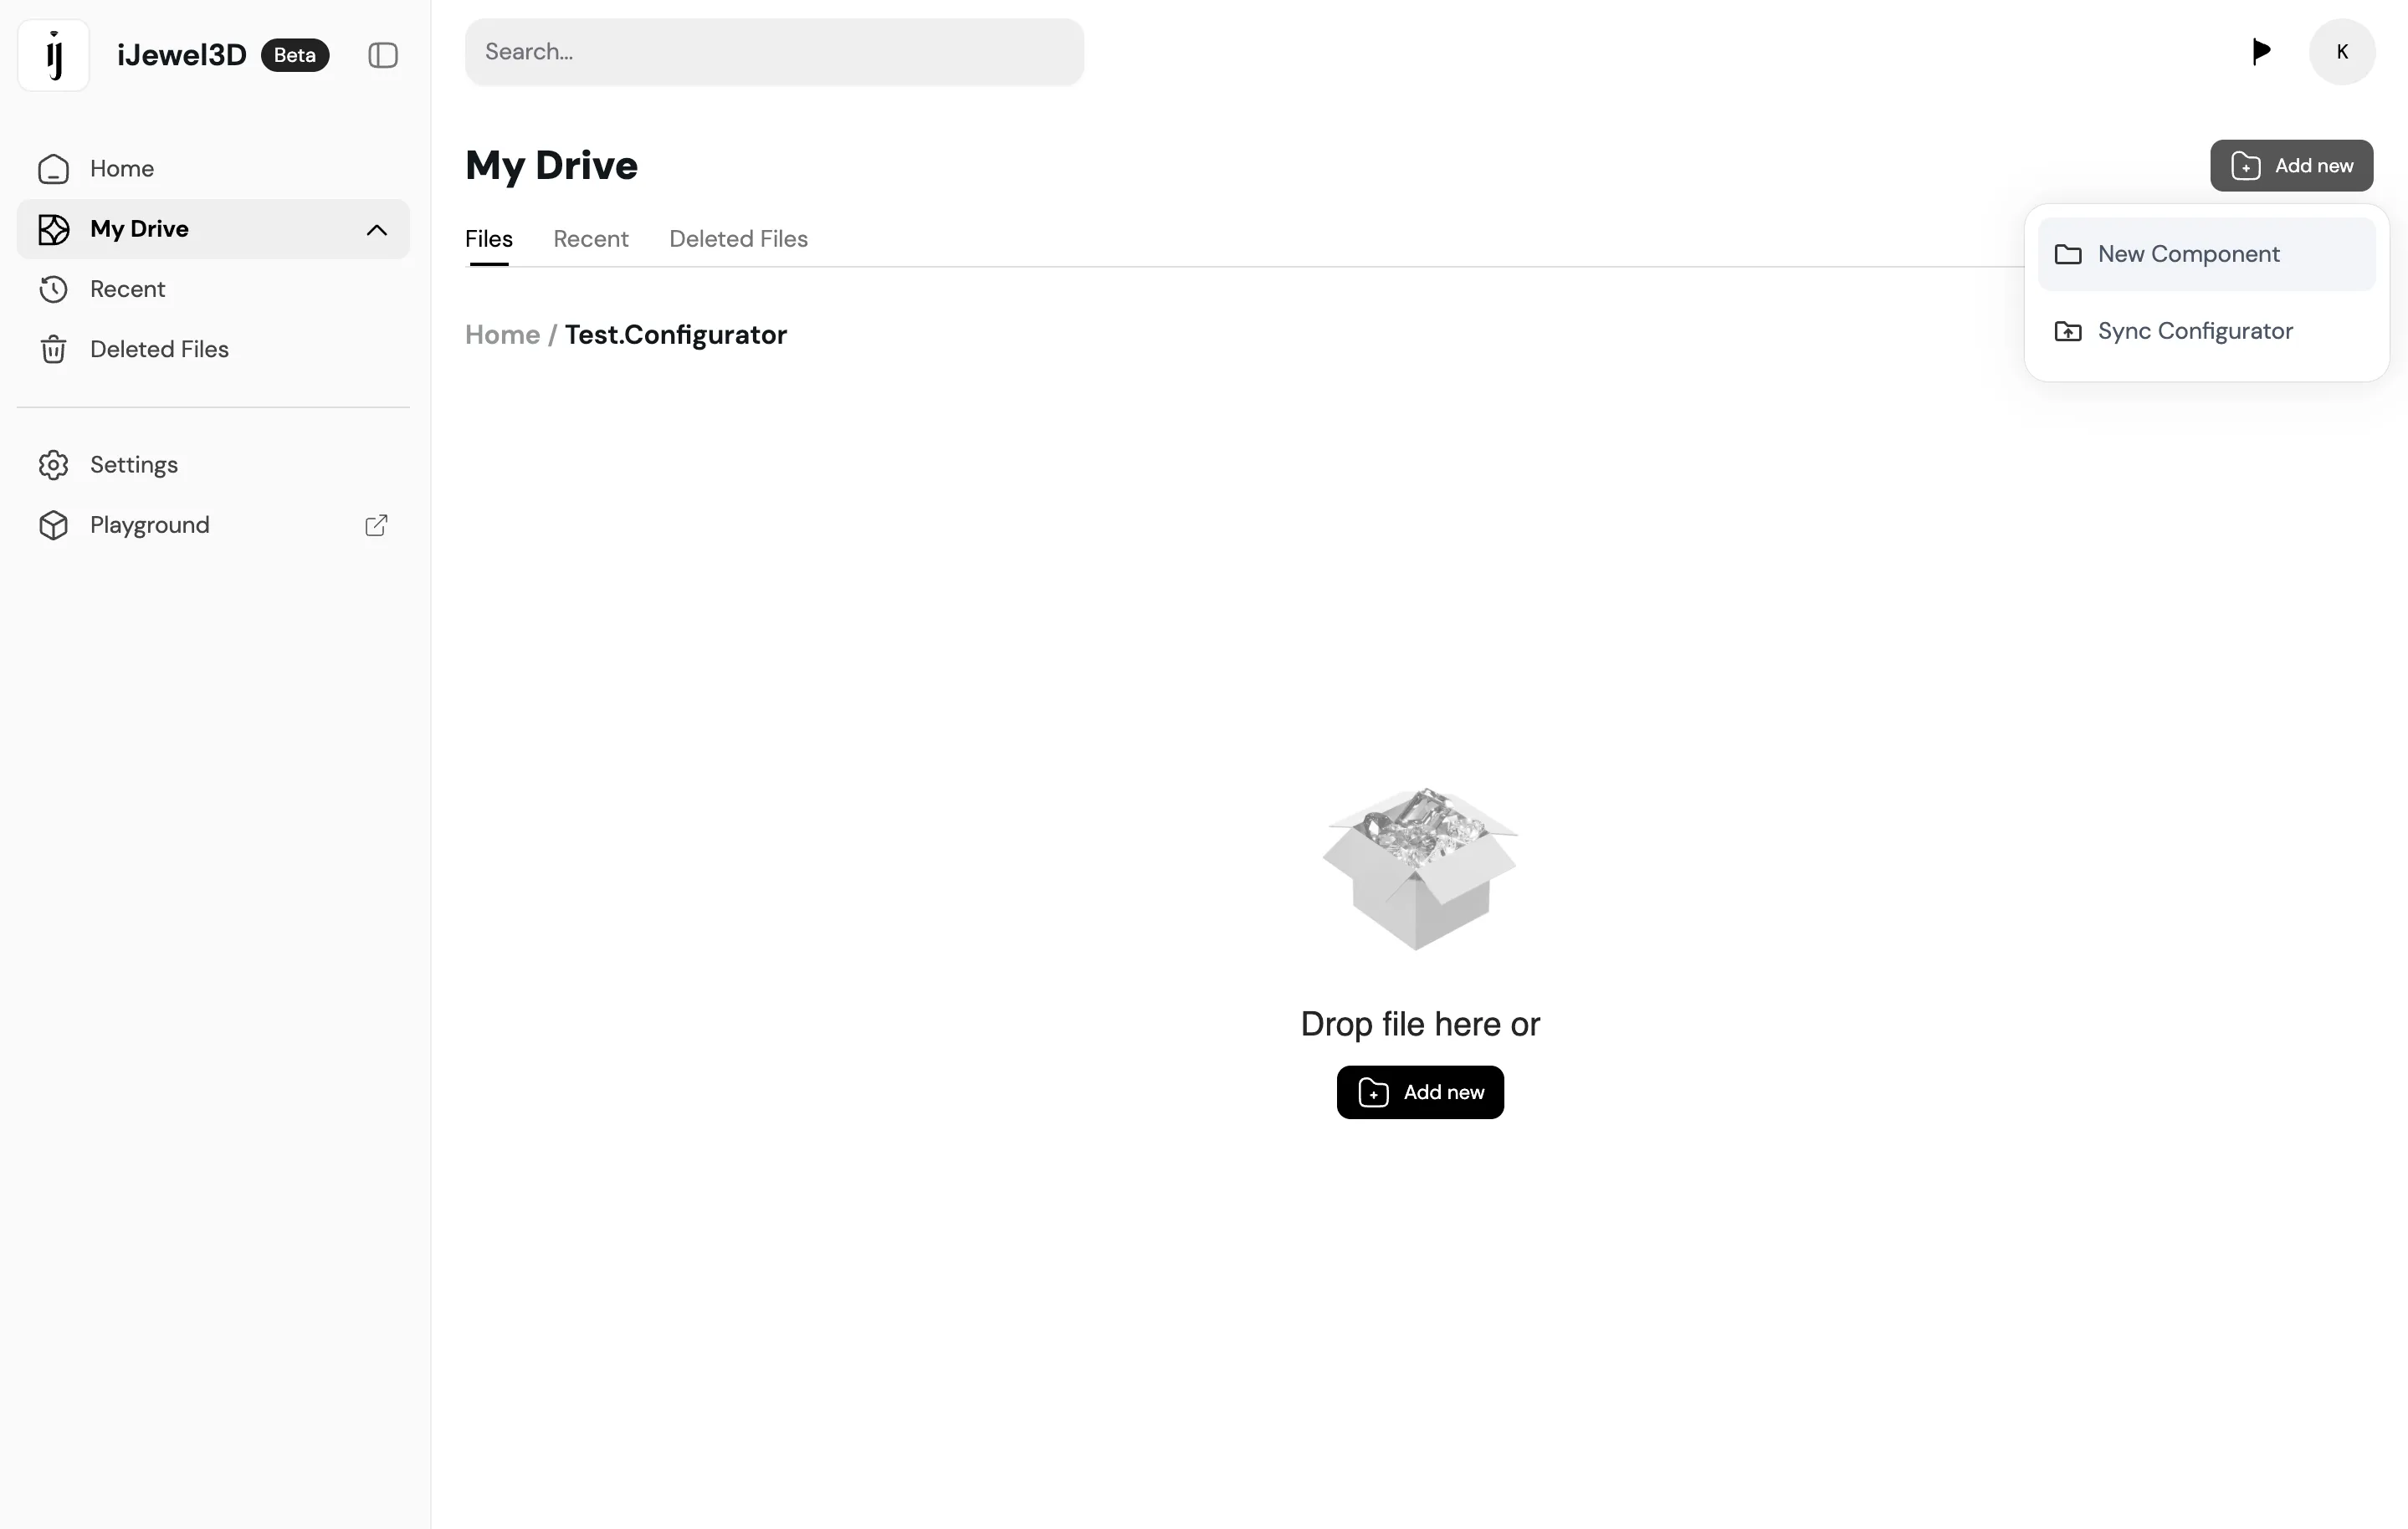
Step 5: Create Component Folders
Create new component folders for each part of your ring design. Common components include:
- Head: The setting that holds the gemstone
- Shank: The band portion of the ring
- Band: Alternative band styles or widths
The folder names you create will appear directly in the configurator UI, so organize and name them carefully to provide a logical user experience.
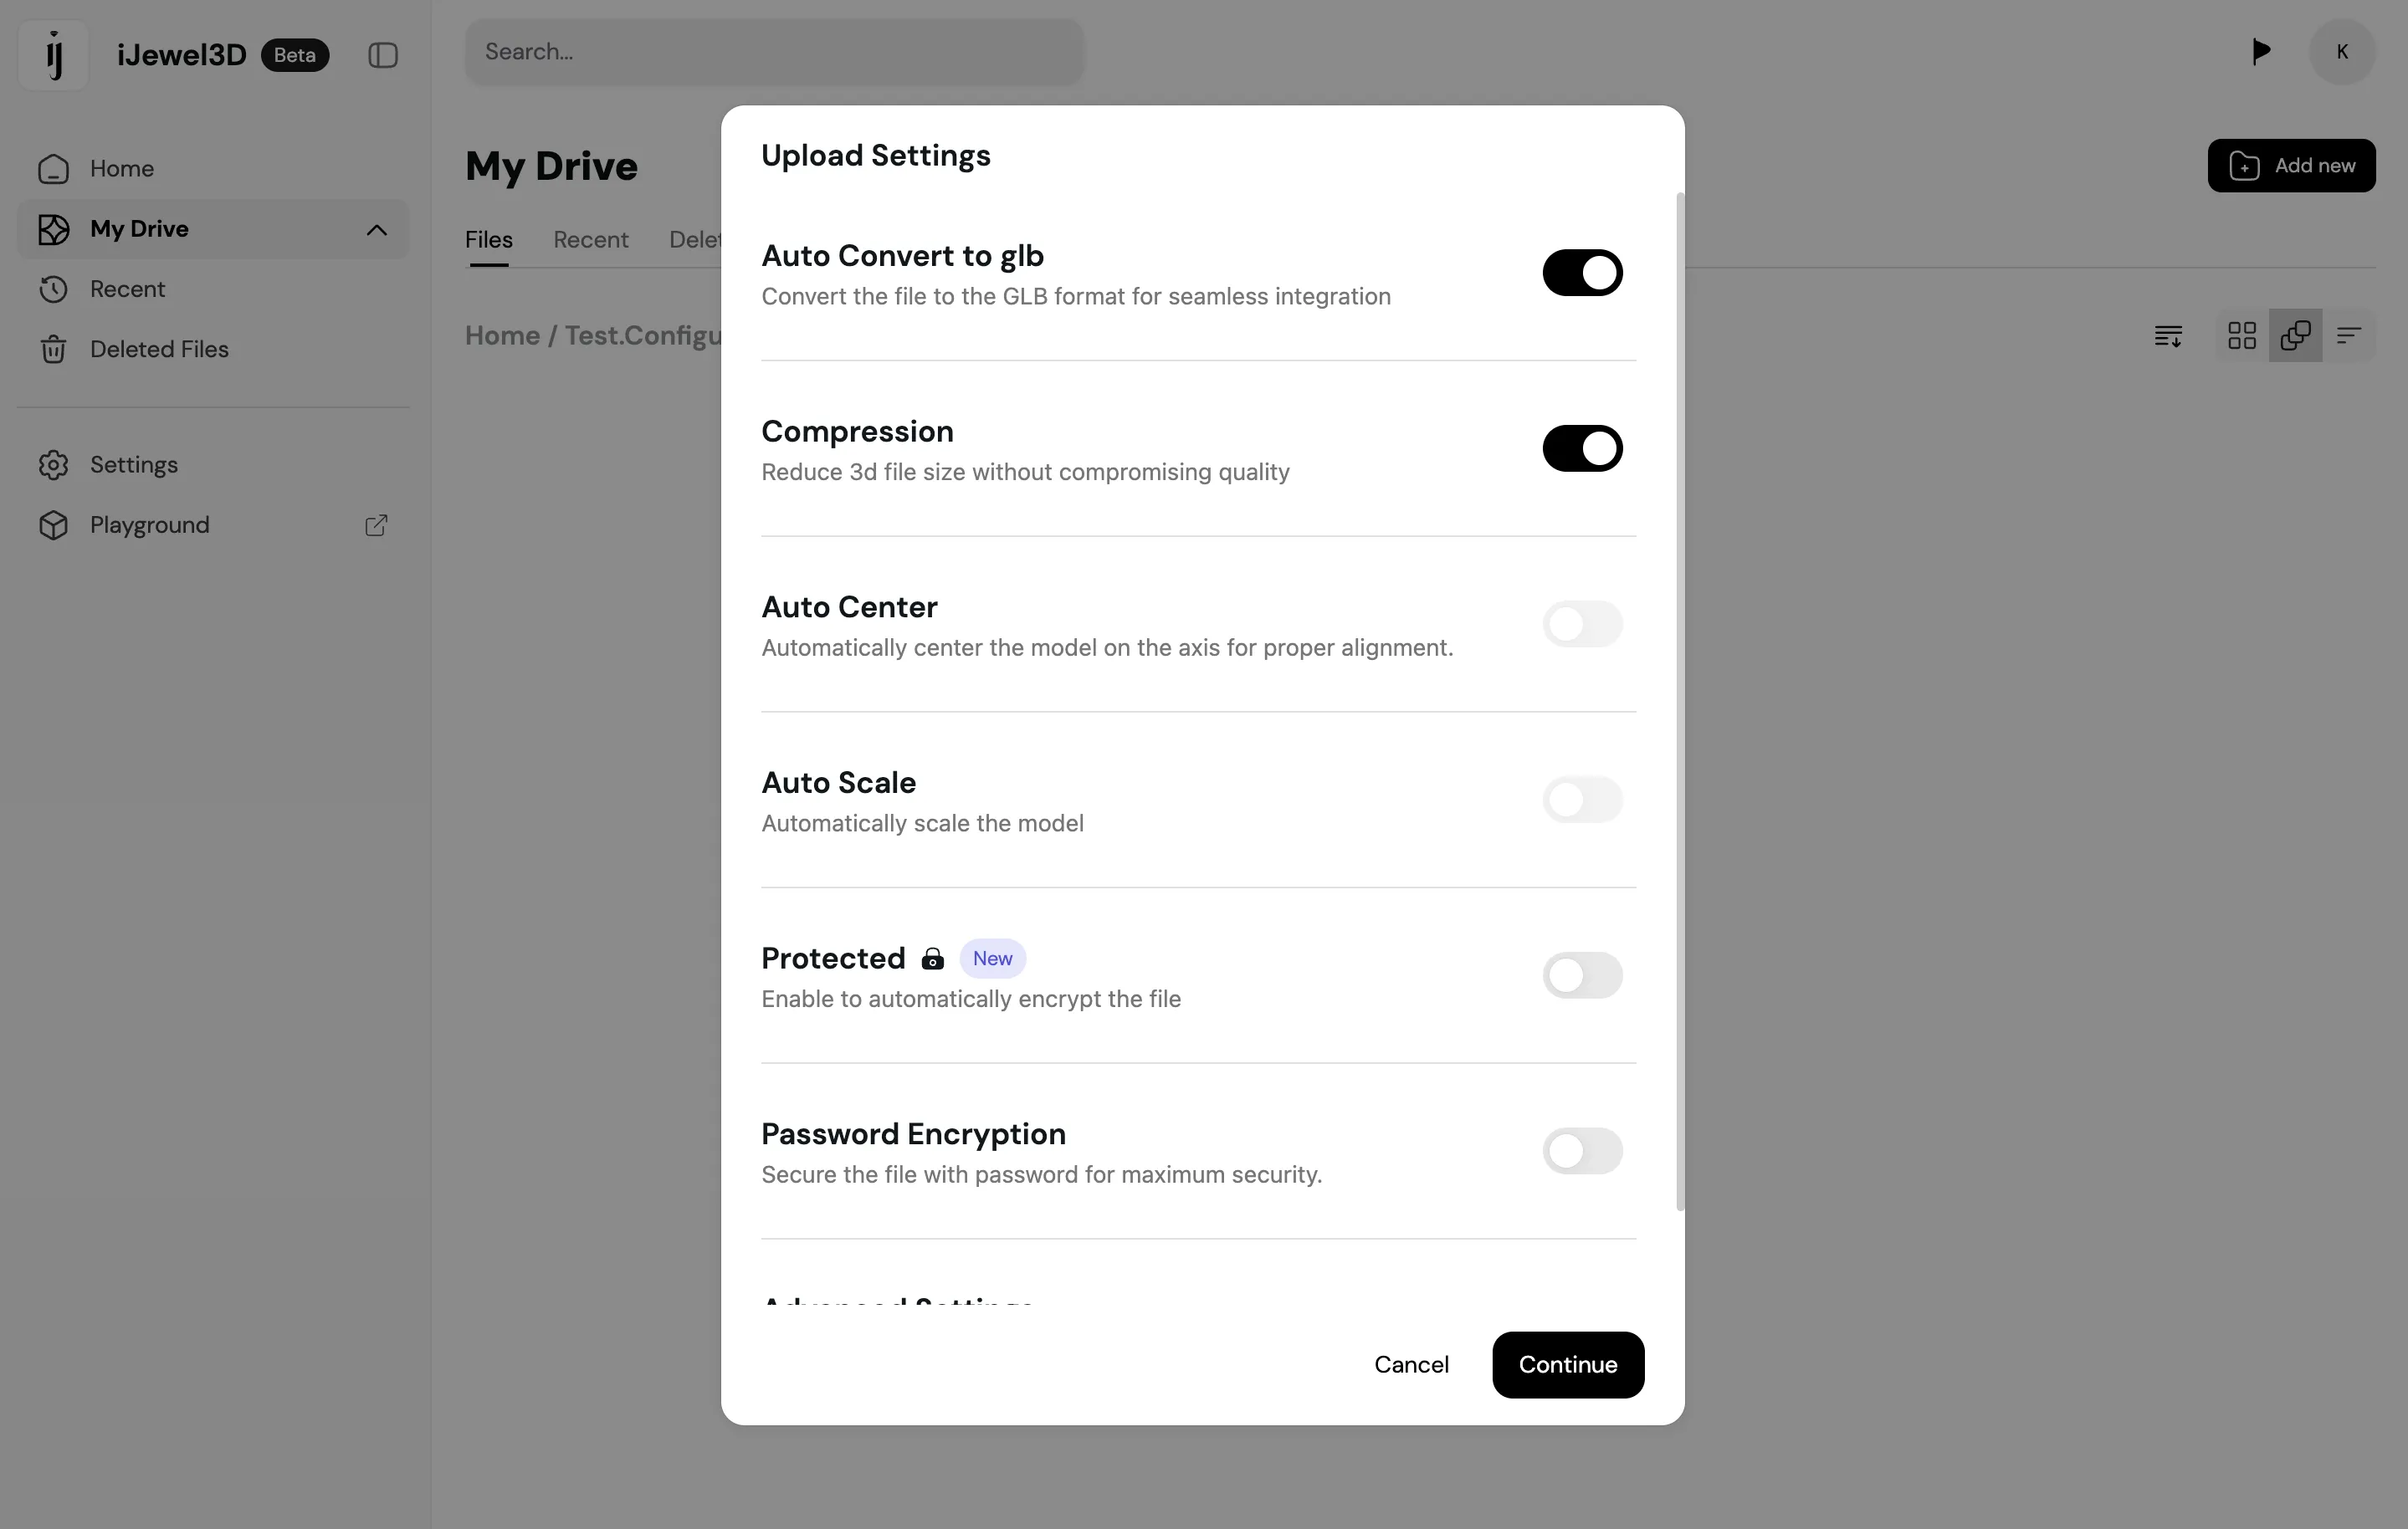
Step 6: Upload Your 3D Files
For each component folder:
- Double-click the component folder to open it
- Click the Upload button
- Select your prepared 3D model files (from Step 1)
- Wait for the upload to complete
Repeat this process for each component and its variations.
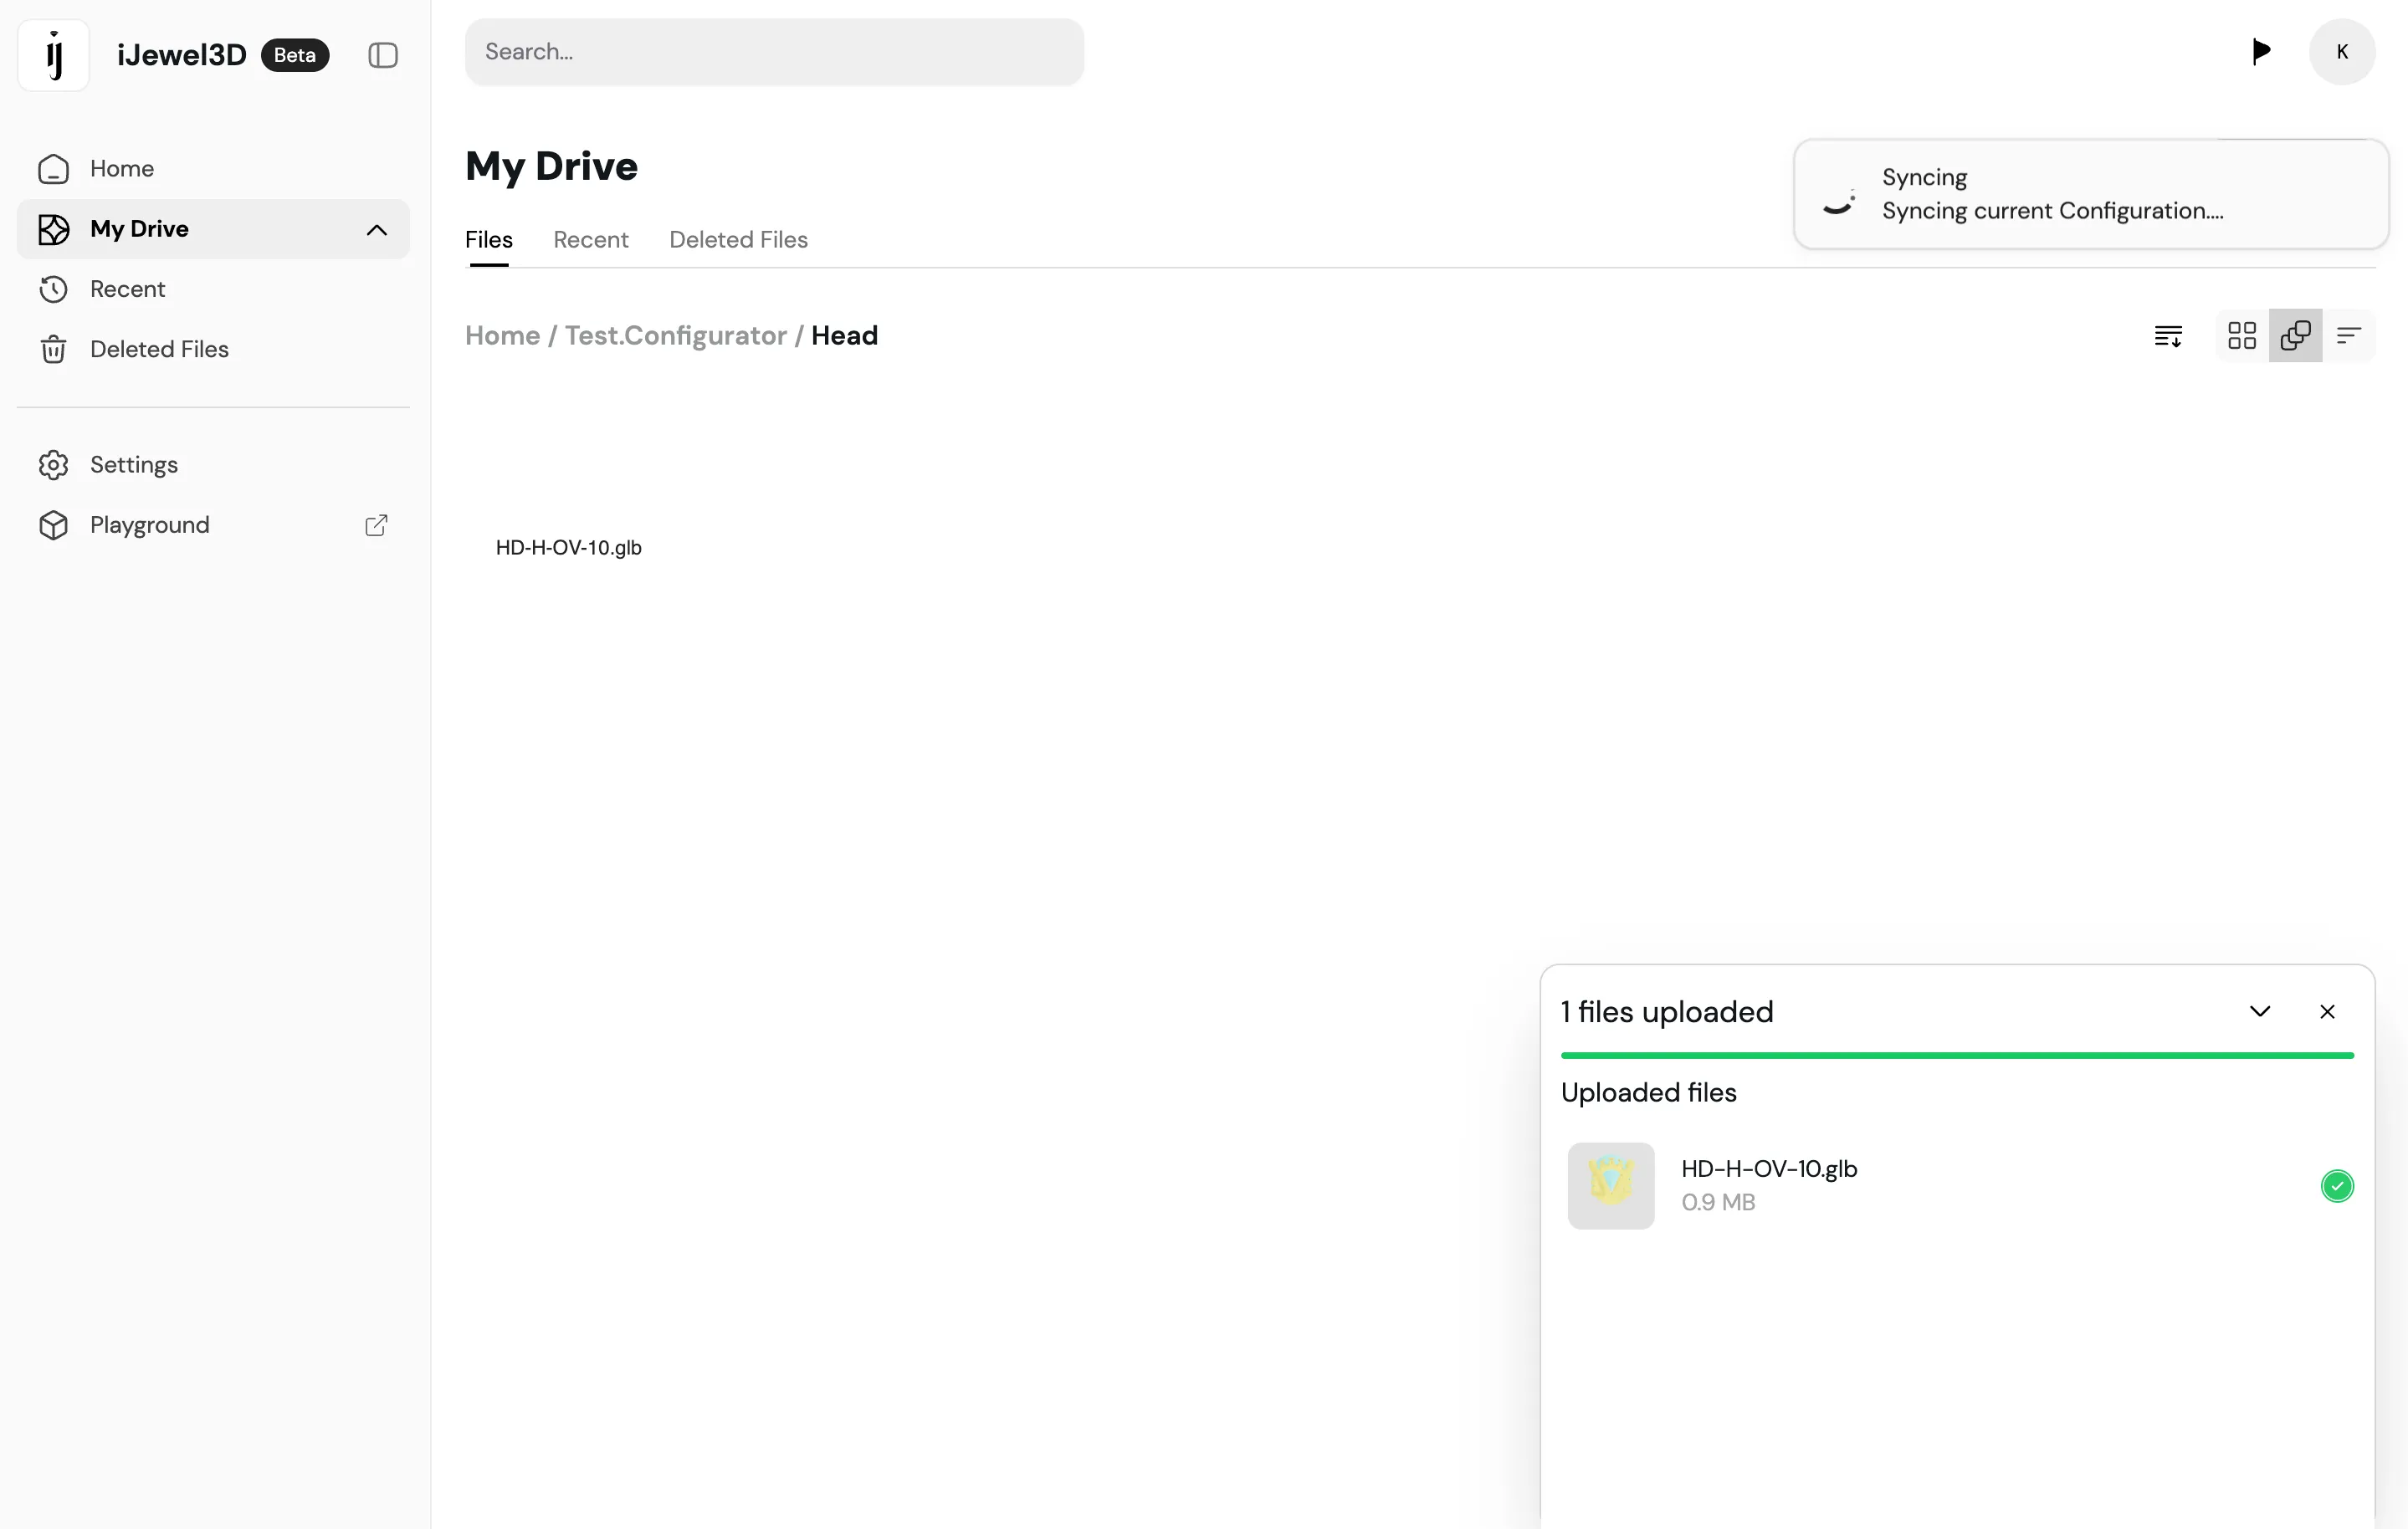
Step 7: Automatic Synchronization
The configurator will automatically sync your uploaded models. You can monitor the sync progress in the interface. For manual synchronization, click the Sync Configurator button located within the ring configurator project settings.
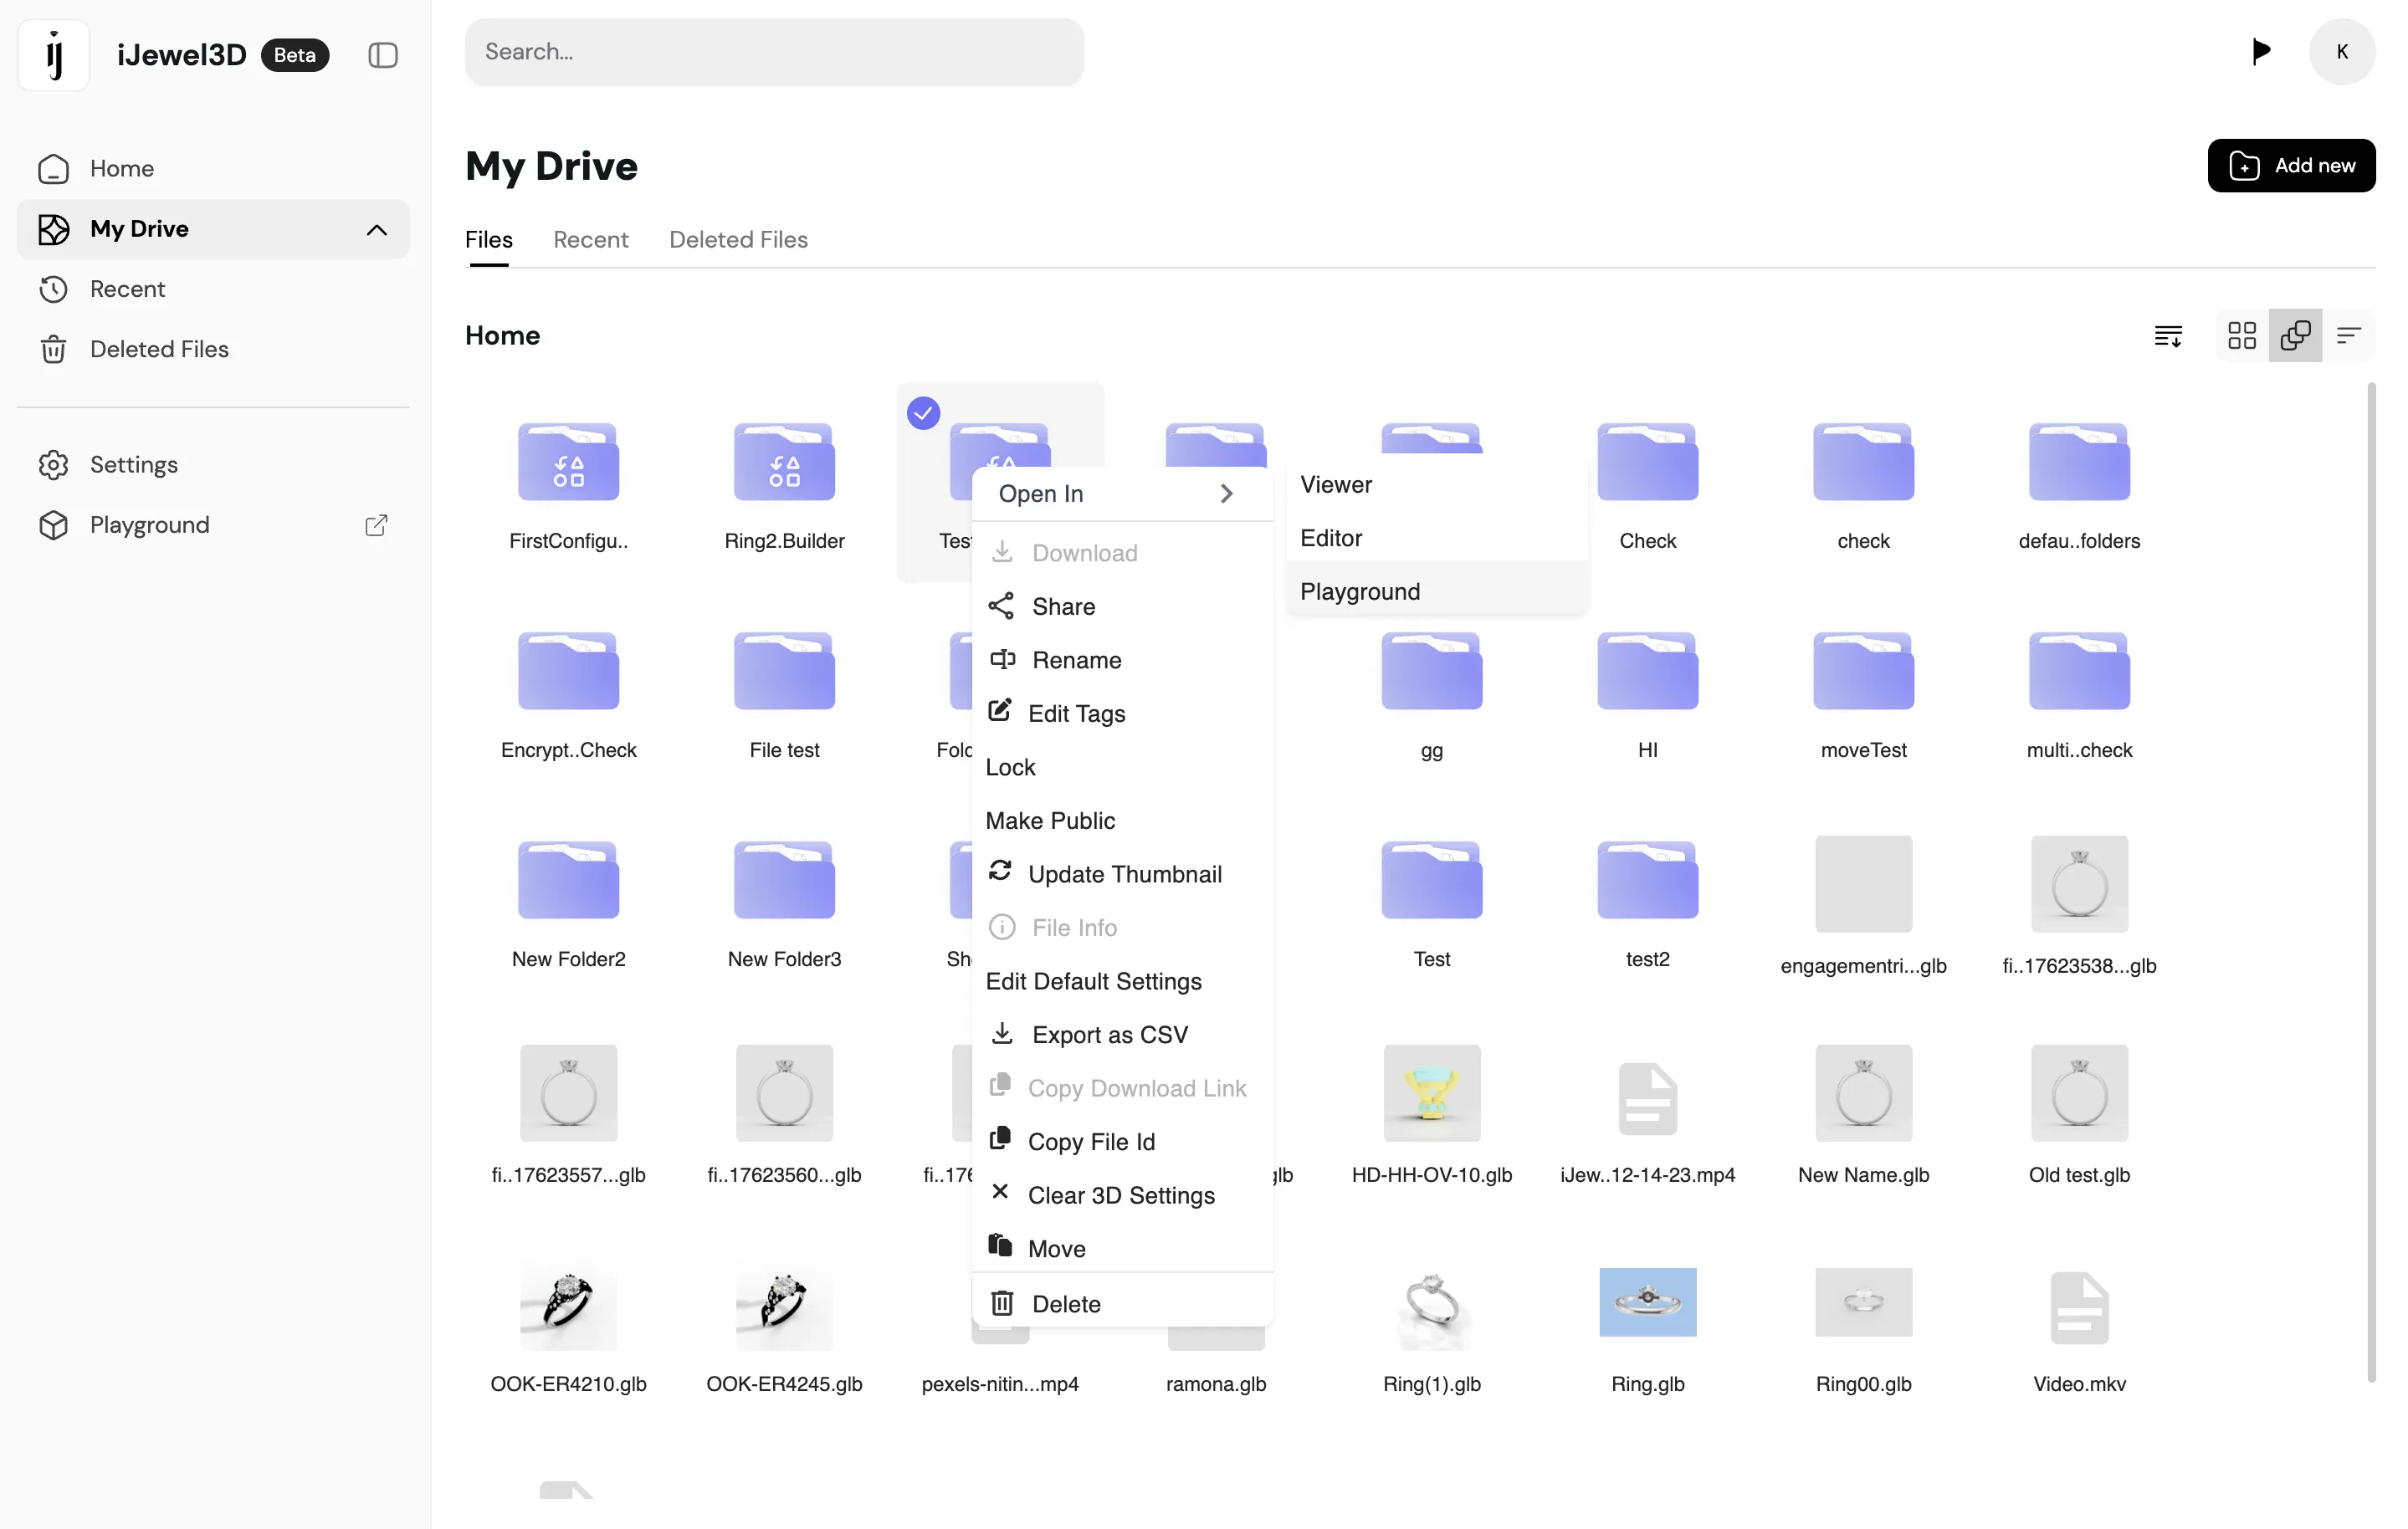
Step 8: Configure Advanced Settings
Right-click on your ring configurator project folder and select Open in Editor or Playground . This opens the advanced configuration panel where you can:
- Configure HDR Maps: Set up environment lighting and reflections
- Adjust Materials: Define material properties such as colour, texture, etc
- Set Background: Choose or upload a custom background image
- Fine-tune Lighting: Adjust brightness, shadows, and light direction
- Configure Camera: Set default zoom, rotation, and pan parameters
Upon changing those settings just save it and it will reflect in Viewer.
Step 9: Deploy Your Configurator
Once you've completed all configurations, proceed to Using Ring Configurator to learn about deployment options including embedding, sharing, and custom templates.
Advanced Configuration: Tags
Tags allow you to organize and filter variations within components. This is especially useful for Head components where you have multiple diamond shapes and carat sizes.
How Tags Work
Tags are key-value pairs assigned to each 3D file in the iJewel3D platform. The Ring Configurator uses these tags to:
- Group variations by diamond shape
- Filter available sizes within each shape
- Display organized UI options to customers
Setting Up Tags
- Right-click on a 3D file (variation) in your component folder
- Click Edit Tag from the context menu
- Add tags in the format
key:value - Click Save to apply the tags
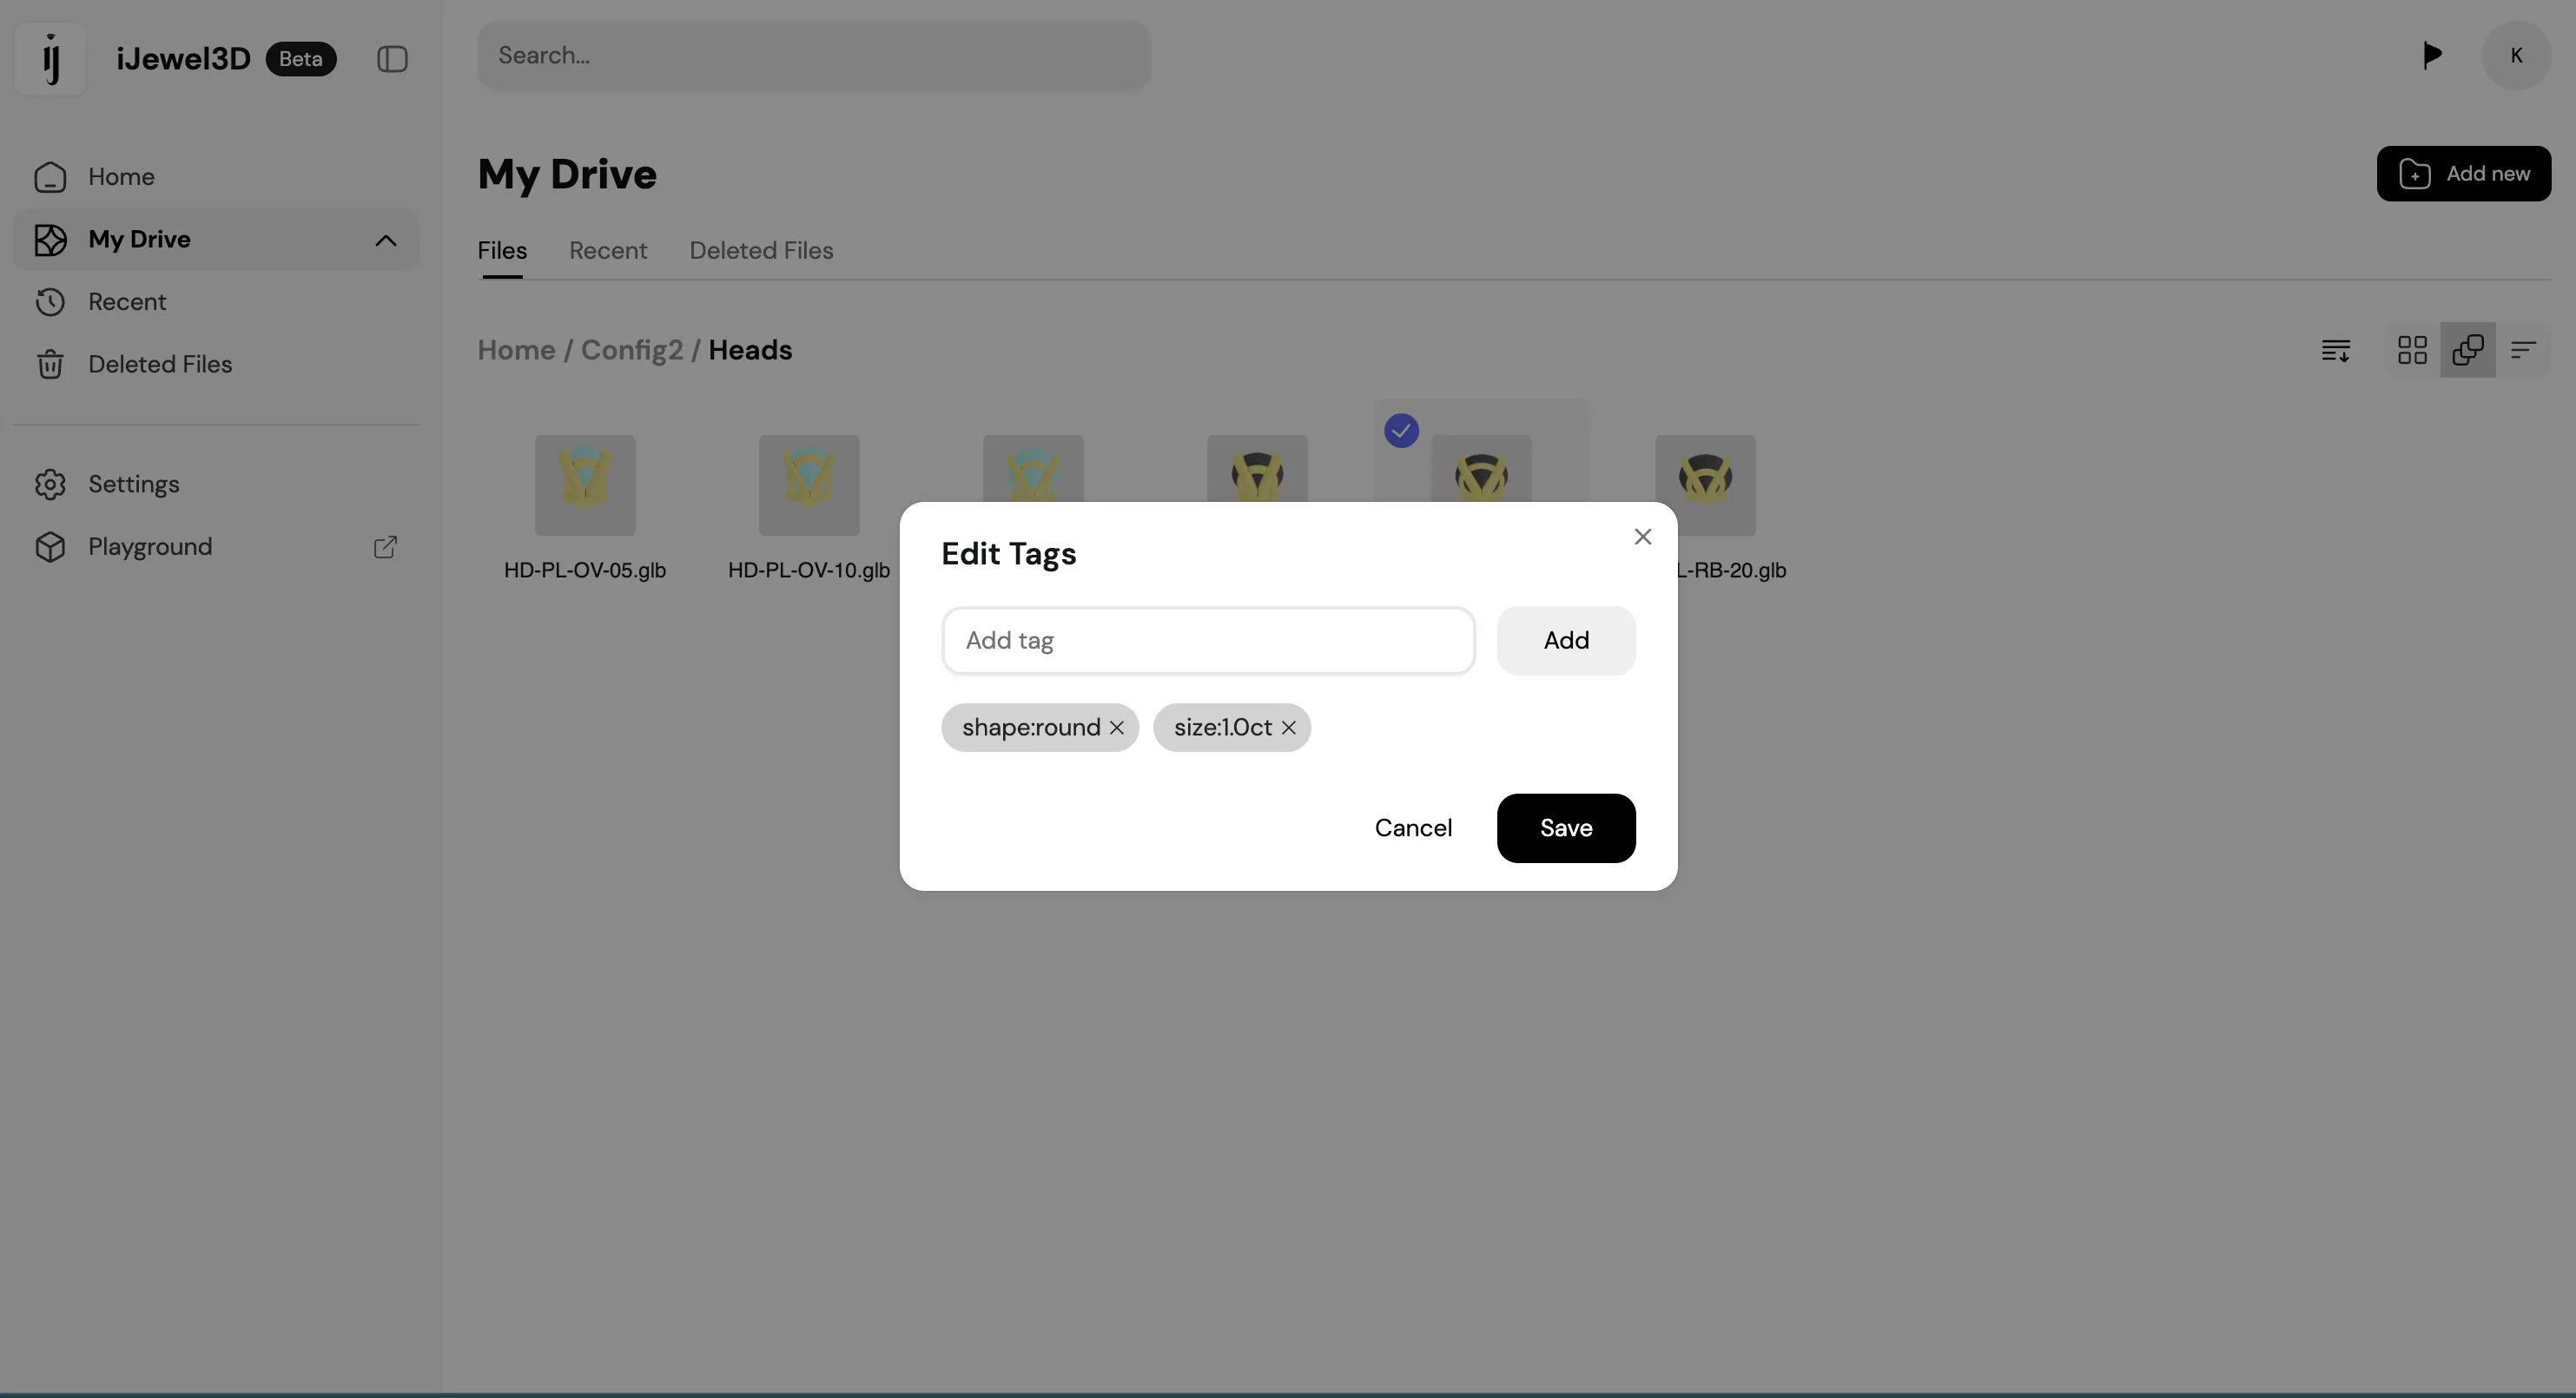
Tag Format
| Tag Type | Format | Example |
|---|---|---|
| Shape | shape:<shape-name> | shape:round |
| Size | size:<carat-size> | size:1ct |
Example: A 1-carat round diamond head would have both tags:
shape:roundsize:1ct
Complete Example
For a head component with multiple shapes and sizes:
| File Name | Tags |
|---|---|
H001-Rd05.3dm | shape:round, size:0.5ct |
H001-Rd10.3dm | shape:round, size:1ct |
H001-Rd20.3dm | shape:round, size:2ct |
Best Practice
Always tag all head variations with both shape: and size: tags. This ensures the UI can properly filter and display options.
To learn how to use these tags in your custom template code, see Using Tags for Filtering.
Advanced Configuration: Icons
To update the thumbnail/icon for a variant:
- Open the variant in Playground and make your adjustments
- Save the changes
- Return to the platform, right-click on the variant
- Click Update Thumbnail to capture the new icon