
OnBody (Beta)
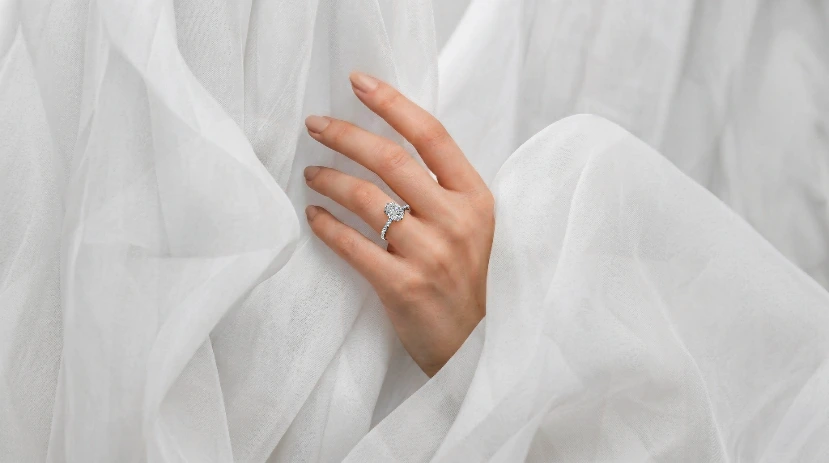
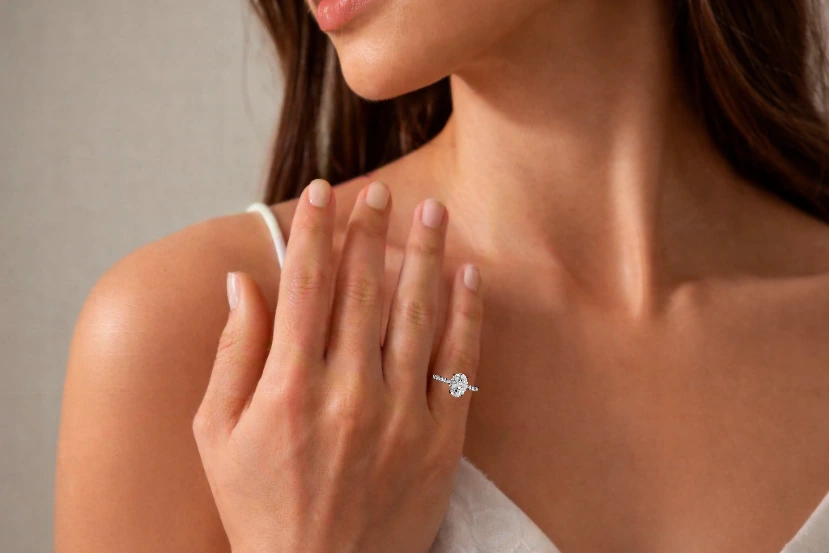
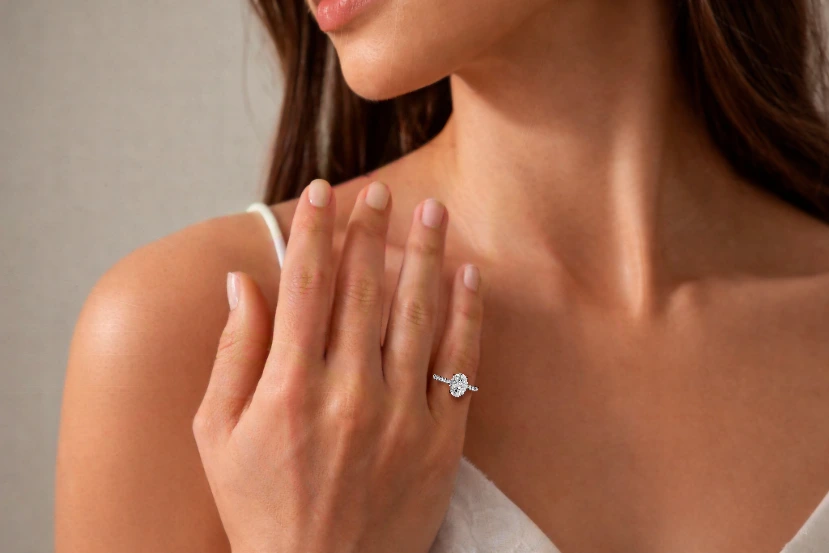
OnBody renders your ring on a photo of a real hand, directly in the iJewel Platform editor. It uses the same on-device Try-On engine that powers the live camera Try-On, but on a still image. No camera is needed. The result is a product photo on a hand, ready for your website or catalog.
Use OnBody to create lifestyle images for a product page, a lookbook, or social media. The engine detects the hand in the photo and places the ring on the selected finger, with contact shadow and lighting.
Availability
OnBody is in Beta. It is available in the iJewel Platform editor as the OnBody tab in the left panel.
Before you start
- Open a ring model in the editor.
- The ring must have a clear inner opening. Auto Fit uses this opening to calculate the fit, the same as Try-On.
- If you already configured Try-On for this project, OnBody reuses that fit.
Step 1: Fit the ring
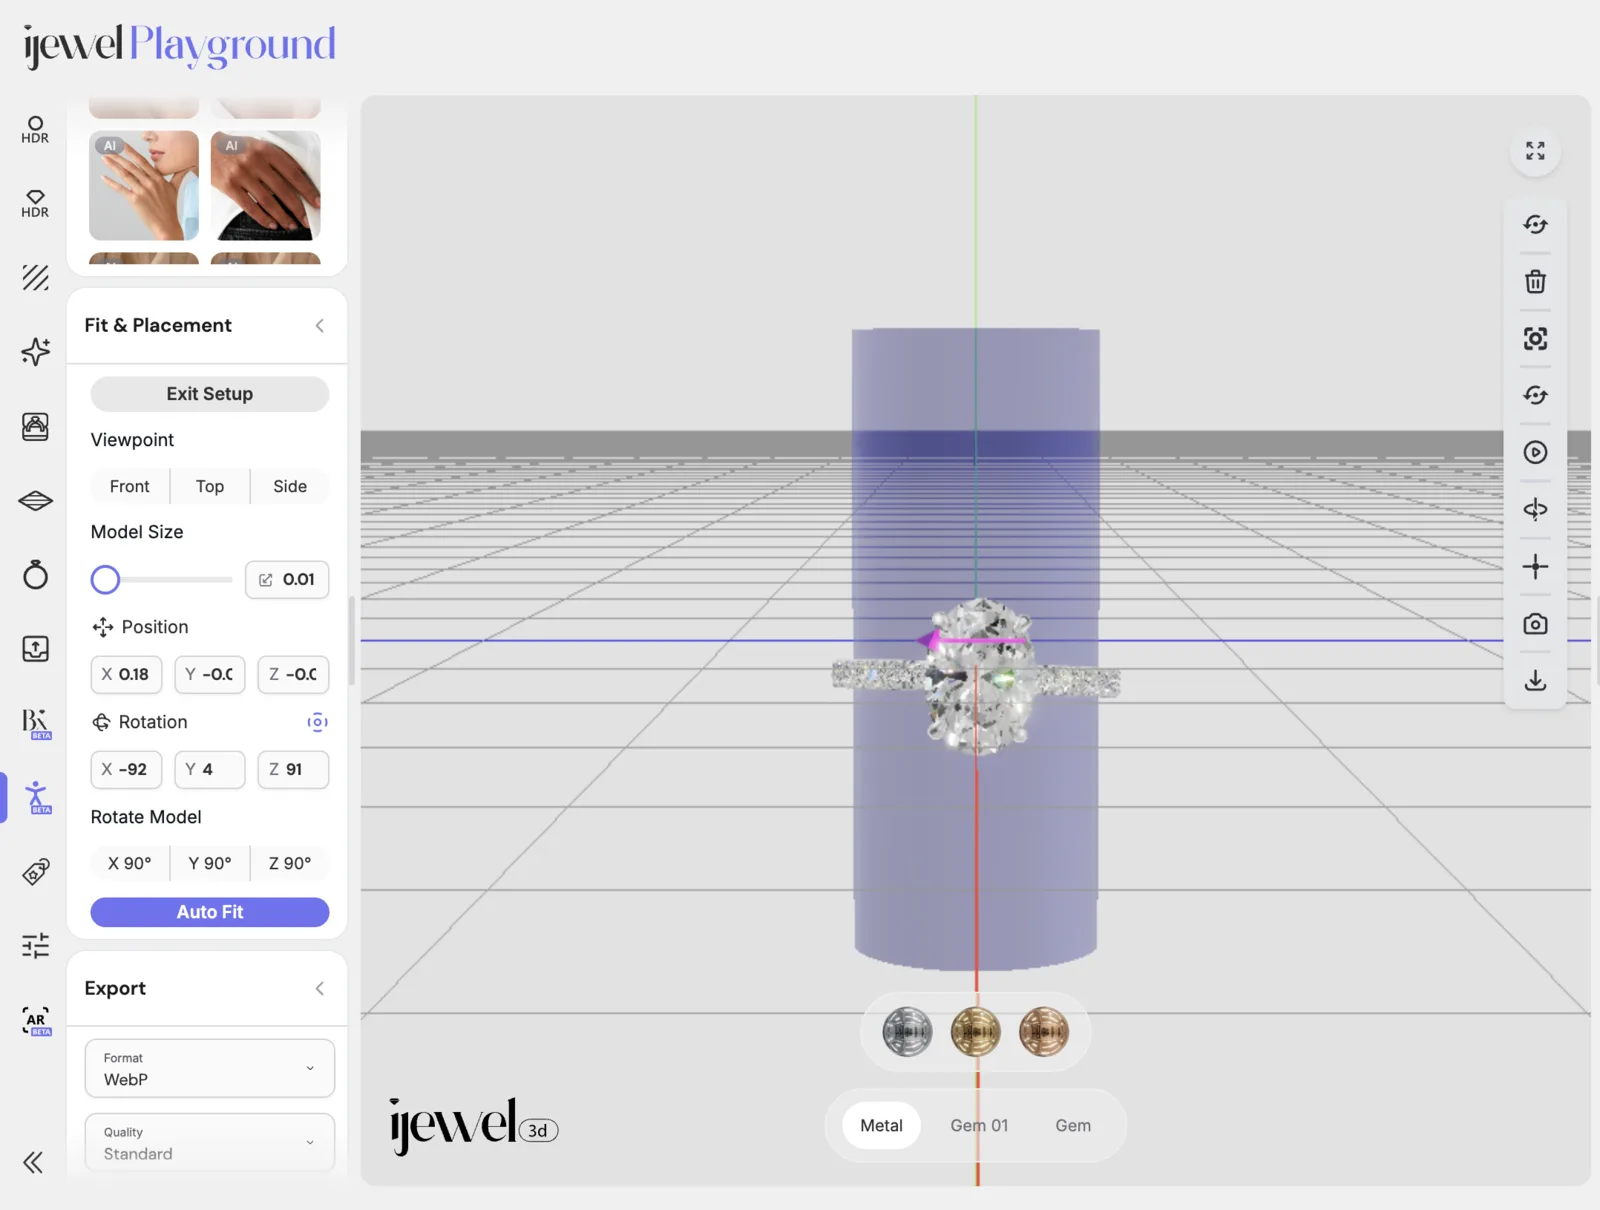
When you open the OnBody tab for the first time, the Fit & Placement section opens. These are the same controls as the Try-On setup:
- Select Enter Setup.
- Select Auto Fit to size and orient the ring automatically.
- If necessary, adjust Model Size, Position, and Rotation manually. Use the Rotate Model buttons to turn the ring 90° around the X, Y, or Z axis. Use the Front, Top, and Side viewpoint buttons to check the alignment from each axis.
- Select Exit Setup.
The fit is saved with the project. You do not have to repeat this step for each image.
Step 2: Enable OnBody
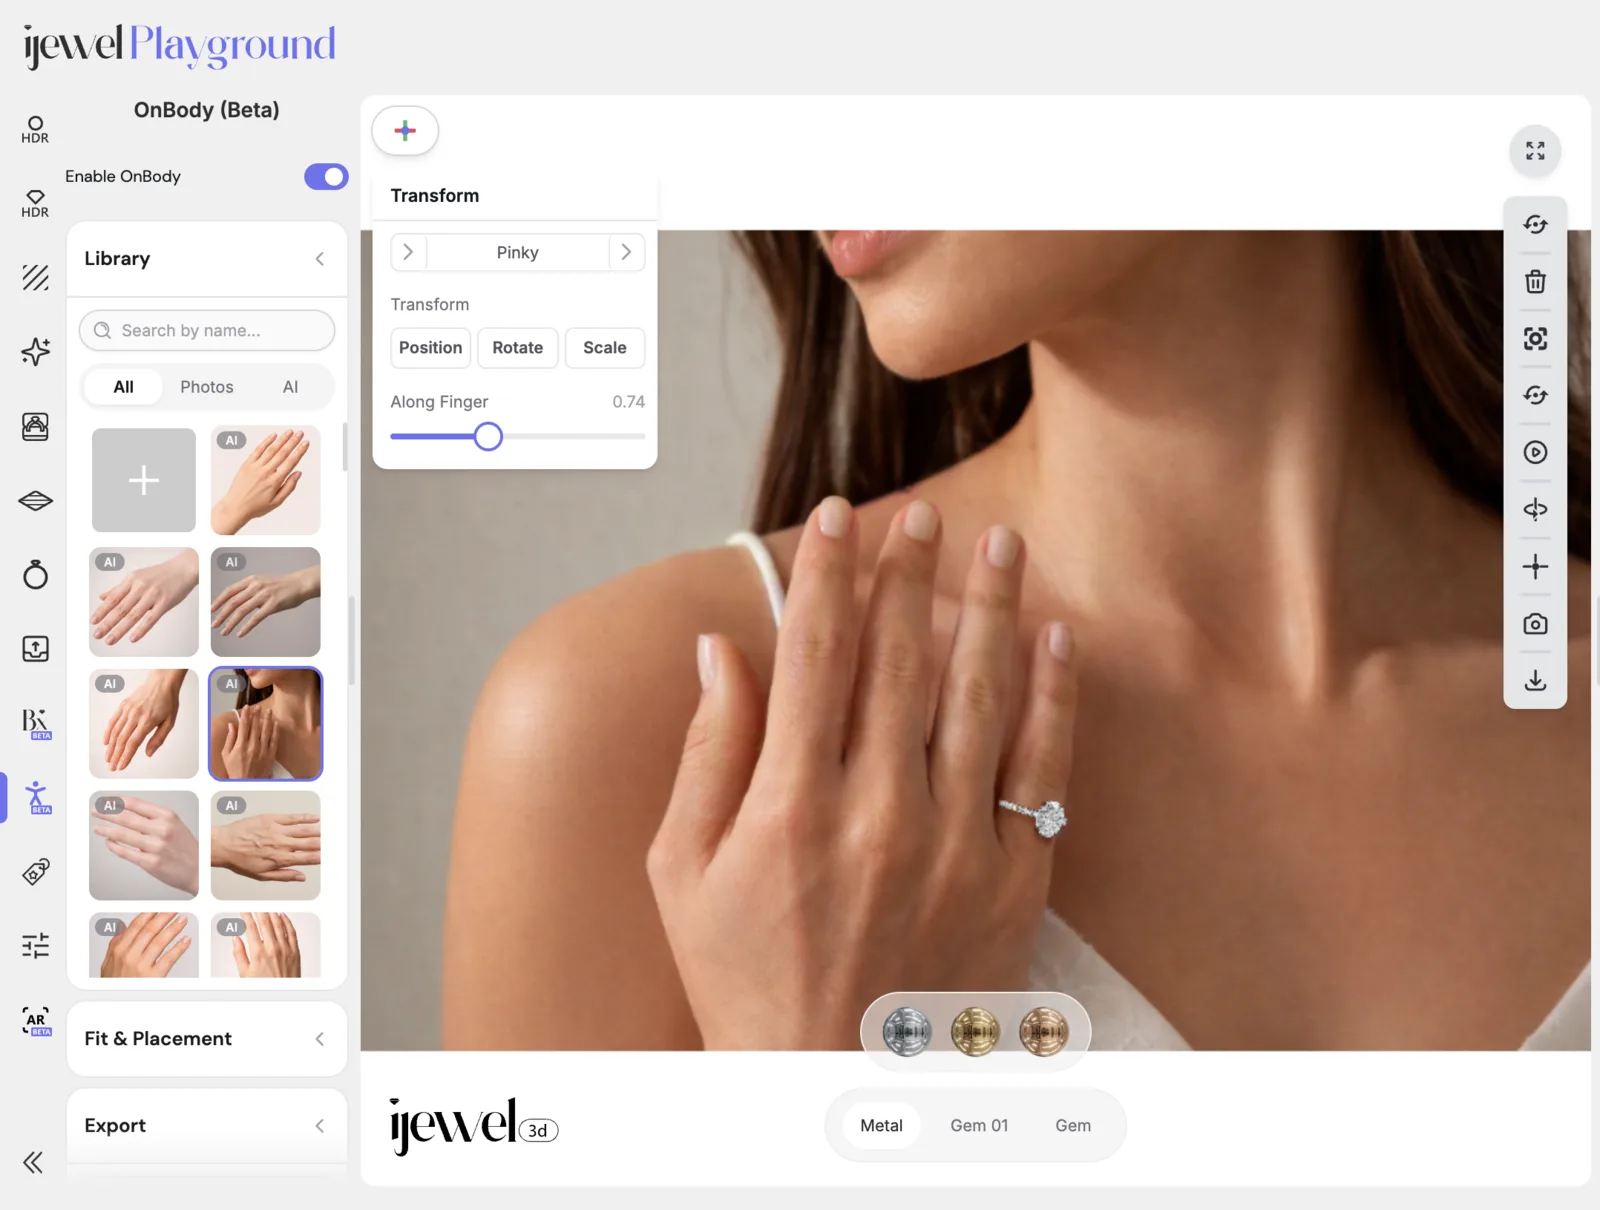
Turn on the Enable OnBody switch at the top of the tab. The ring appears on the default hand image, or on the image you selected last. The Library and Export sections open automatically.
Step 3: Choose a hand image
The Library section holds the hand images:
- Search filters the images by name.
- The All, Photos, and AI tabs separate photographed hands from AI-generated hands. AI images carry an AI badge.
- Select an image to render the ring on it.
Upload your own hand image
Select the upload tile to add your own photo. For the best result, use a photo with the fingers spread and a plain background. Uploaded images are stored in your account and appear in the library for all your projects.
- Uploading needs a paid plan. On a free plan, the upload tile shows an upgrade prompt.
- The file must be smaller than 5 MB. Files over 2 MB upload, but the editor shows a warning.
- To delete an uploaded image, deselect it first. A selected image cannot be deleted.
Step 4: Adjust the placement
While OnBody runs, a floating Transform button appears in the viewport. It opens the placement controls:
| Control | Function |
|---|---|
| Switch Hand | Moves the ring to the other hand. Shown only when the photo contains more than one hand. |
| Finger selector | Steps through Thumb, Index, Middle, Ring, and Pinky. The default is the ring finger. |
| Position / Rotate / Scale | Activates a drag transform on the ring in the image. Select the active mode again to turn it off. |
| Along Finger | Slides the ring along the finger, from the base toward the tip. |
Step 5: Tune the scene
The Scene Settings section controls how the ring sits in the photo:
- Shadow Presets: Right, Left, Top, and Soft set the direction and elevation of the contact shadow in one click.
- Shadow: turn the contact shadow on or off, and set its Colour, Intensity, Step Size, and Bias.
- Light: turn the ambient occlusion on or off, and set its Intensity and Radius. It darkens the skin around the ring for a grounded look.
Match the shadow direction to the light in the photo. For most photos, the Soft preset is a good start.
Step 6: Export the image
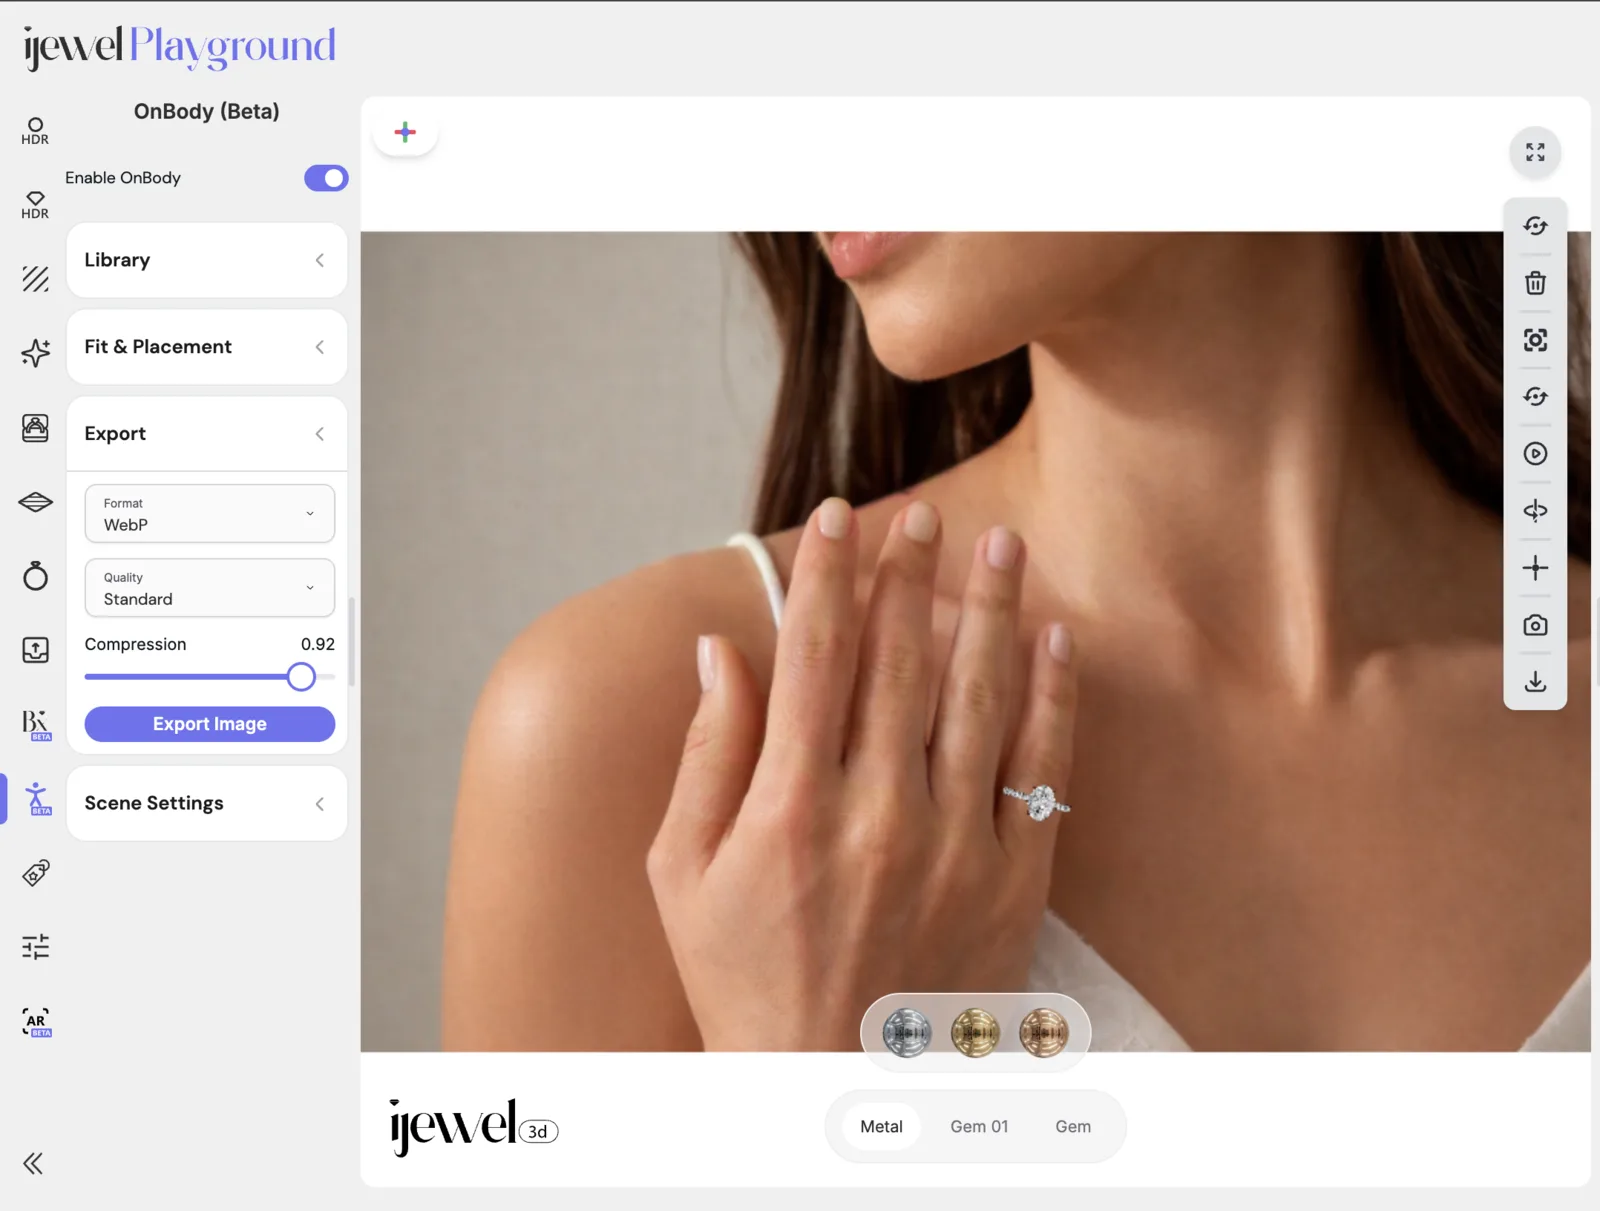
The Export section saves the final image:
- Select a Format: PNG, JPG, or WebP.
- Select a Quality: Standard, High (up to 4096 px), or Ultra (up to 8192 px).
- For JPG and WebP, set the Compression slider. Higher values keep more detail and produce larger files.
- Select Export Image. The image downloads to your computer.
Saving
The selected hand image and the ring fit are saved with the project. When you turn OnBody off and on again, the same image returns. A saved project reopens in OnBody mode when it was saved while OnBody ran.
Troubleshooting
| Problem | Solution |
|---|---|
| The ring sits on the wrong finger. | Open Transform and step the finger selector to the correct finger. |
| The ring is too large or too small. | Open Fit & Placement, enter Setup, and run Auto Fit again. Note: opening this section exits the OnBody preview. |
| Switch Hand does not appear. | The control appears only when the photo shows two or more hands. Use an image with both hands visible. |
| The ring floats above the skin. | Increase the Light intensity, or lower the Along Finger value. |
| An uploaded image cannot be deleted. | Select another image first, then delete the uploaded one. |