Cameras (Loaded)
The Cameras (Loaded) section displays cameras that were imported with your 3D model file. If you create a camera in your 3D software (such as Blender, 3ds Max, or Cinema 4D) and export it together with the model, that camera will appear here. This is especially useful for creating specific camera paths and animations — you set up the exact camera movement in your 3D software, export it, and then play it back in iJewel Playground.
Where to Find It
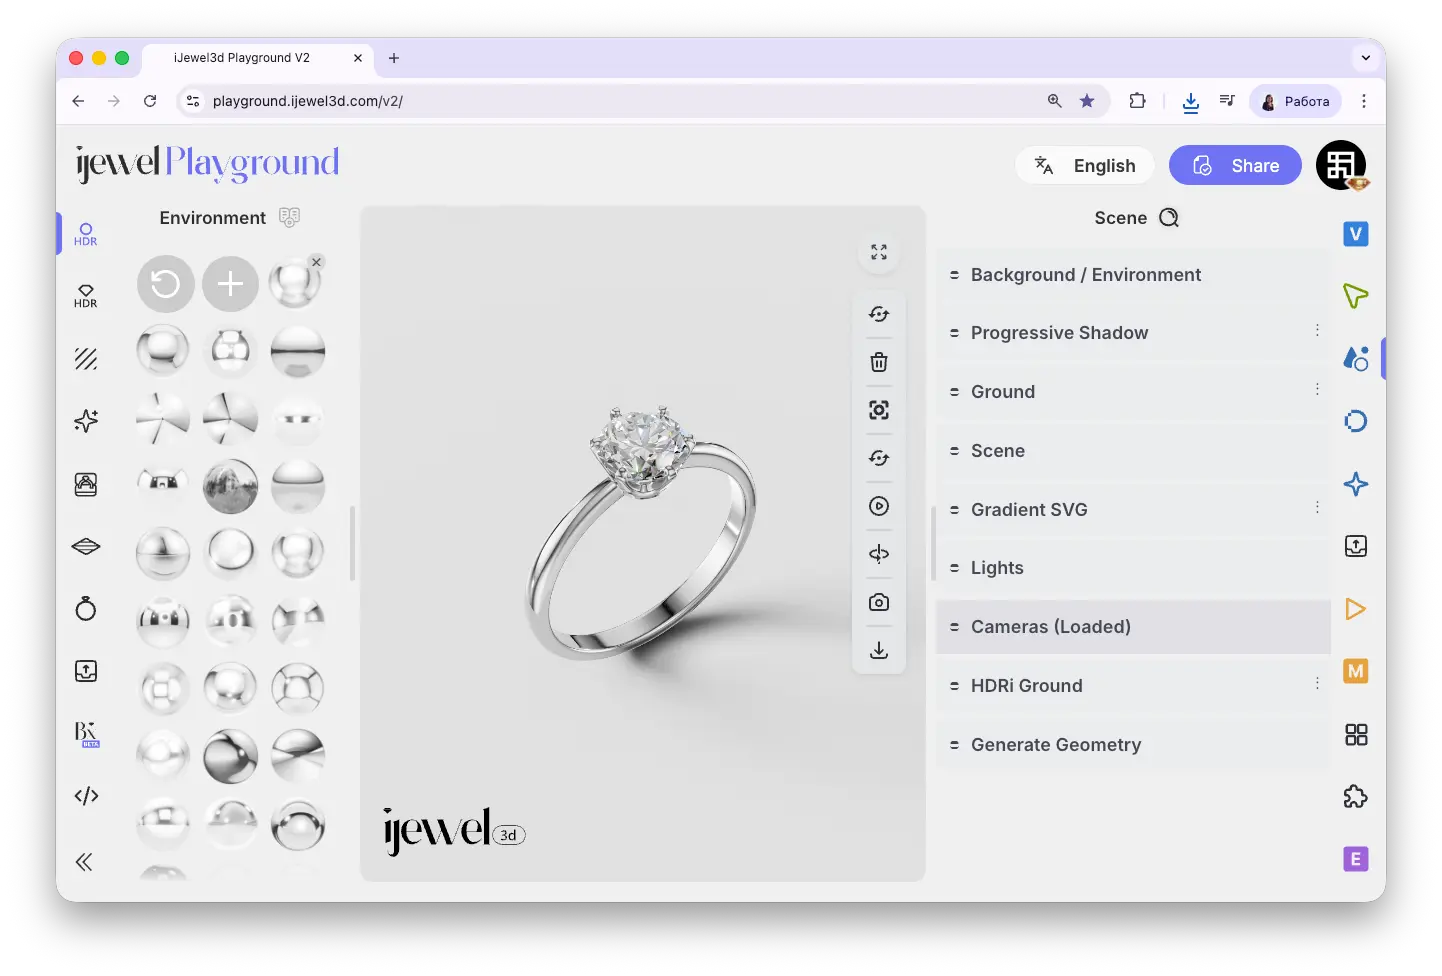
This section is located on the right panel, inside the ![]() Scene tab, in the Cameras (Loaded) section.
Scene tab, in the Cameras (Loaded) section.
INFO
This section will be empty if your model file does not contain any cameras. To use loaded cameras, you need to export cameras from your 3D software together with the model.
How It Works
By default, iJewel Playground uses its own viewport camera — the one that lets you orbit, zoom, and pan around the model freely. When you load a model that contains a camera, it appears as an object in this section. You can then activate that camera to switch from the default viewport to the imported camera's point of view.
Tutorial: Creating a Camera Path and Rendering It in Playground
This tutorial walks through the full workflow for camera animations: you start by creating a camera path in Blender — setting up keyframes, defining the movement curve, and configuring the animation timeline. Then you export the scene (model + camera) as a .glb file and import it into iJewel Playground. Once loaded, you activate the imported camera and use the export tools to render the final video directly in the browser.
Camera Properties
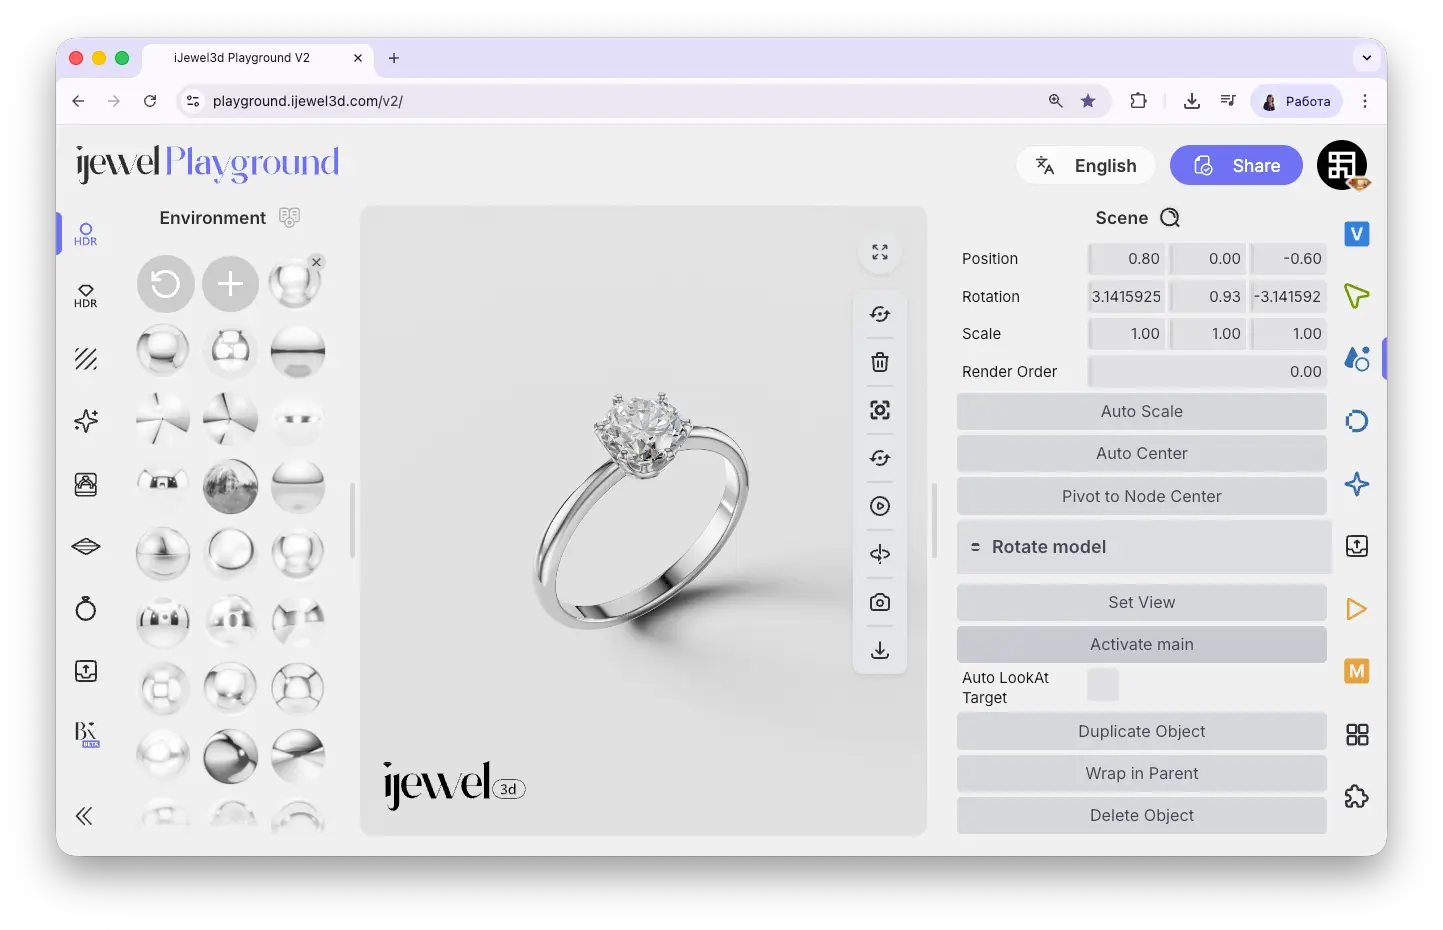
When you expand a loaded camera, it shows properties similar to a regular object:
Key Actions
Below the camera properties, there is an important action button:
Playing Camera Animations
If your loaded camera has an animation (a camera path created in your 3D software), activate the camera with Activate Main, then enable the animation using the GLTF Animation controls. The camera will follow the path you defined in your 3D software. To return to the default viewport, click Deactivate Main.
Related Pages
- Scene Settings — Overview of all Scene tab sections
- UI Overview — Full interface layout including panels
- Export Videos — Export animated video renders using camera paths
- Import Scene Settings — Import scene configurations