Skip to content

PBR Materials

Physical Material panel

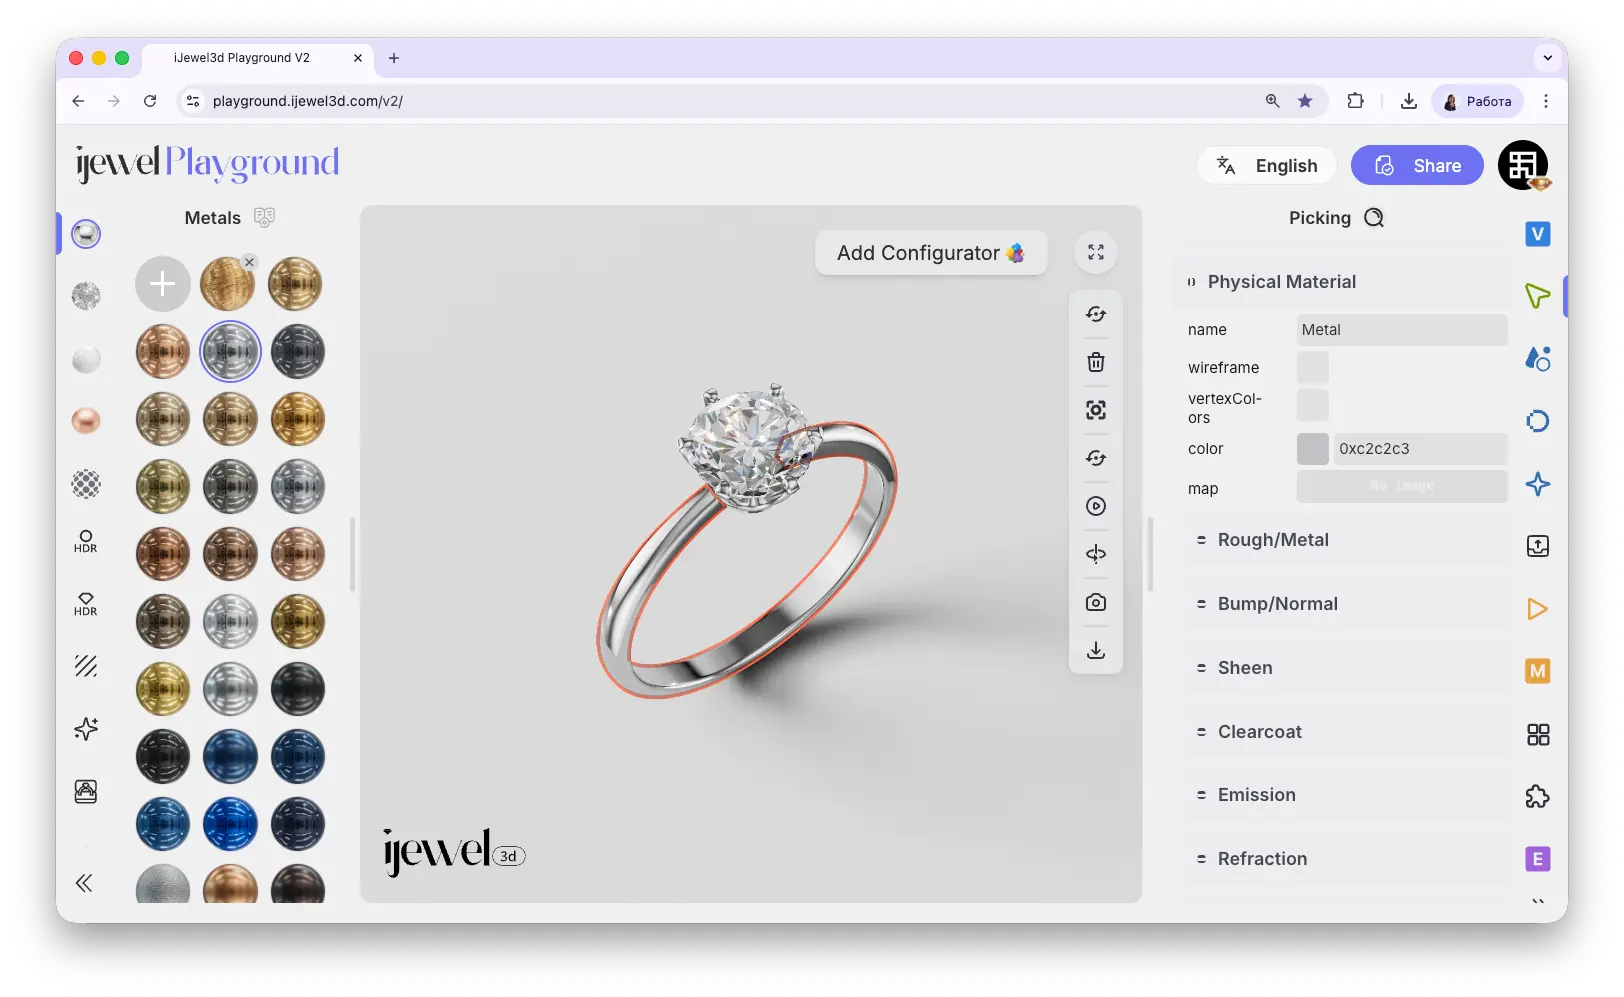
Physical Materials (PBR) control how surfaces look in your scene — their color, reflectivity, roughness, transparency, and more. This is the most detailed material editor in iJewel Playground and it uses a physically-based rendering model to produce realistic results.

Every metal, stone setting, enamel, ceramic, or glass surface in your jewelry model is controlled through this panel.

How to Open

  1. Click on any object in the canvas to select it
  2. Go to the PickingPicking tab on the right panel
  3. The Picker will show the material name, and the Physical Material section will open below with all its settings

Merging Materials

You can rename a material in the name field. If you select a different object and rename its material to the same name, both objects will share the same material — any change to one will apply to both. This is useful when applying library presets to multiple objects at once.


Physical Material

These are the top-level settings that appear when you expand the Physical Material section.

name
input
Material name. Rename for convenience (e.g., "Metal", "Pearl") or to merge materials by giving them the same name
wireframe
checkbox
Shows the polygon structure of the mesh instead of the solid surface
vertexColors
checkbox
Enables vertex color data from the model. Usually black by default — rarely needs to be changed
color
color picker
The base color of the material. Use the color picker or enter a hex value directly. The format is 0x followed by 6 hex digits (e.g., 0xe5b377 for gold) — keep the 0x prefix and change only the last 6 characters
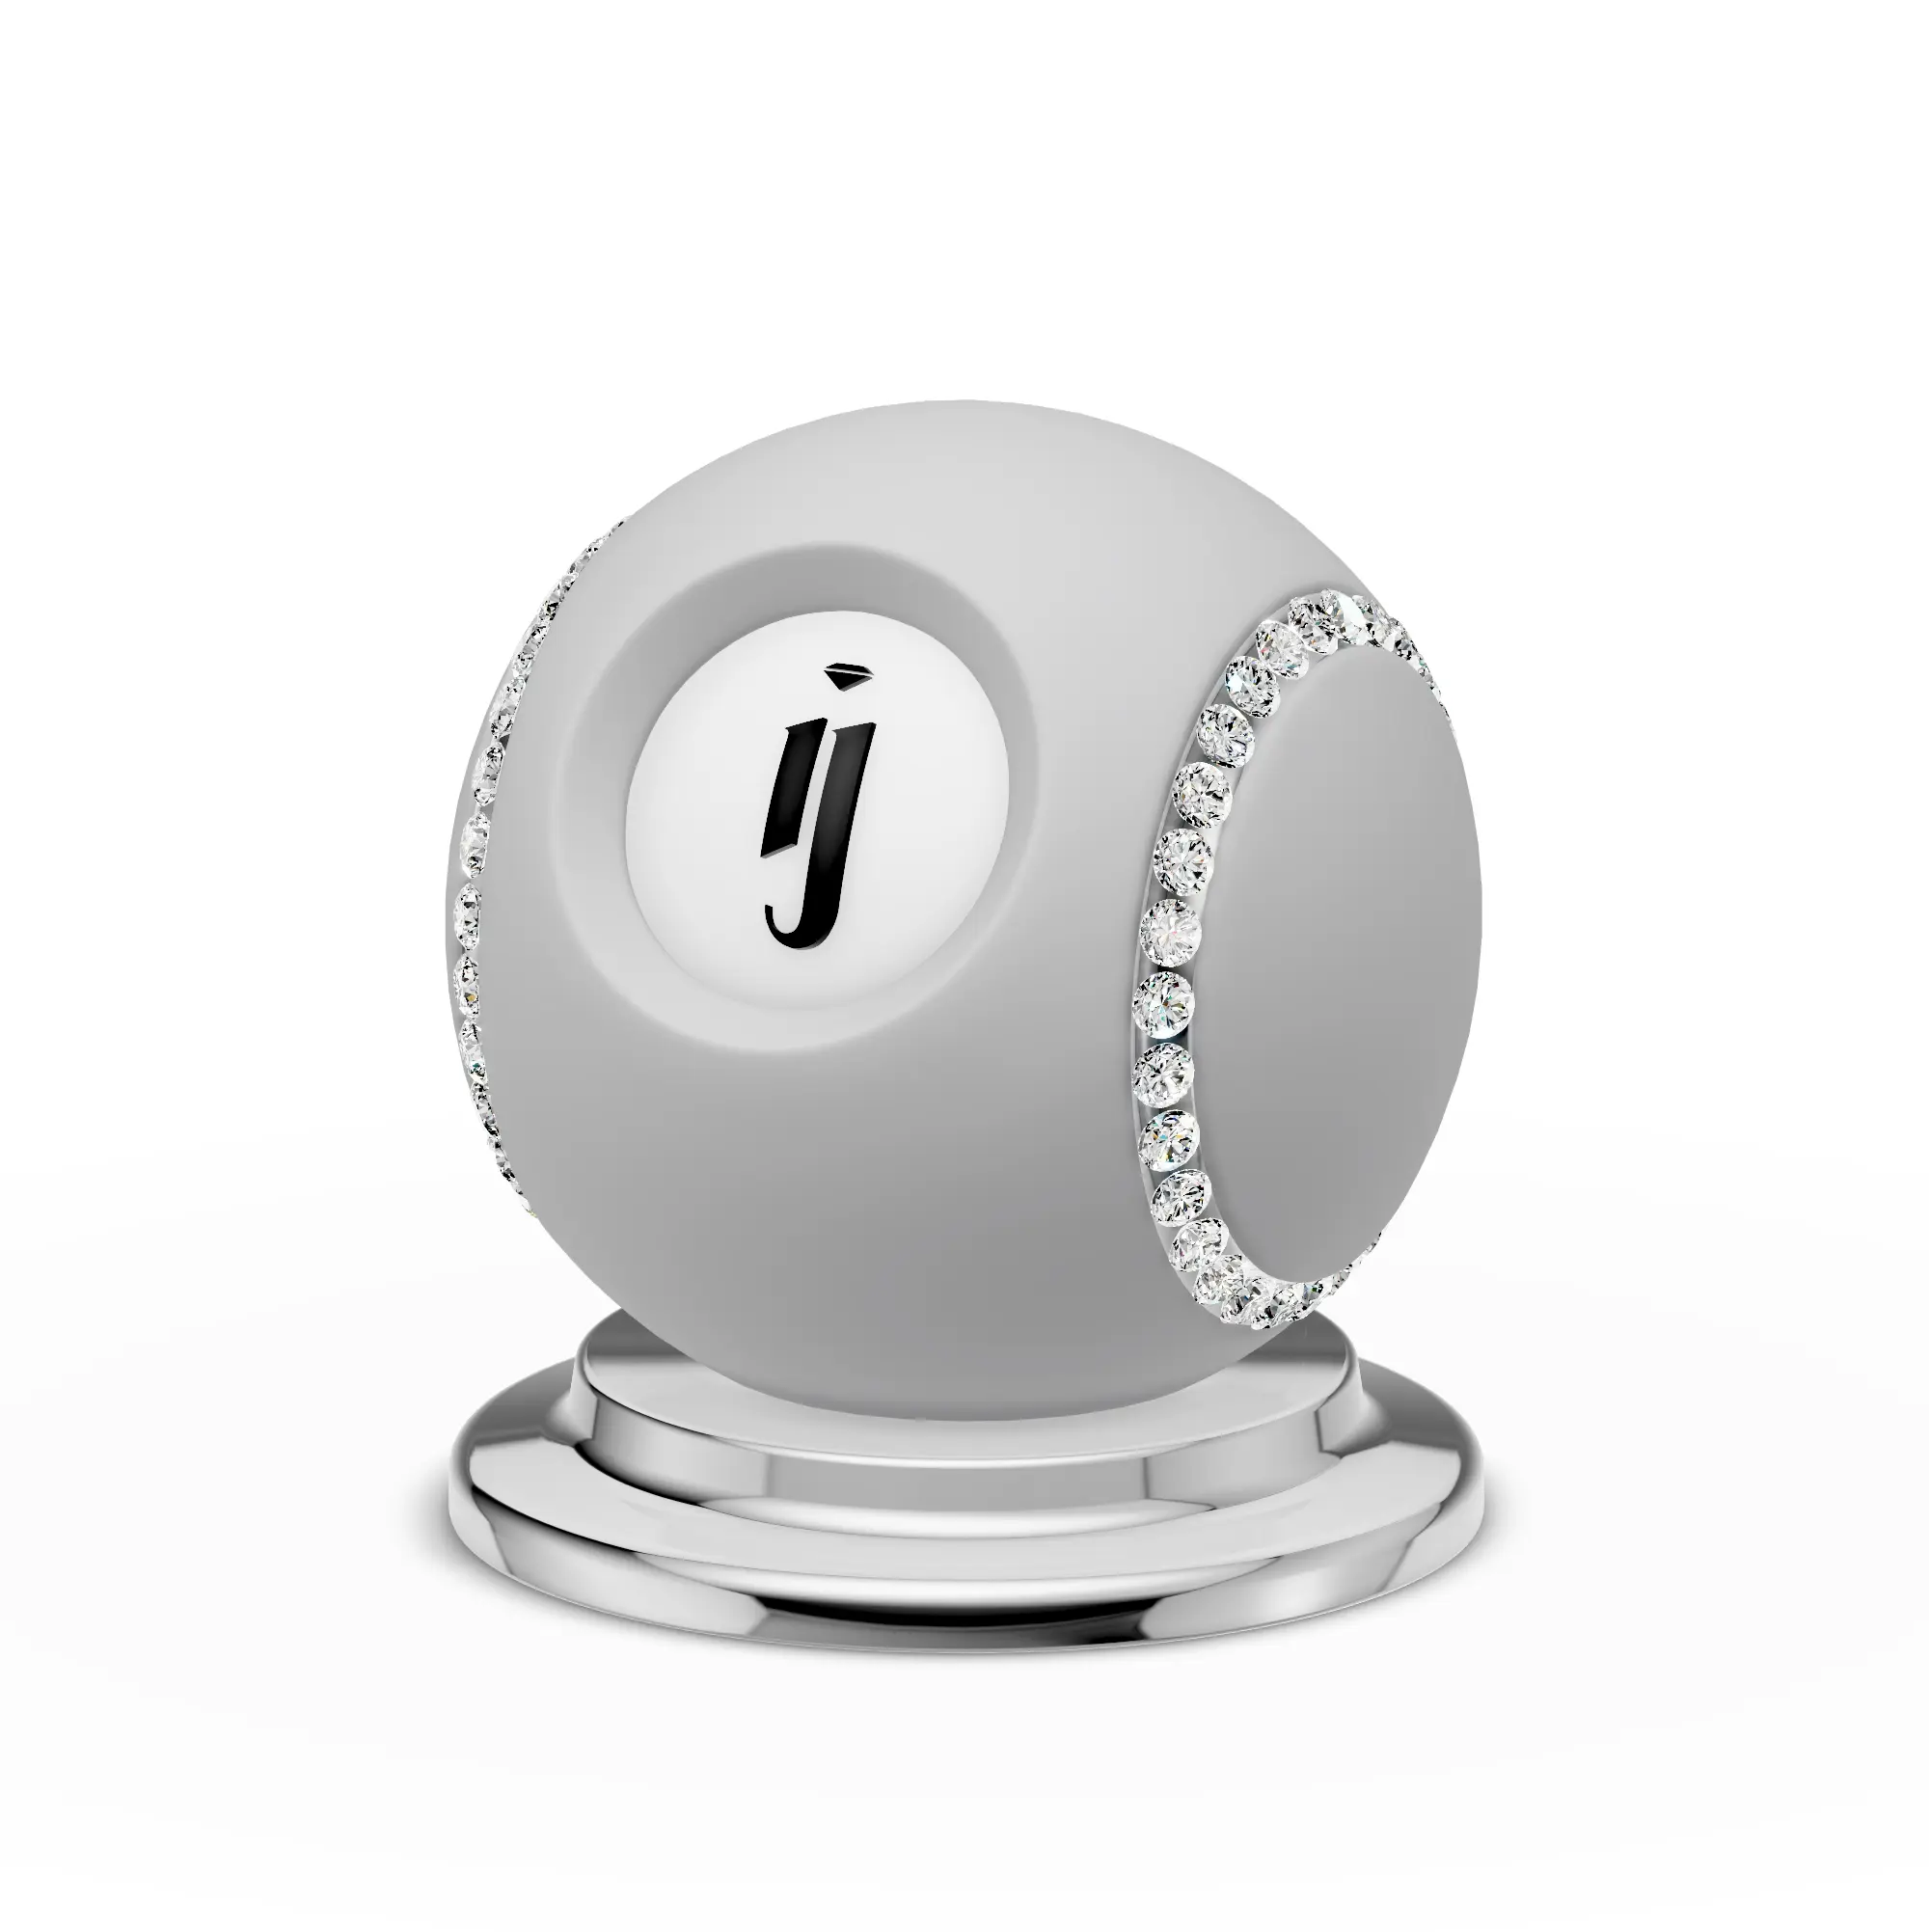
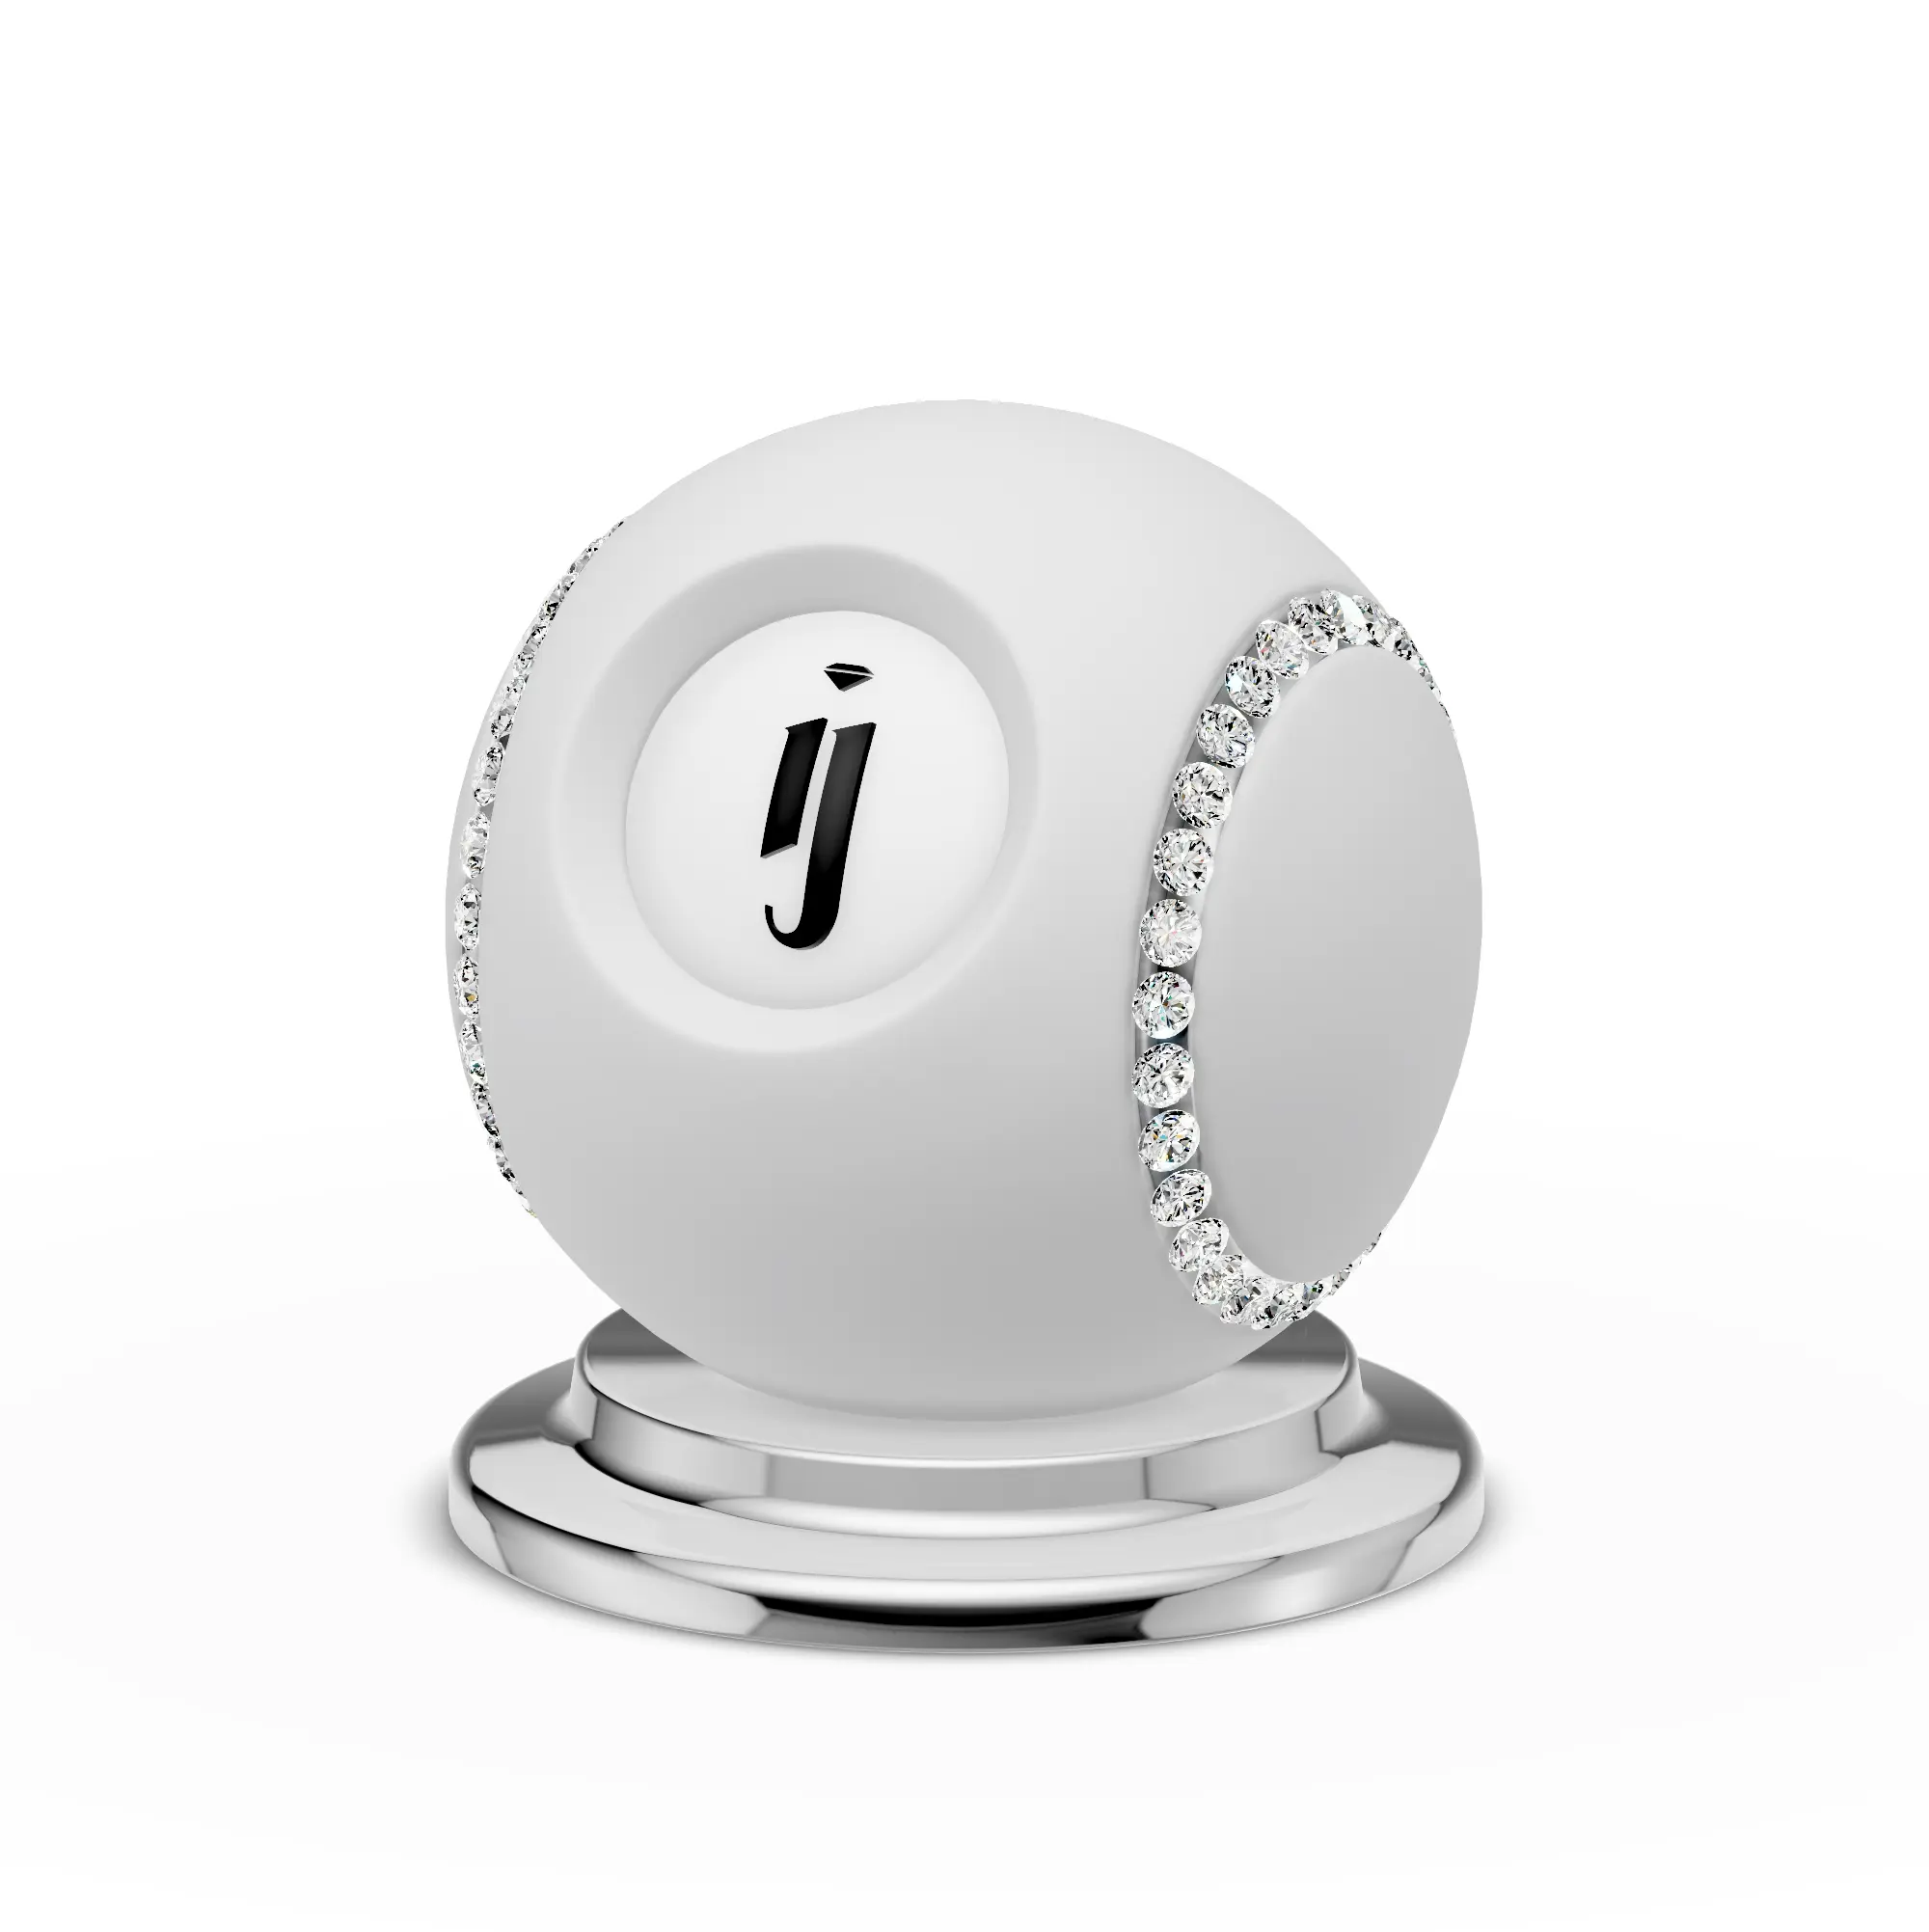
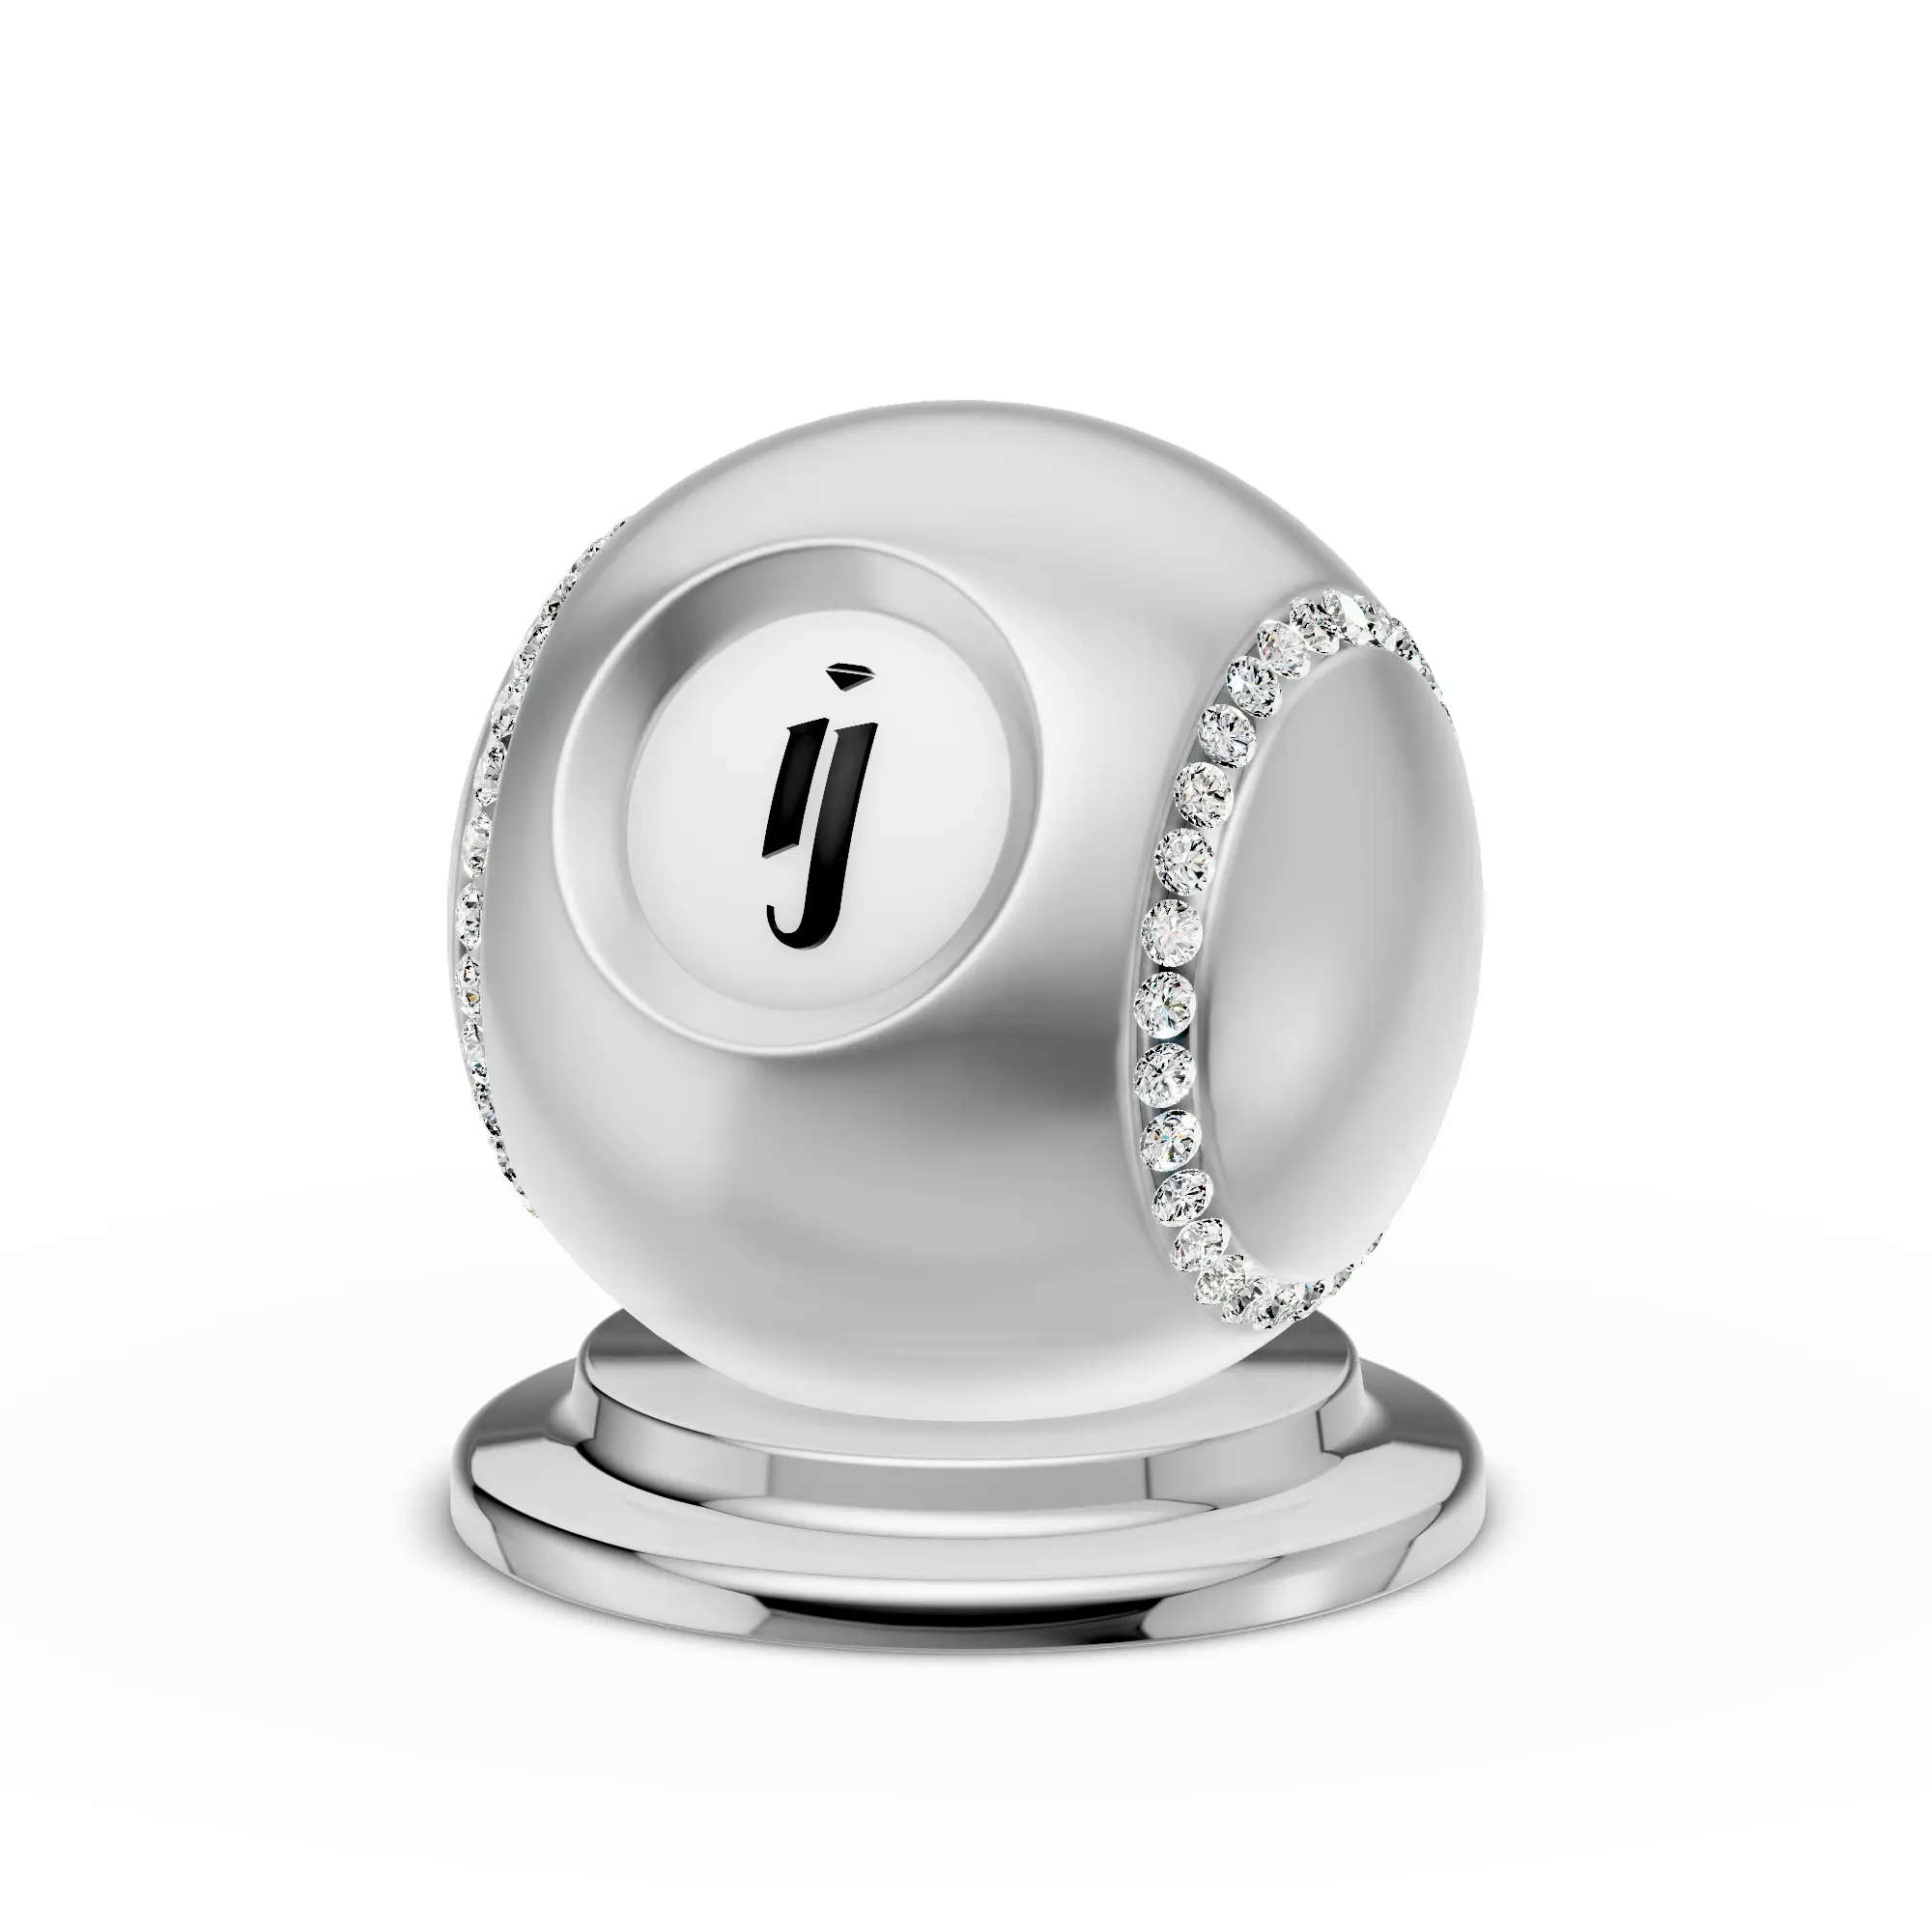
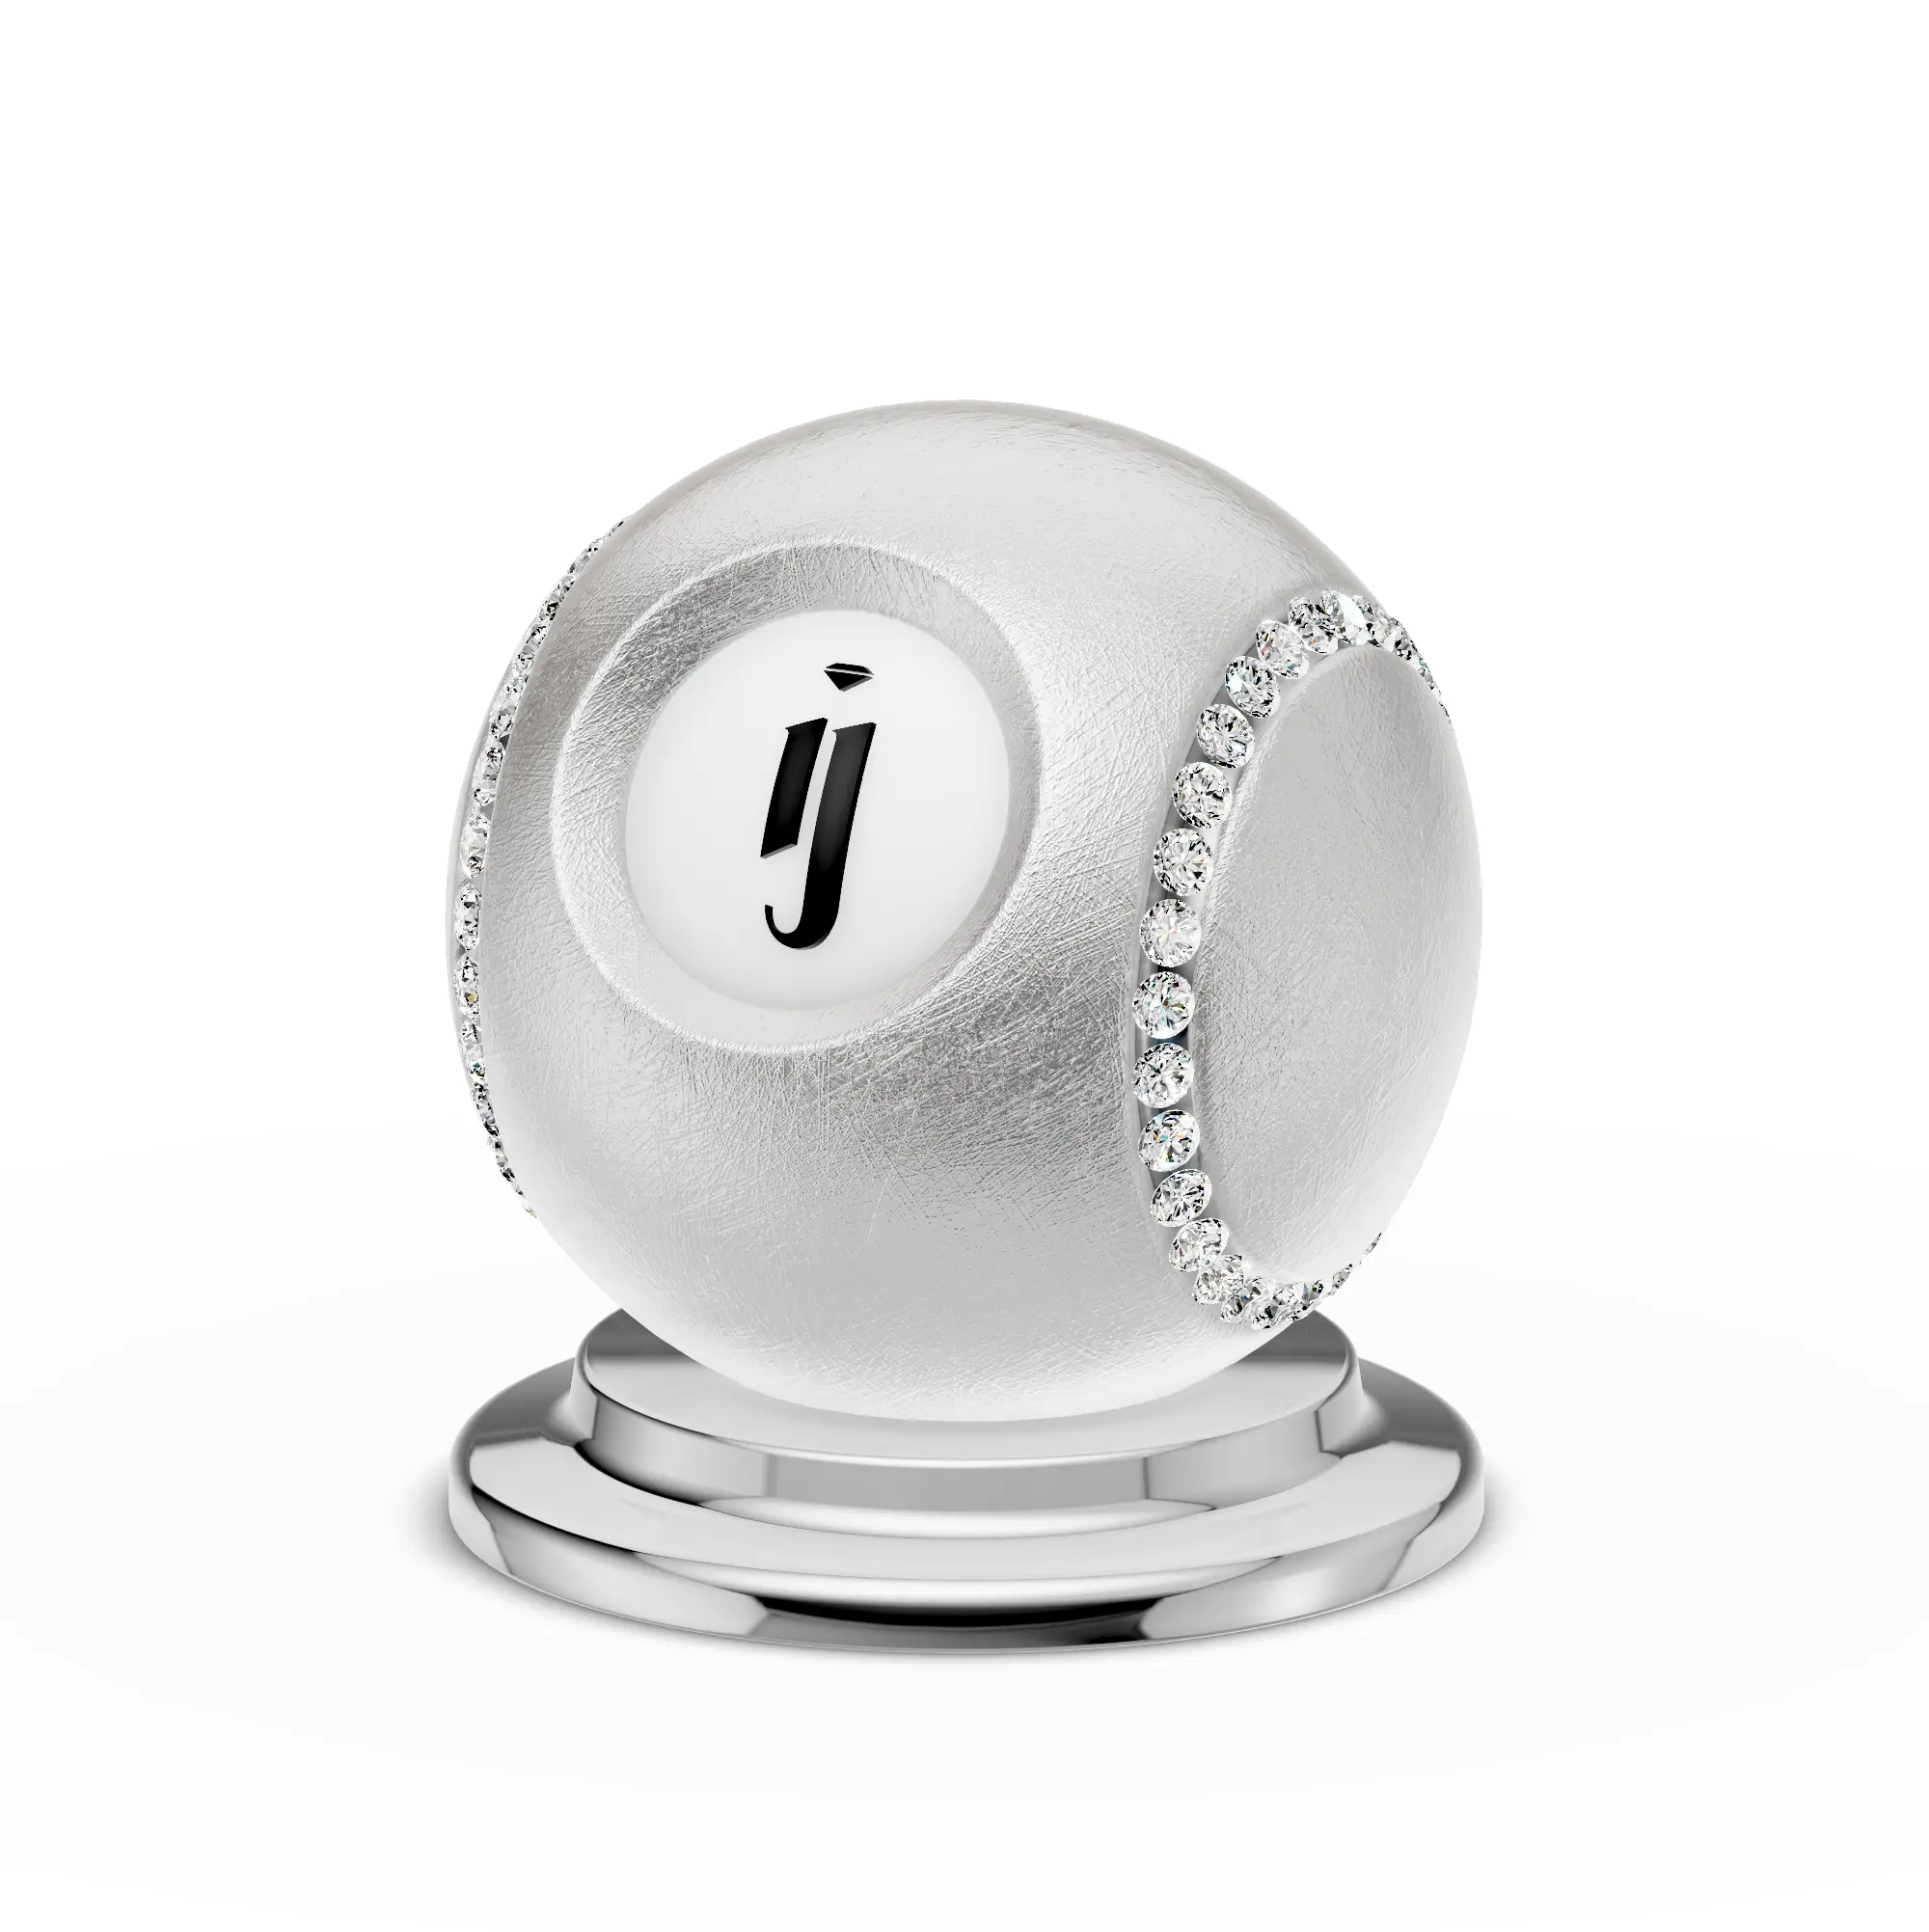
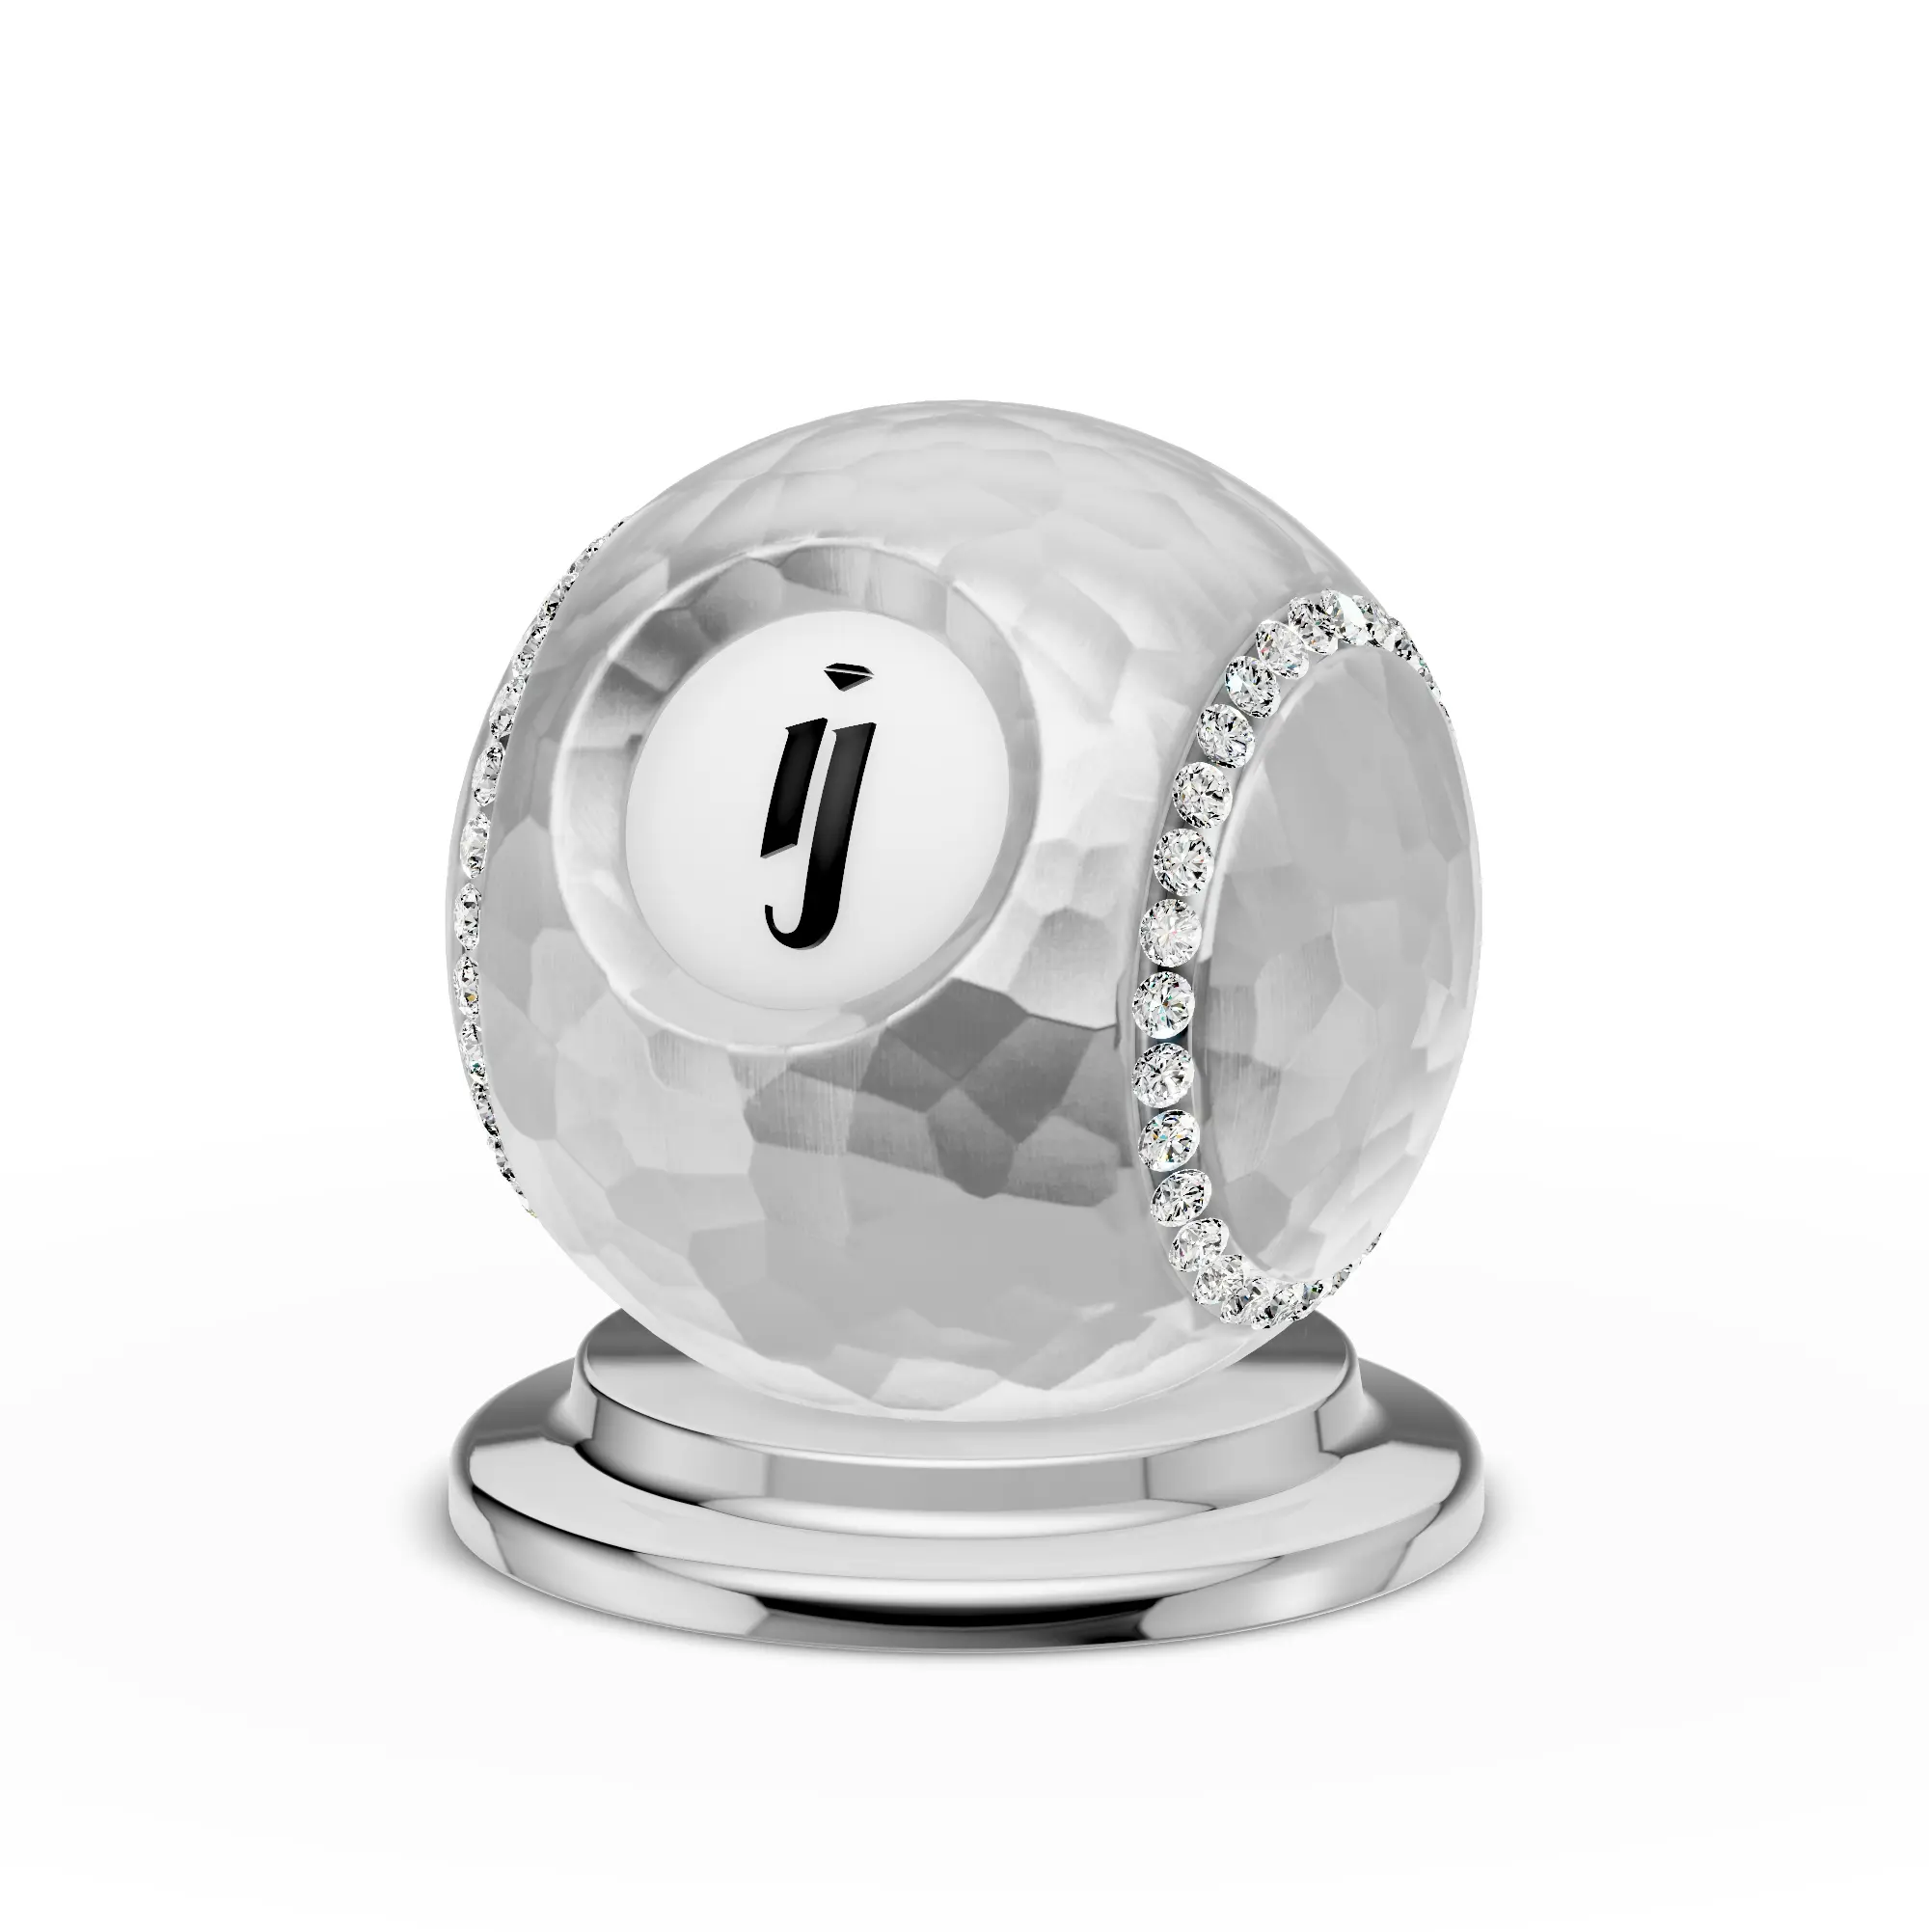
Material color example
Custom color applied to metal
Metal material example
Gold metal material
map
image
Texture map applied on top of the base color. Requires UV unwrapping on the model. If your model has no UVs, enable Triplanar mapping below — seamless textures will wrap automatically
Texture map applied to material
Texture map on surface
Wood texture map example
Wood texture with Triplanar

Rough/Metal

Controls how reflective and metallic the surface appears. Together with color, this defines the overall look of your material.

roughness
slider
How rough or smooth the surface is. 0 = mirror-like, 1 = completely matte
metalness
slider
How metallic the surface is. 1 = fully metallic (gold, silver), 0 = non-metallic (ceramic, plastic)
roughnessMap
image
Texture that controls roughness variation across the surface. When added, a roughnessMap Sampler section appears for positioning
metalnessMap
image
Texture that controls metalness variation across the surface. When added, a metalnessMap Sampler appears

Map Samplers

Whenever you add a texture map, a Sampler section appears below it with controls for scale, offset, and repeat. If you are using Triplanar mapping, you can ignore the Sampler — Triplanar handles texture placement automatically.

Roughness 0 — mirror-like
Roughness: 0
Roughness 1 — matte
Roughness: 1
Metalness 0 — non-metallic
Metalness: 0
Roughness 0.25, Metalness 0.80
Roughness: 0.25, Metalness: 0.80
Roughness map applied to material
Roughness map applied

Bump/Normal

Adds surface detail without changing the actual geometry. Bump maps use black-and-white images to create the illusion of height. Normal maps use specialized purple-tinted images for more precise surface detail.

bumpScale
slider
Controls the intensity of the bump effect
bumpMap
image
Black-and-white texture for surface bumps. When added, a bumpMap Sampler appears
normalMap
image
Purple-tinted normal map for detailed surface normals. Adds normalMap Sampler, normalScale (two inputs for X/Y strength), and normalMapType (Tangent Space)
displacementMap
image
Displacement texture that actually moves vertices. Adds displacementMap Sampler and displacementScale
Bump map applied to metal surface
Bump map on metal surface

Sheen

Adds a soft, fabric-like sheen to the surface edges. Can create interesting velvet or silk effects.

sheen
slider
Intensity of the sheen effect
sheenColorMap
image
Texture controlling the sheen color across the surface
sheenRoughness
slider
Roughness of the sheen layer
sheenRoughnessMap
image
Texture controlling sheen roughness across the surface

Clearcoat

Adds a secondary reflective layer on top of the base material — like a glossy varnish. Commonly used for ceramic, marble, and lacquered surfaces.

clearcoat
slider
Intensity of the clearcoat layer. 0 = off, 1 = full reflective coating
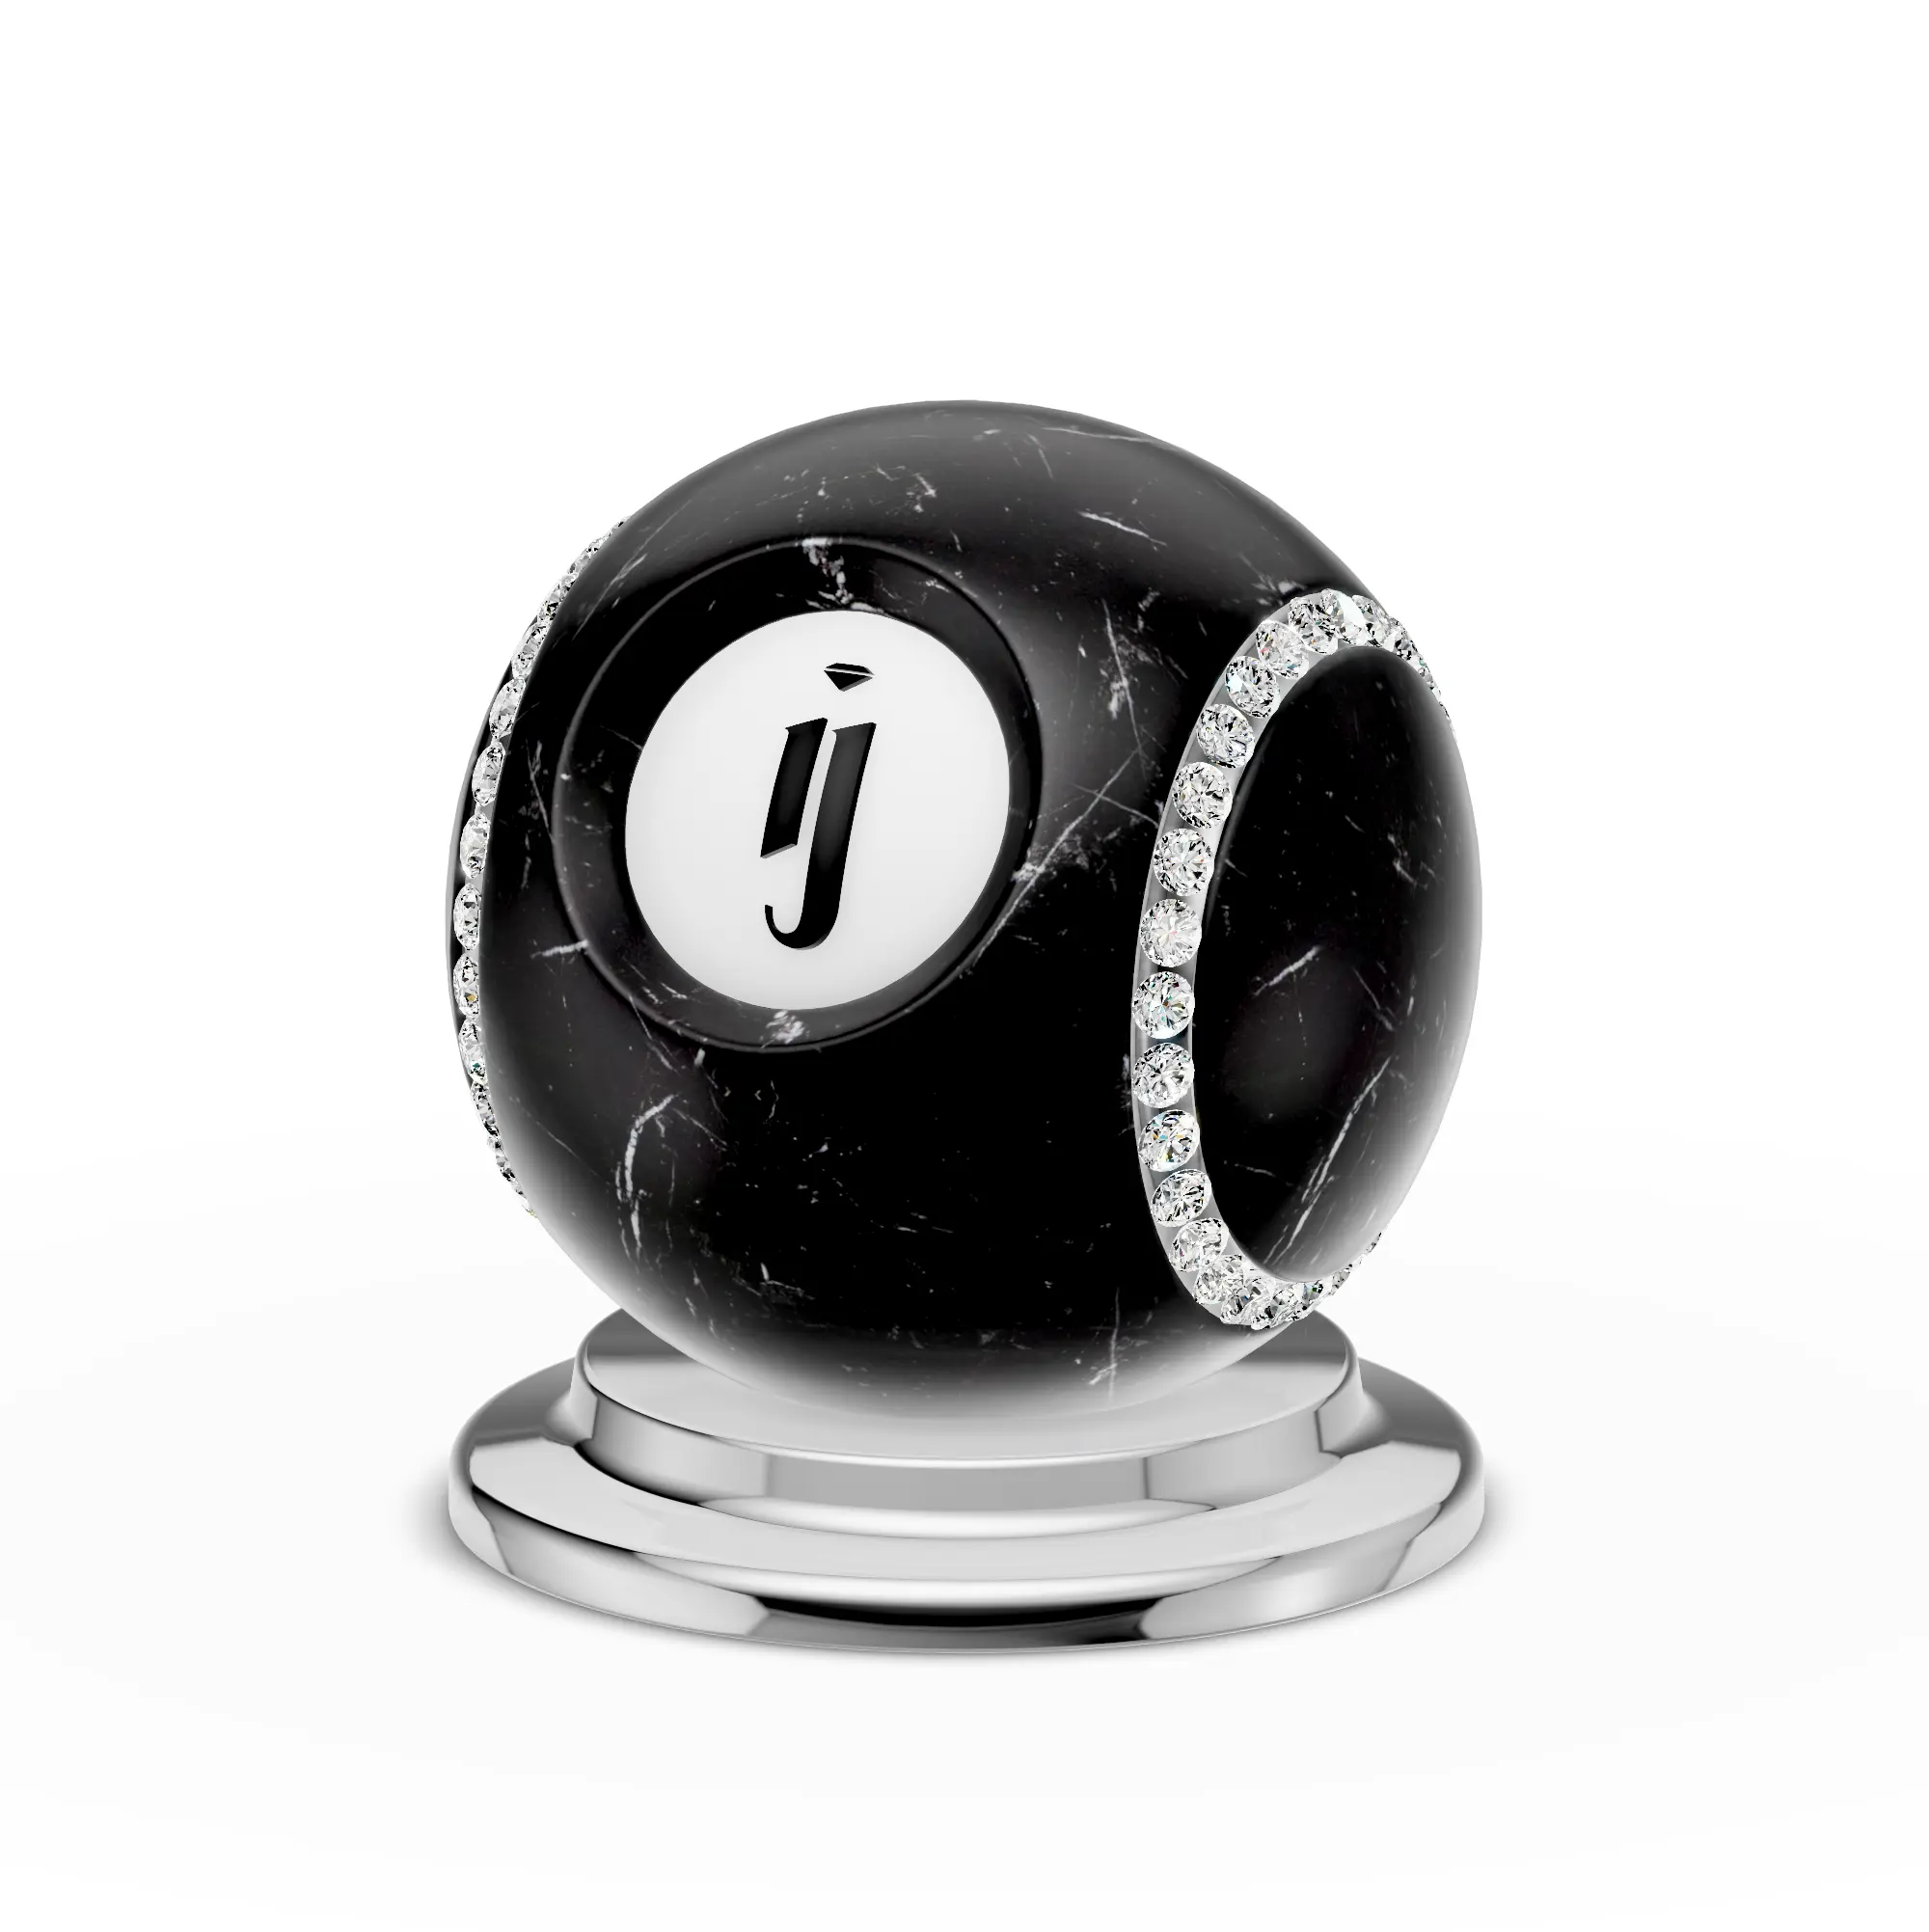
clearcoat-Roughness
slider
Roughness of the clearcoat layer itself
clearcoatMap
image
Texture controlling clearcoat intensity across the surface
clearcoatRoughnessMap
image
Texture controlling clearcoat roughness across the surface
clearcoatNormalMap
image
Normal map for the clearcoat layer specifically
Clearcoat 0 — no coating
Clearcoat: 0
Clearcoat 1 — full reflective coating
Clearcoat: 1

Emission

Makes the material glow by emitting light. Useful for decorative elements, LED accents, or artistic effects.

emissive
color picker
The color of the emitted light
emissiveIntensity
input
Brightness of the emission. Higher values create a stronger glow
emissiveMap
image
Texture controlling which parts of the surface emit light. When added, a Map Sampler appears

Refraction

Controls transparency and light refraction through the material. Used for glass, crystal, and other see-through surfaces.

ior
slider
Index of Refraction — how much light bends when passing through. Glass ≈ 1.5, Diamond ≈ 2.42, Water ≈ 1.33
transmission
slider
How much light passes through the material. 1 = fully transparent, 0 = opaque
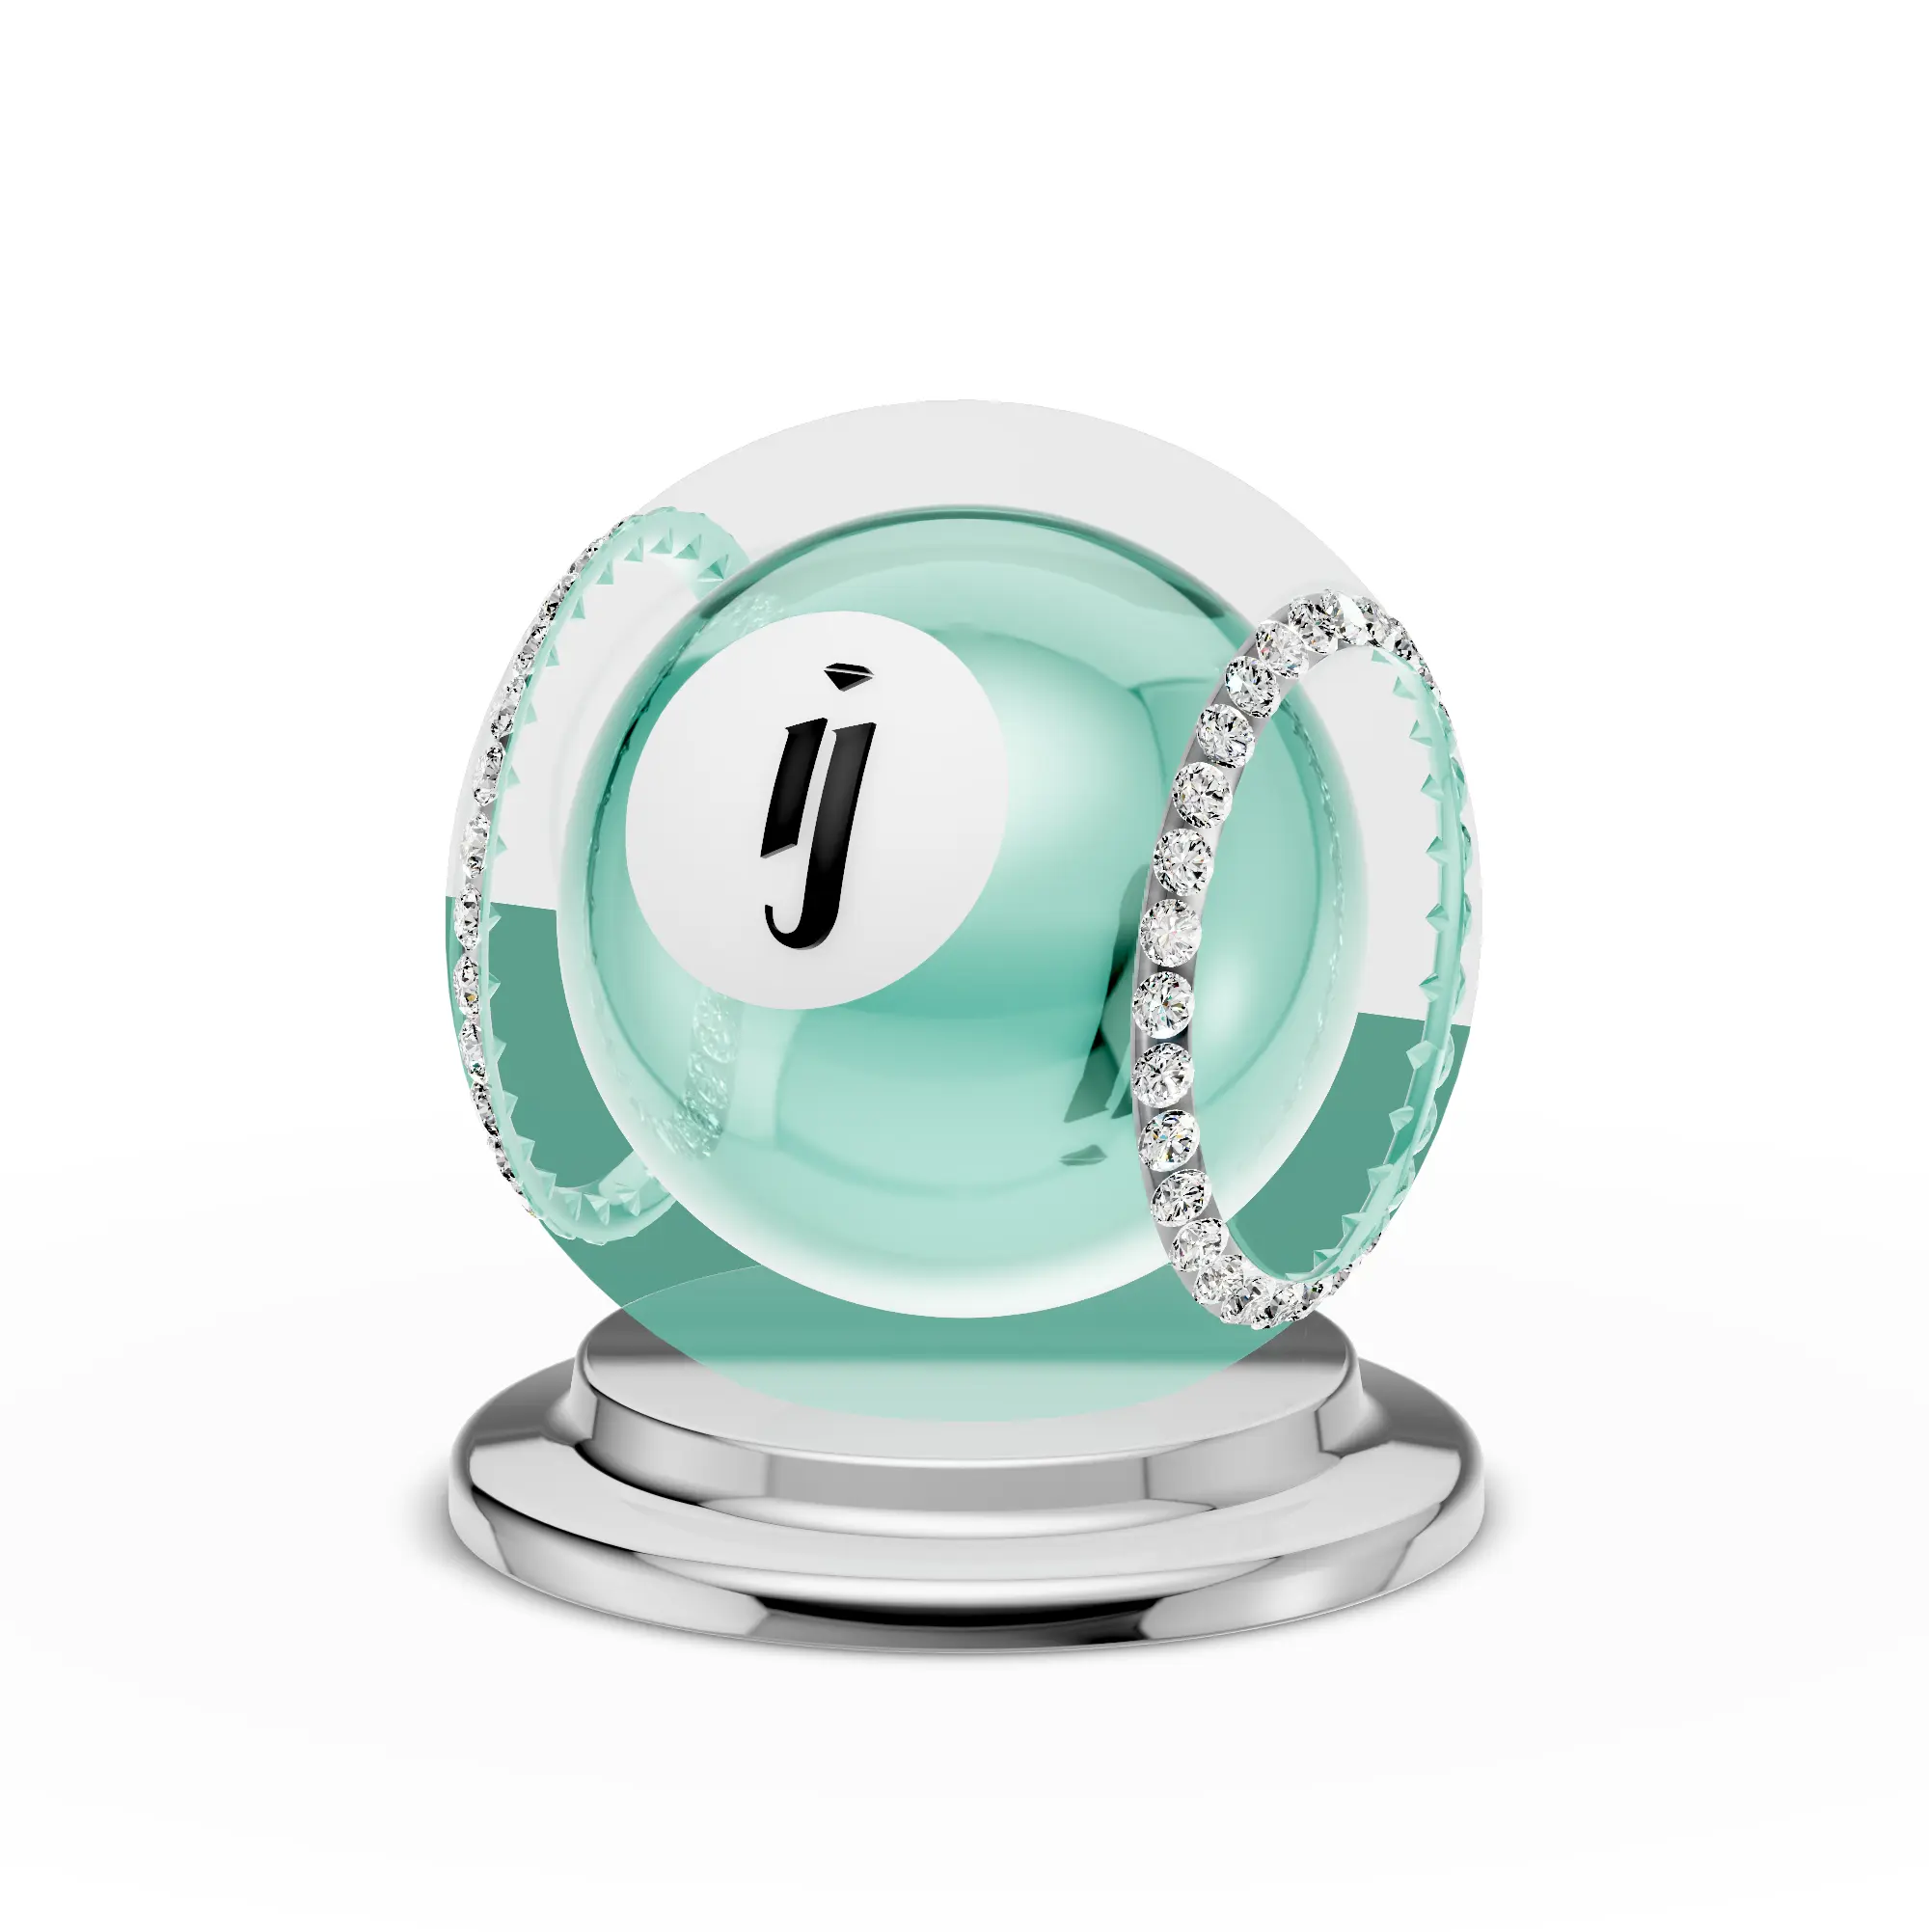
thickness
input
The virtual thickness of the material, affecting how much light is absorbed
transmissionMap
image
Texture controlling transmission across the surface
thicknessMap
image
Texture controlling thickness variation across the surface
attenuationDistance
input
Distance at which light is fully absorbed by the material's color
attenuationColor
color picker
The color that light takes on as it passes through the material
Glass material with refraction

Blending

Controls transparency and visibility of the material. Opacity and transparent are the most commonly used settings here.

opacity
slider
Overall transparency of the object. 1.0 = fully visible, 0 = invisible
transparent
checkbox
Enables transparency rendering. Must be checked for opacity to take effect
depthFunc
select
Depth comparison function (default: LessEqual). Rarely needs to be changed
depthTest
checkbox
Whether to test against the depth buffer when rendering
depthWrite
checkbox
Whether to write to the depth buffer
colorWrite
checkbox
Whether to write color data to the frame buffer
alphaTest
slider
Alpha cutoff threshold. Pixels with alpha below this value are discarded
alphaHash
checkbox
Enables alpha hashing for order-independent transparency
dithering
checkbox
Adds dithering to reduce color banding artifacts
Blending
select
Blending mode (default: None)
alphaMap
image
Texture that controls transparency across the surface
Render to Depth
checkbox
Renders the material to the depth buffer
Inverse AlphaMap
checkbox
Inverts the alpha map values
Polygon Offset
checkbox
Enables polygon offset to prevent z-fighting between overlapping surfaces
Polygon Offset Factor
slider
Scale factor for the polygon offset
Polygon Offset Units
slider
Unit offset for the polygon offset

AO/Lightmap

Ambient Occlusion and Light Maps add pre-baked shadow and lighting detail. Mostly used for ground planes and background surfaces.

aoMapIntensity
slider
Strength of the ambient occlusion map
aoMap
image
Ambient occlusion texture
lightMapIntensity
slider
Strength of the light map
lightMap
image
Pre-baked lighting texture

Iridescence

Creates a rainbow-like color shifting effect that changes depending on the viewing angle — similar to oil on water or the sheen on certain pearls and shells. Some pearl presets in the library (e.g., "Pearl Green") use this for their color-shifting effect.

Intensity
slider
Strength of the iridescent effect
IOR
slider
Index of refraction for the thin film layer
Thickness0
slider
Minimum thin film thickness. Adjust together with Thickness1 to control the color range
Thickness1
slider
Maximum thin film thickness
iridescenceMap
image
Texture controlling where iridescence appears on the surface
iridescenceThicknessMap
image
Texture controlling thickness variation for the iridescent layer

Environment

Override the global environment map for this specific material. This lets you use a different HDRI lighting setup for one material while the rest of the scene uses the default.

Override Environment
checkbox
Enables a custom environment map for this material only
Environment Intensity
slider
Brightness of the custom environment for this material
Environment Map
select
Choose from environment maps added to the scene

General Settings

Side
select
Which side of the polygons to render. Double is most common. Use Front or Back for special effects
flatShading
checkbox
Disables smooth shading and shows flat polygon faces instead
Mesh count
read-only
Number of meshes using this material

Download pmat

Download pmat

Exports the current material as a .pmat file. You can save your custom material settings and reuse them later or share them with others.


LUT

Apply a per-material Look Up Table for color grading. This works the same way as the global LUT post-processing effect, but applies only to this specific material.

Enabled
checkbox
Toggles the per-material LUT
index
select
Select which LUT to apply from the available presets

Anisotropy

Creates directional reflections — like the elongated highlights you see on brushed metal.

Anisotropy effect on metal
Anisotropy — brushed metal reflections
Enabled
checkbox
Toggles the anisotropy effect
Factor
slider
Strength of the anisotropic stretch. 0 = uniform, 1 = fully stretched
Noise
slider
Adds randomness to the anisotropy direction
Texture
image
Direction map that controls the anisotropy direction per pixel
Mode
select
Anisotropy calculation mode (default: DIRECTION)

Triplanar

Automatically projects textures onto a model from three directions (X, Y, Z) without requiring UV unwrapping. This is the solution when your model has no UVs — just enable Triplanar, and seamless textures will wrap correctly.

Triplanar mapping applied to model
Triplanar mapping — no UV required
Enabled
checkbox
Toggles triplanar mapping on or off
Fix to Object
checkbox
Locks the texture to the object so it doesn't shift when the object moves
Scale
slider
Size of the projected texture. Smaller values = larger texture pattern
Blend
slider
How smoothly the three projection directions blend into each other
Offset
slider
Shifts the texture position

ThinFilmLayer

Adds a subtle thin film interference effect, creating a slightly paler or tinted look on the surface.

Enabled
checkbox
Toggles the thin film layer effect
Intensity
slider
Strength of the thin film effect
Base Layer
4 inputs
Base layer parameters (4 values)
Noise Layer
4 inputs
Noise layer parameters (4 values)
Noise Params
4 inputs
Additional noise parameters (4 values)

FragmentClipping

Advanced section for clipping parts of the material rendering at the fragment level.


Flat Material

Renders the material without any lighting calculations — a flat, unlit appearance.


SparkleBump (NoiseBump)

Generates a procedural sparkle/noise bump pattern on the surface. For best results, use ready-made sparkle materials from the preset library rather than configuring this manually.


CustomBumpMap

Custom bump map settings for additional surface detail control.


ClearcoatTint

Adds a subtle color tint to the clearcoat layer.


SSBevel (Dev)

Per-material Screen Space Bevel control. This can also be configured globally from the Screen Space Bevel post-processing settings.


Bloom

Per-material Bloom toggle. Allows you to enable or disable the Bloom post-processing effect for this specific material.


LayeredMaterial

Creates a beautiful two-tone effect where a second color appears in surface crevices and recesses. Commonly used for oxidized bronze, oxidized copper, patina, and antique finishes — the secondary color naturally accumulates in the grooves and hard-to-reach areas of the model.

Enabled
checkbox
Toggles the layered material effect
cutoff
slider
Controls the threshold between the base material and the layered color. Adjust to control how much of the secondary color appears
color
color picker
The secondary color that appears in crevices and recesses
roughness
slider
Roughness of the secondary layer
Scale
slider
Scale of the pattern used to distribute the secondary layer
StepSize
slider
Controls the sharpness of the transition between layers
metalness
slider
Metalness of the secondary layer
Layered material — oxidized bronze effect
LayeredMaterial — oxidized bronze effect

Auto UV Mapping

Automatic UV unwrapping for the model. Enable this if you want the system to generate UVs automatically.


Object Actions

These buttons appear at the bottom of the Picking panel and affect the selected object.

Remove MaterialDuplicate ObjectWrap in ParentDelete Object
  • Remove Material — Strips the material from the selected object
  • Duplicate Object — Creates a copy of the selected object
  • Wrap in Parent — Wraps the selected object inside a new parent group
  • Delete Object — Permanently removes the selected object from the scene

WARNING

Delete Object is irreversible. There is no undo — the object and its data will be permanently removed.


Physics

Per-object physics body settings. See the Physics page for global physics configuration.


Transform Animation

Per-object transform animation settings for position, rotation, and scale keyframes.


Video Tutorial