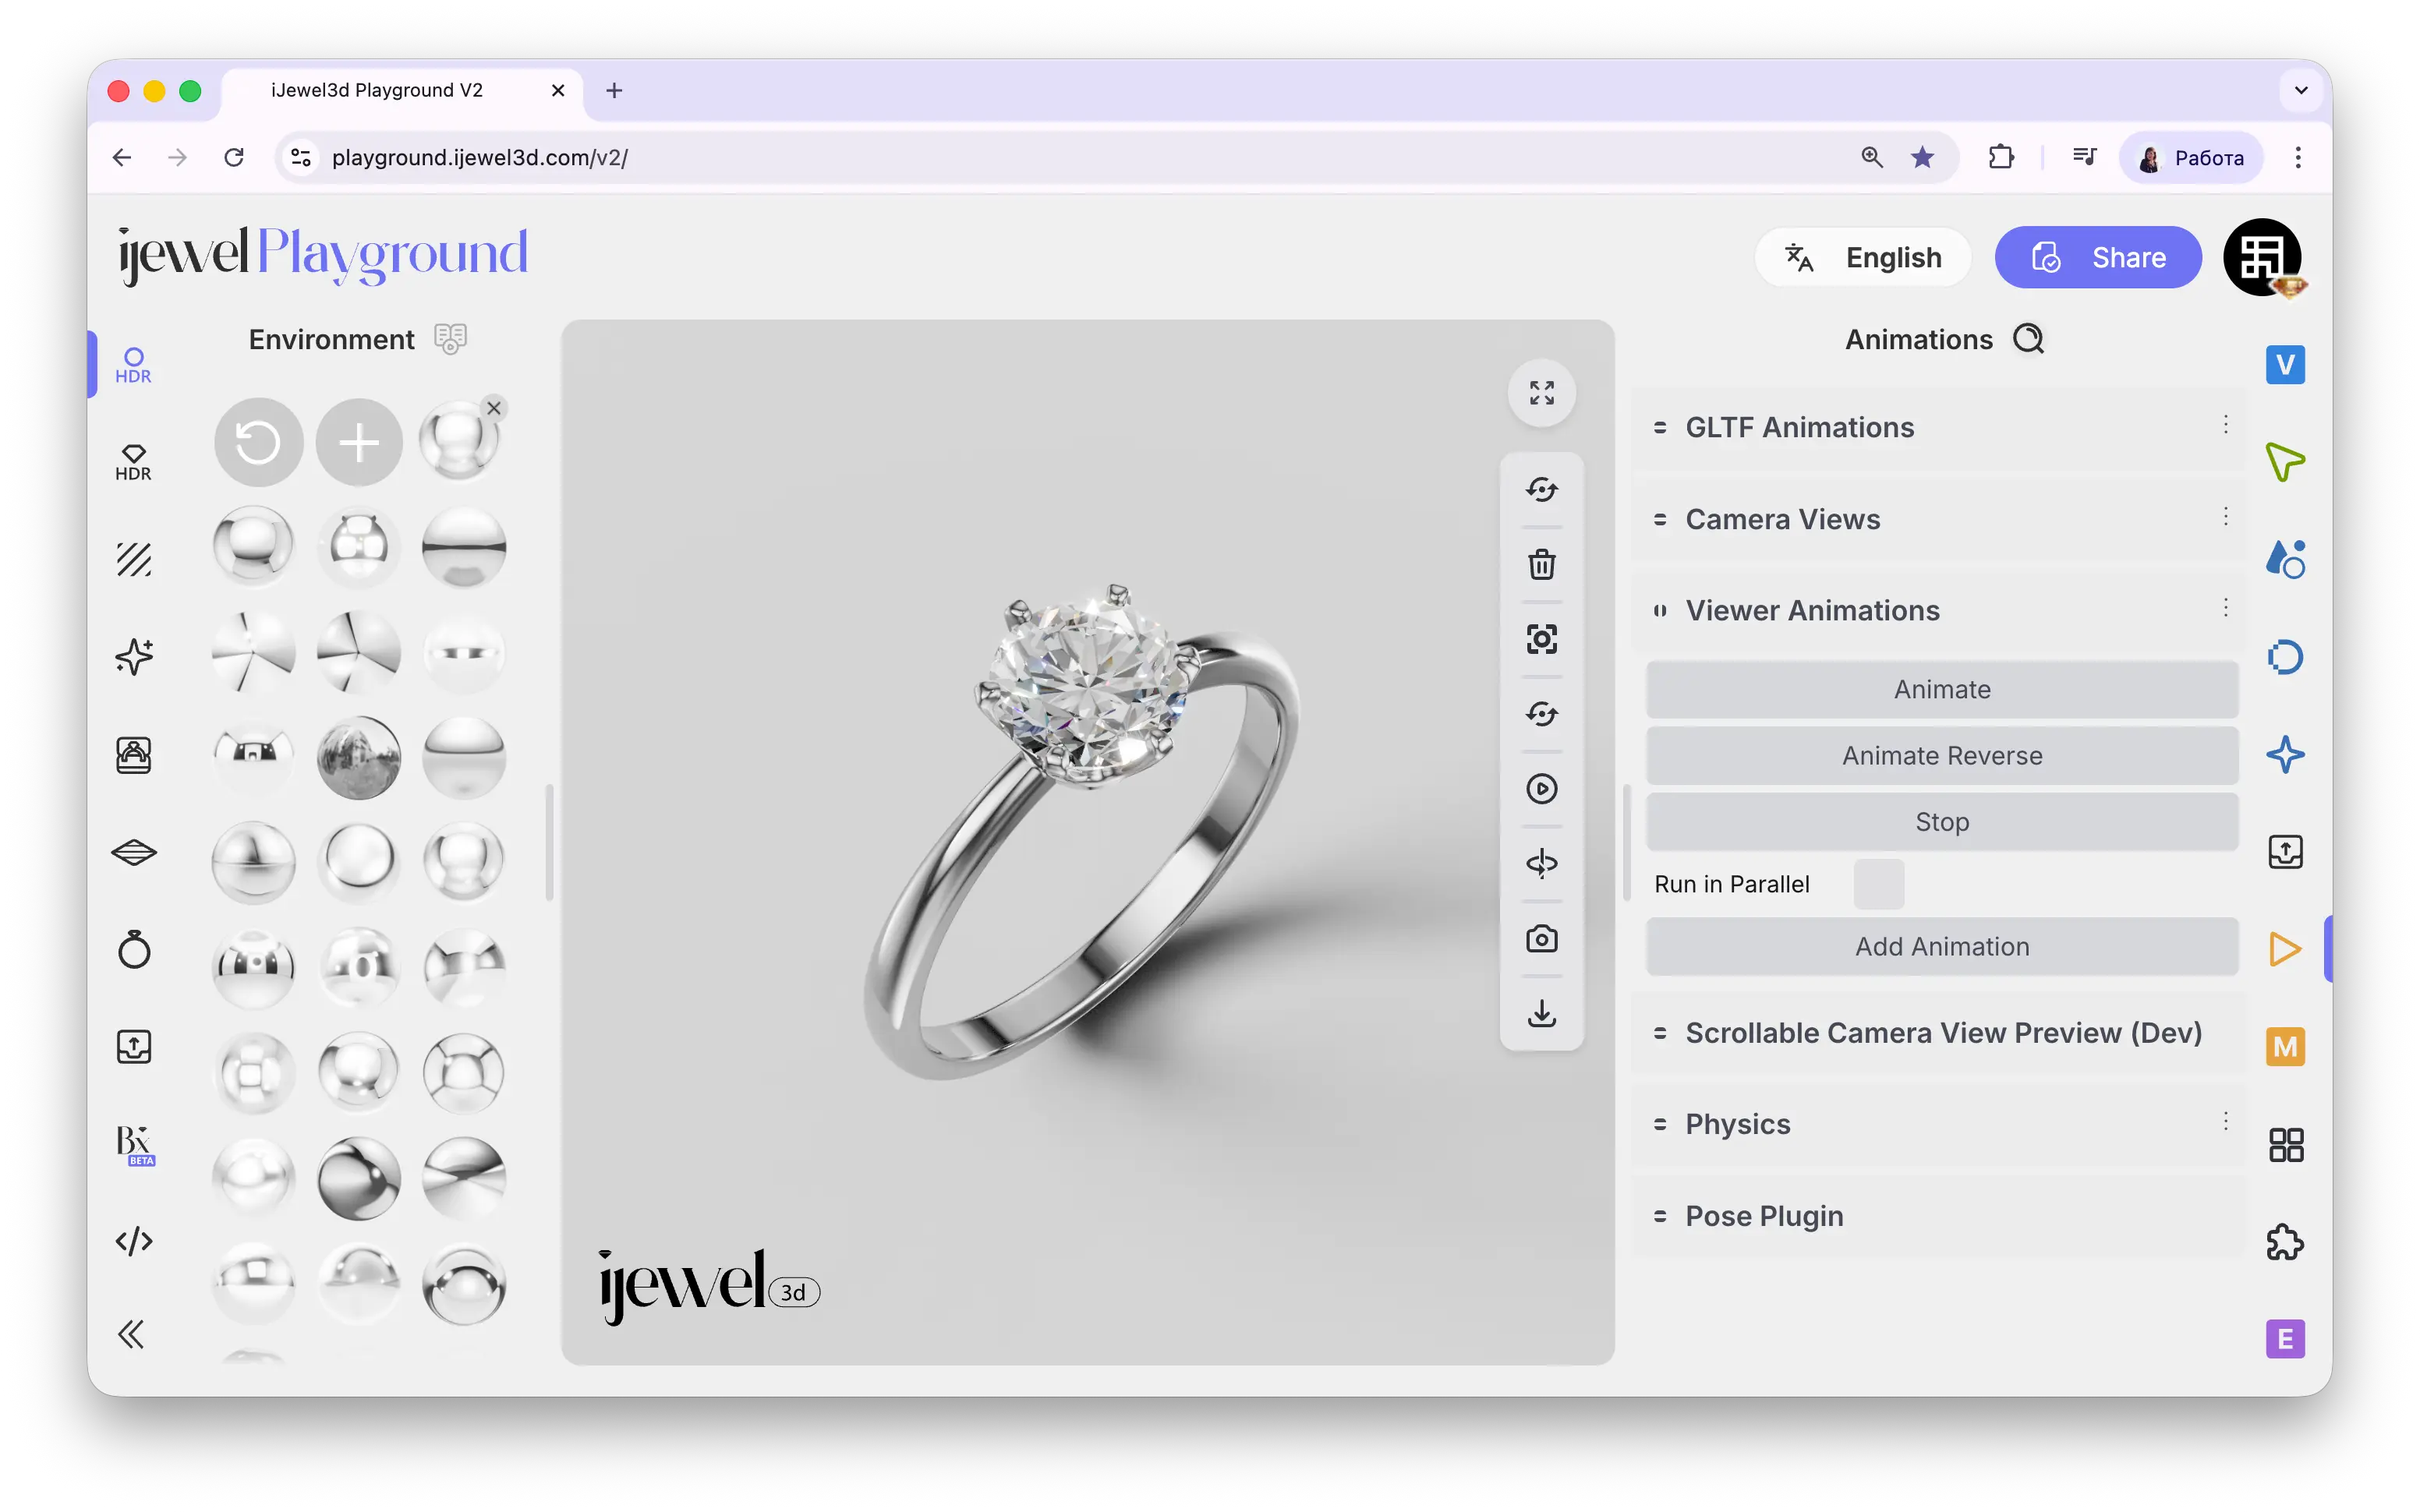
Viewer Animations
Viewer Animations lets you create dynamic, cinematic scenes by combining multiple visual effects into a single animation sequence. You can animate environment rotation, background color, lighting intensity, post-processing effects, and camera properties — all at the same time or in a carefully timed sequence.
This is one of the most powerful tools for creating professional jewelry presentations. By layering a few animation blocks — spinning the environment for moving reflections on metal, rotating the diamond light map for sparkle, and shifting the background color — you can turn a static 3D model into a living, cinematic preview.
You can also use these animations as animated product images — for example, when a customer hovers over your ring on a product page, the static thumbnail can transition into a looping video that showcases sparkling diamonds and moving reflections. Record the animation using Export Videos and embed it as a hover-triggered video on your website.
Where to Find It
This section is located on the right panel, inside the ![]() Animations tab, in the Viewer Animations section.
Animations tab, in the Viewer Animations section.
How to Create an Animation — Step by Step
Step 1: Add a New Animation Block
In the Viewer Animations section, click the Add Animation button at the bottom of the panel. A new collapsible tab labeled "Animation" will appear.
Step 2: Choose a Property
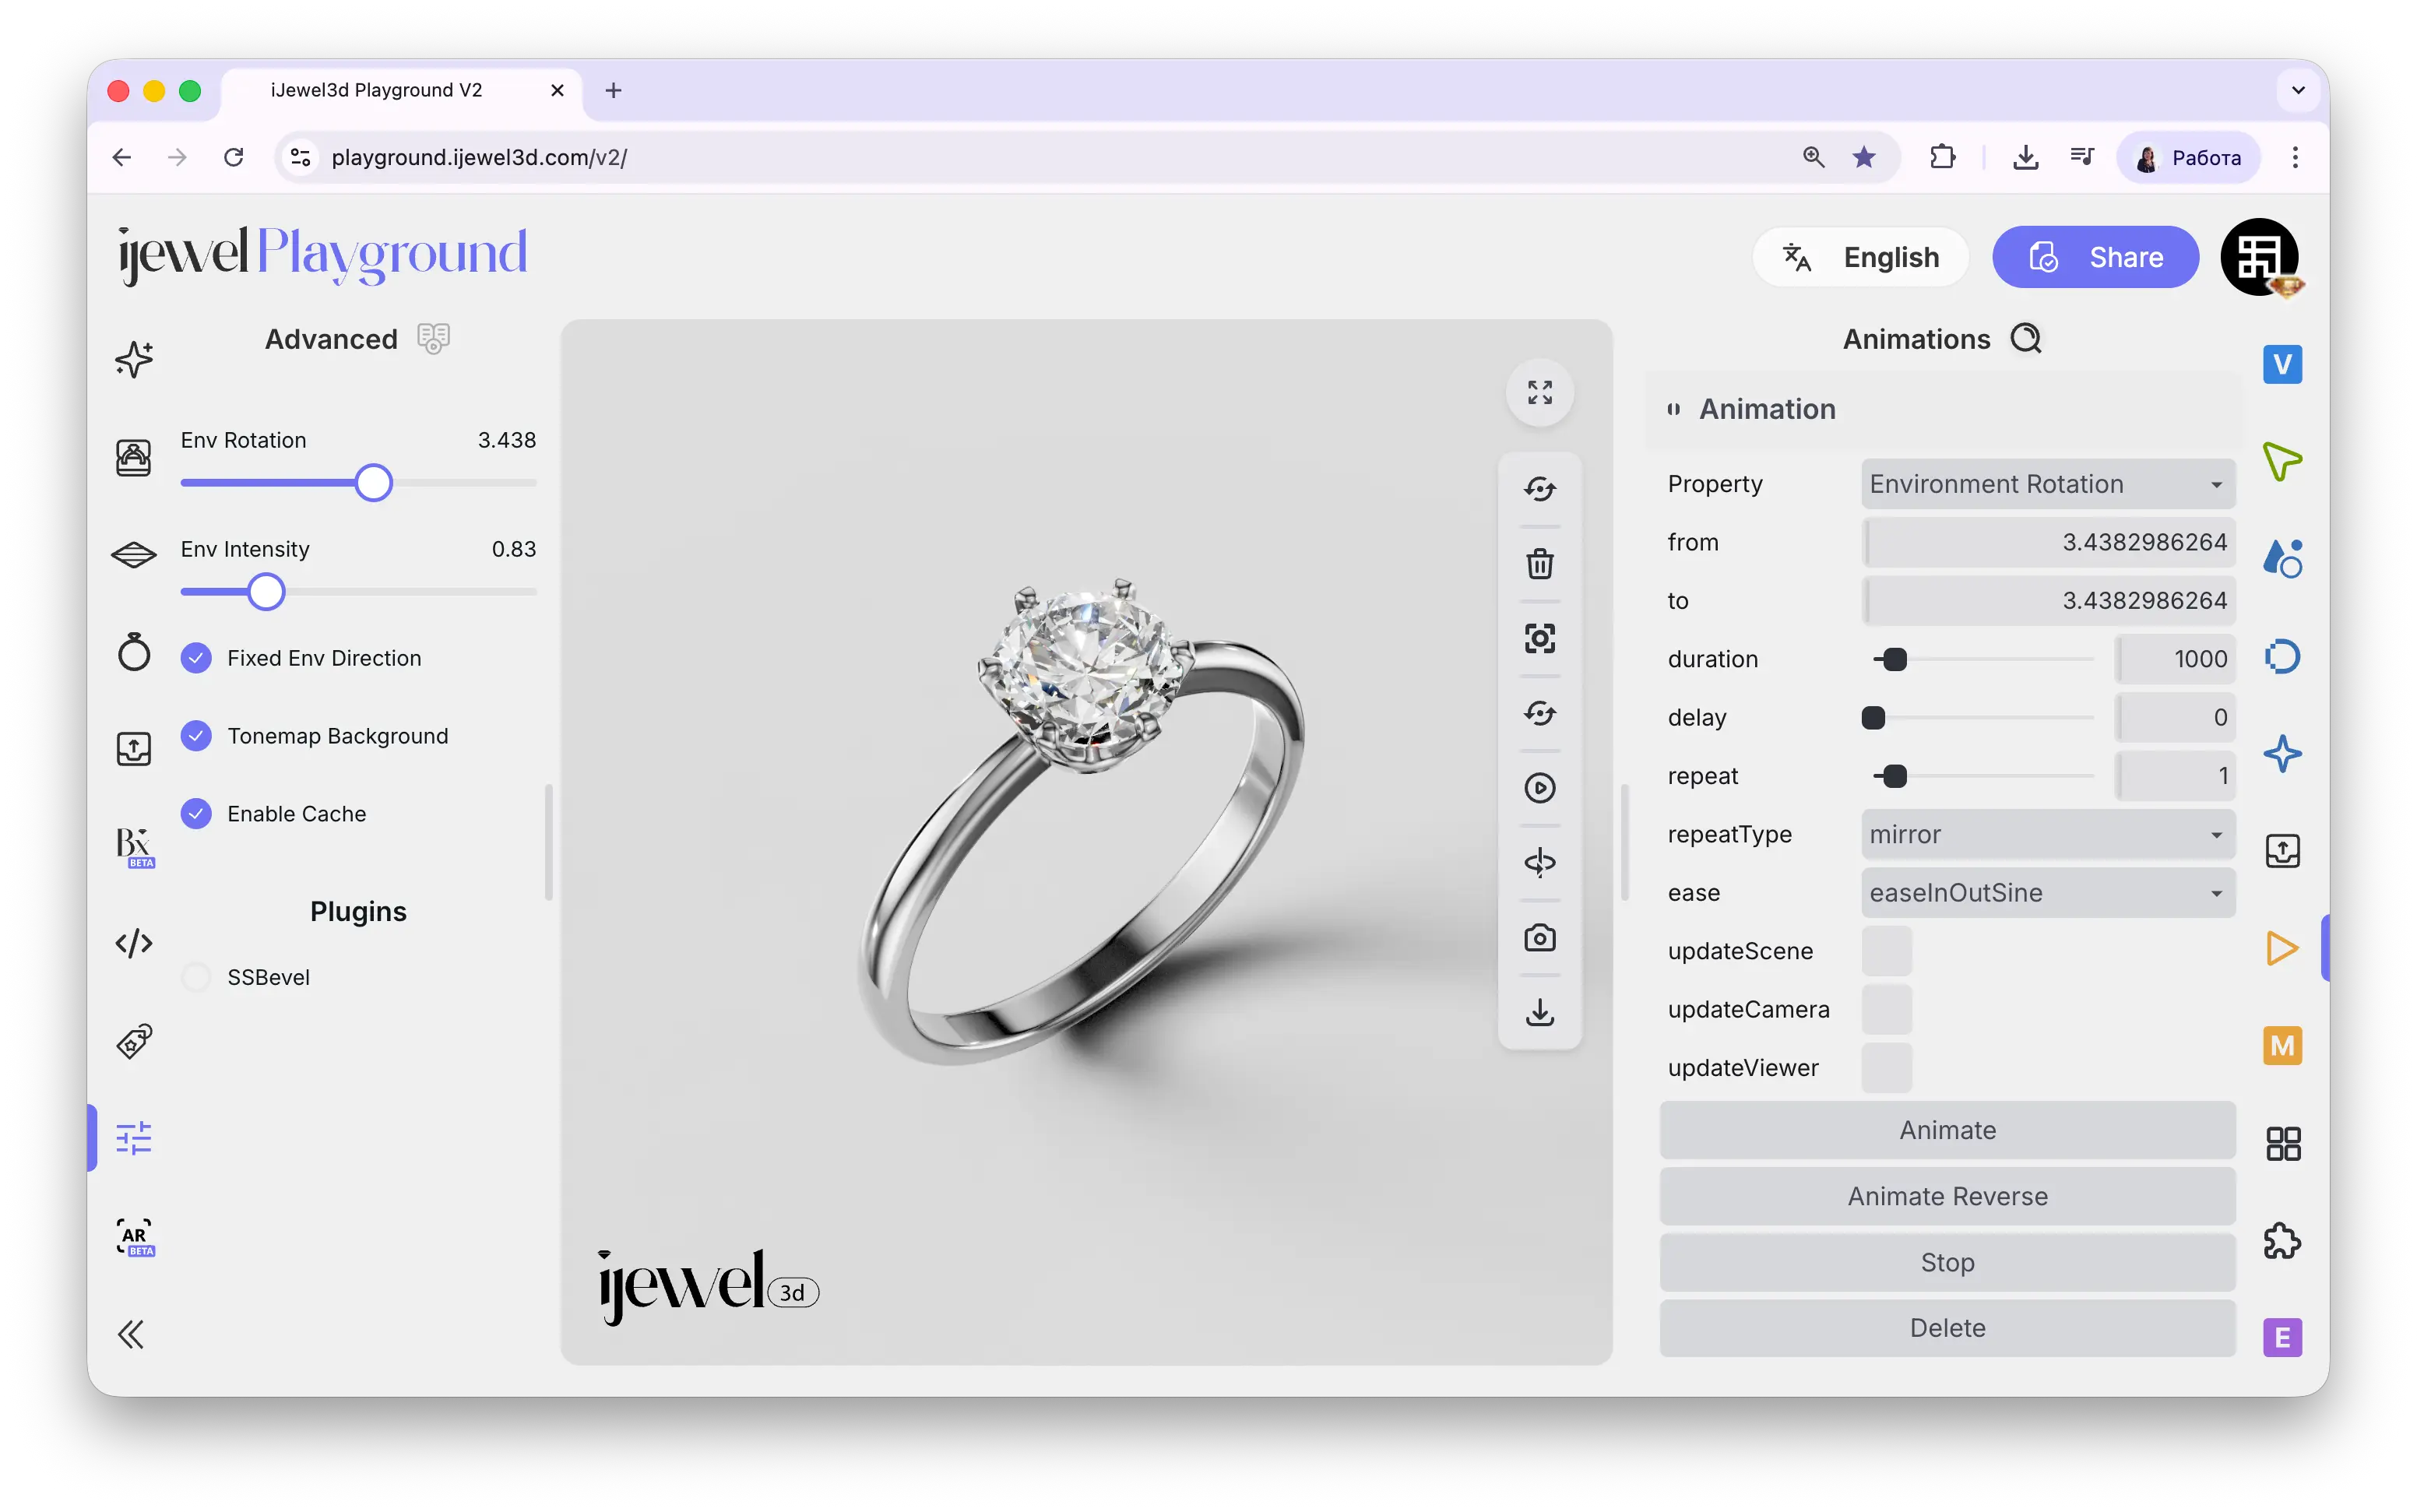
Expand the new animation tab and select the property you want to animate from the Property dropdown. For example, choose Environment Rotation to make reflections move across your jewelry's metal surface.
Step 3: Configure the Settings
Set your desired values:
- From / To — the start and end values for the animation (for colors, use the color pickers)
- Duration — animation length in milliseconds (e.g.,
3000= 3 seconds) - Ease — the speed curve (e.g.,
easeInOutSinefor a smooth start and finish) - Repeat Type — what happens when the animation ends (Loop, Mirror, or Reverse)
Make sure the updateScene and updateViewer checkboxes are enabled — without them, the animation will not be visible.
Step 4: Play the Animation
Click the Animate button at the top of the panel to start the animation. You should see the effect in real time on your model.
Step 5: Add More Effects
Repeat Steps 1–3 to add more animation blocks. For example, add a second block for Diamond Env Map Rotation and a third for Background Color. Enable Run in Parallel to play them all at the same time.
Popular Animation Examples
Here are four commonly used animations for jewelry presentations.
Diamond Env Map Rotation
The signature jewelry animation. Rotates the environment map only for Diamond materials, making the gemstone facets sparkle and shift with light. Combine this with Environment Rotation for the most realistic result — the metal and the stone animate independently.
Environment Rotation
Rotates the HDRI map around your model, making reflections glide across polished metal surfaces. Set From to 0 and To to 6.28 for a full 360° loop. Use Mirror repeat type for a seamless back-and-forth motion.
Background Color
Smoothly transitions the scene background between two colors — for example, from warm ivory to cool grey. This creates a subtle atmospheric shift that enhances the cinematic feel of your presentation.
Tonemap Exposure
Dynamically adjusts the exposure level of the final image. This can simulate a "reveal" effect — starting dim and fading up to full brightness, or creating a dramatic spotlight moment.
Pro Tip: The Perfect Jewelry Preview
To create a professional, cinematic product preview, set up three animation blocks:
- Diamond Env Map Rotation — for sparkling gemstone fire
- Environment Rotation — for moving reflections on metal
- Background Color — for a soft atmospheric color shift
Enable Run in Parallel, set all three to the same Duration (e.g., 5000 ms), and use Mirror as the Repeat Type. Your scene will come to life with smooth, looping motion that showcases your jewelry from its best angle.
Video Tutorial
This tutorial covers both Camera Views and Viewer Animations in one walkthrough:
iJewel3D Video Rendering — Camera Paths & Animated Lightmaps
Master Controls & Animation List
The buttons at the top of the panel control all animation blocks simultaneously:
- Animate — Starts all animation blocks from top to bottom
- Animate Reverse — Plays all animations in reverse (from end value back to start value)
- Stop — Immediately stops all active animations
You can create an unlimited number of animation blocks for a single scene. Each block appears as a collapsible tab.
Block Settings
Each animation block contains the following parameters:
3000 = 3 seconds)Important
Both updateScene and updateViewer must be enabled in every animation block, otherwise the effect will not appear. Enable updateCamera only if you are animating camera-related properties like FOV or Depth of Field.
Mirror for seamless loops
Use Mirror as the Repeat Type for the smoothest seamless effect — the animation plays forward and then reverses naturally, avoiding any visible "jump" at the loop point.
Available Properties
Environment & Light
0 to 6.28 for a full 360° rotationGems Special
0 to 6.28 for a full rotationTonemapping & Post-Processing
Camera & Lens
Bloom & Reflections
Related Pages
- Camera Views — Save camera positions and animate transitions between them
- Animations — Overview of all animation sections
- Post Processing — Visual effects you can animate with Viewer Animations
- Export Videos — Export your animations as video files
- Bloom — Bloom post-processing effect details
- Depth of Field — Depth of Field post-processing effect details