Screen Space Ambient Occlusion (SSAO)
SSAO adds soft contact shadows in crevices, corners, and where surfaces meet — making the scene look more realistic and grounded. It is enabled by default in Playground.
This effect is essential for jewelry renders because it brings out the depth between prongs, around stone settings, inside chain links, and along any tight geometry. Without SSAO, models can look flat — with it, you get a natural sense of volume and contact between surfaces.
For most cases, the main settings you need are Intensity and Radius. If you're unsure about the other options, enable Auto Radius and just adjust Intensity.
Where to Find It
This section is located on the right panel, inside the ![]() Post Processing tab, in the SS Ambient Occlusion section.
Post Processing tab, in the SS Ambient Occlusion section.
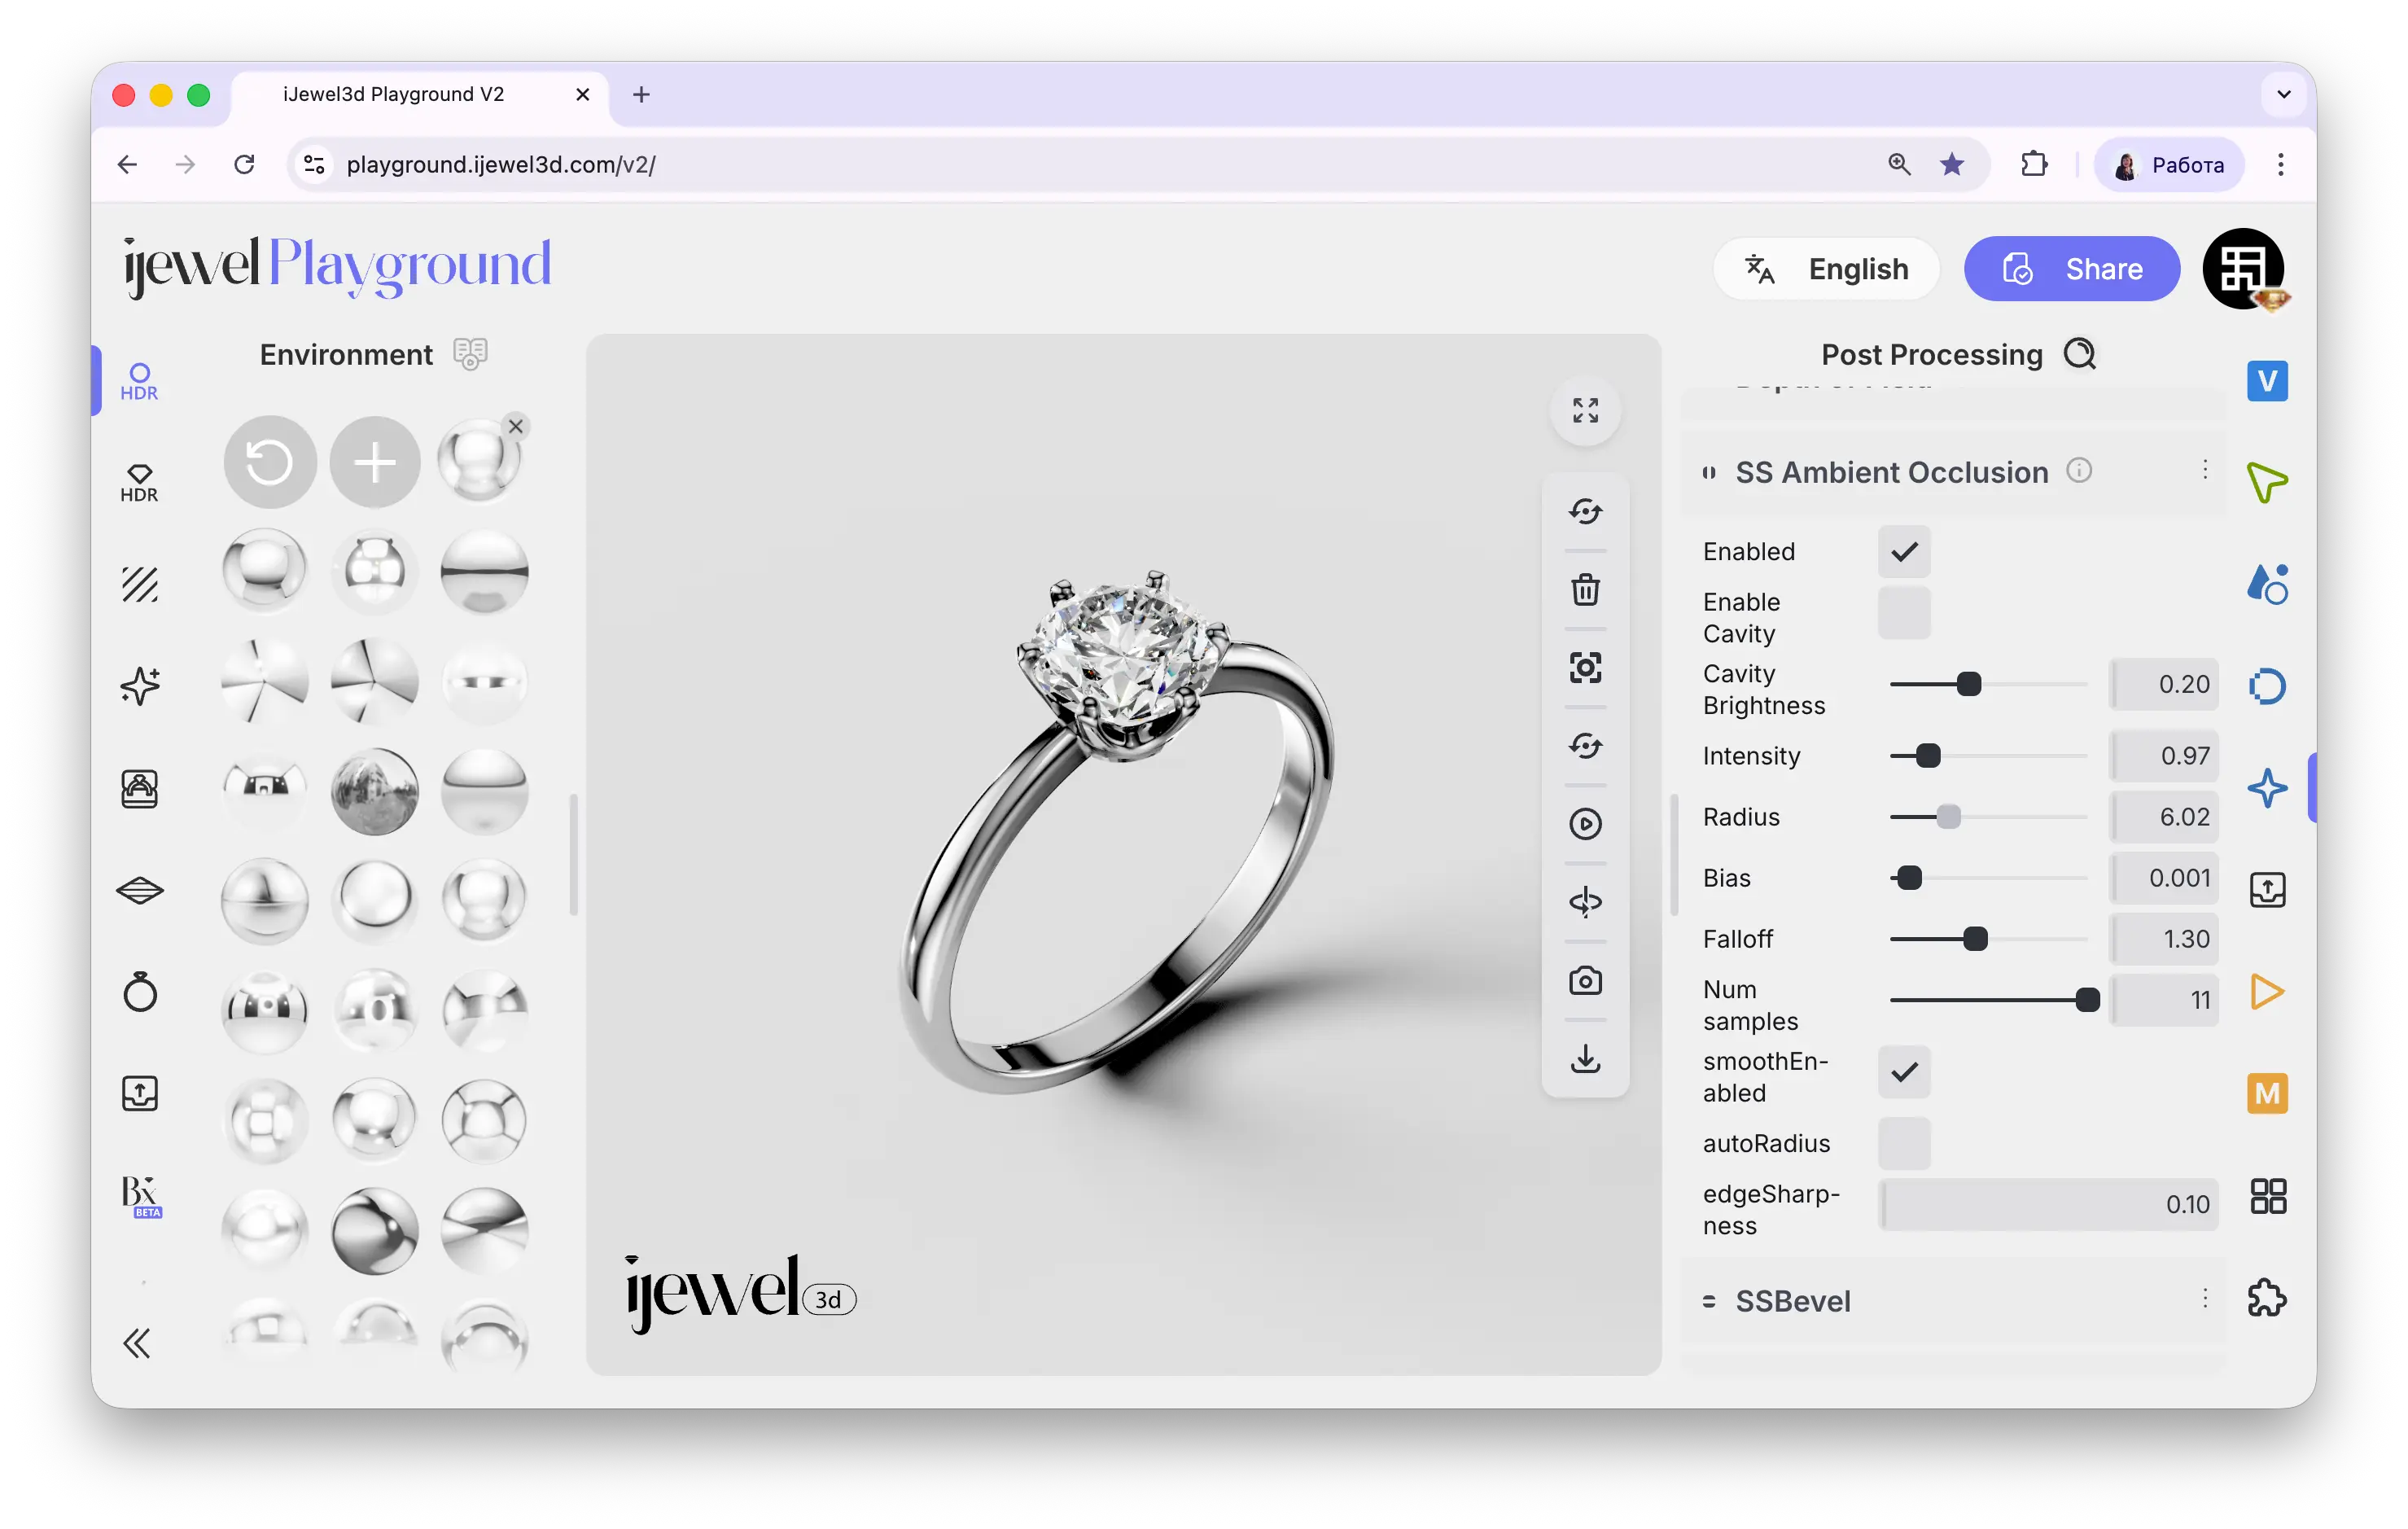
Settings
Quick Setup
Enable Auto Radius and adjust Intensity — this is the simplest way to get good SSAO results without tweaking individual settings.
Related Pages
- Screen Space Bevel — Edge softening effect
- Screen Space Reflections (SSR) — Real-time reflections
- Tonemapping — Exposure and color grading