
Introduction
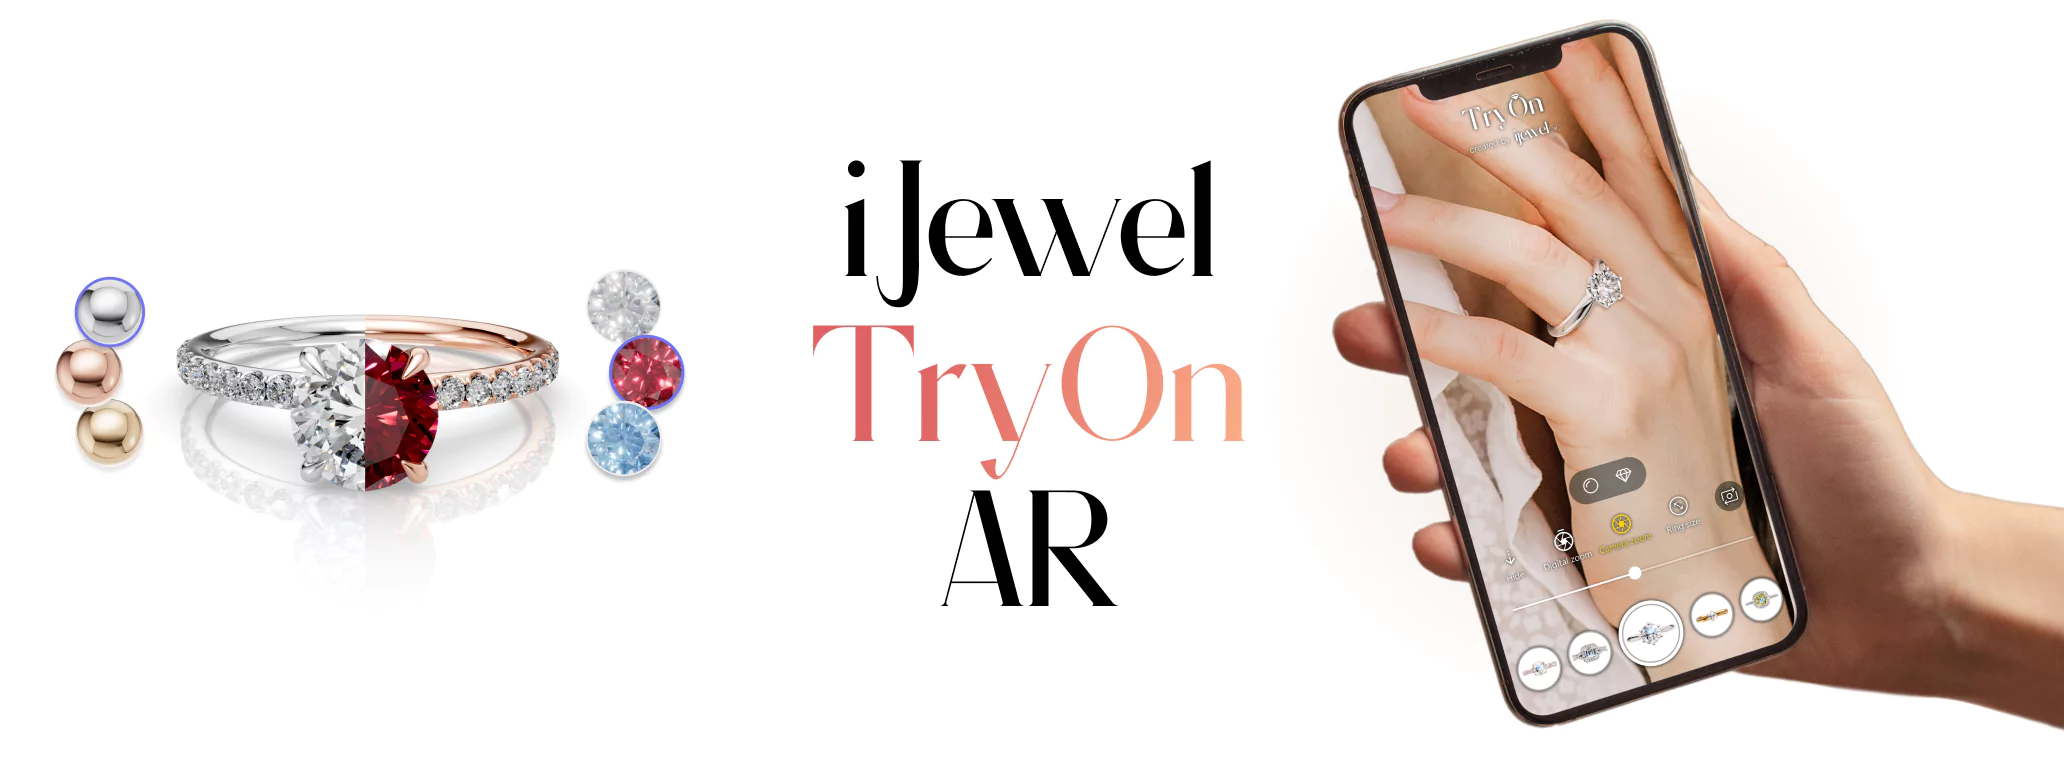
Ring Try-On combines an iJewel3D ring project with live hand tracking. A customer can inspect the ring in 3D, start the camera, and see the same ring on a selected finger. This guide covers iframe integration, Mini Viewer integration, and advanced custom controls.
Try-On supports these project types:
- a standalone ring model;
- a Ring Configurator project, including the ring assembled from its current components; and
- a Wedding Band Builder project, including generated bands and catalog rings.
Configurator projects do not need a separate model file for Try-On.
Start here
Choose the guide that matches where the project is stored and who owns the Try-On controls:
- Drive project with standard controls: use Direct Integration.
- Self-hosted Ring Configurator: use Using Ring Configurator.
- Self-hosted Wedding Band Builder: use Self-Hosted Integration.
- Standalone Drive model with custom controls or product switching: use Advanced Integration.
- Configurator with custom Try-On controls: use the public Configurator Try-On helpers.
For a Drive project, first prepare the ring project and save its Try-On configuration. For a fully self-hosted project, either transfer that saved configuration through your project export pipeline or generate it with Web VTO setup mode.
Prepare each project in iJewel3D Platform
Each model or configurator project needs a saved Try-On configuration. This configuration makes Try-On available and controls the ring placement on the tracked finger.
When Mini Viewer loads a Drive project, the website receives the project and its saved configuration together. You do not need to host a separate Try-On JSON file for that path. A fully self-hosted project keeps the same settings in its top-level tryonConfig, or loads the generated JSON directly into Web VTO.
Follow Prepare a Try-On Project before you write the website code. The guide explains how to fit the ring to the finger cylinder, preview the result, and save the configuration.
Meet the website requirements
The hosting page must use HTTPS because browsers restrict camera access on insecure pages. The camera start must follow a direct user action, such as a button selection. If the integration uses an iframe, give the iframe camera permission. If the integration uses Mini Viewer, register the production domain with iJewel3D.
Attribution watermark
Try-On works even when Enable TryOn is off for the domain. In this case, the camera view shows an iJewel3D attribution watermark.
To hide the watermark, purchase Try-On for the domain. Then open Settings → Domains and turn on Enable TryOn for that hostname.
API reference
For custom JavaScript controls, start with Advanced Integration. The API reference covers RingTryonPlugin and TryonUIPlugin.